As a best practice, SecureW2 recommends having a new intermediate CA for TPM-based attestation.
To create a new intermediate CA:
- Log in to the JoinNow Management Portal.
- Navigate to Dynamic PKI > Certificate Authorities.
- Click Add Certificate Authority.

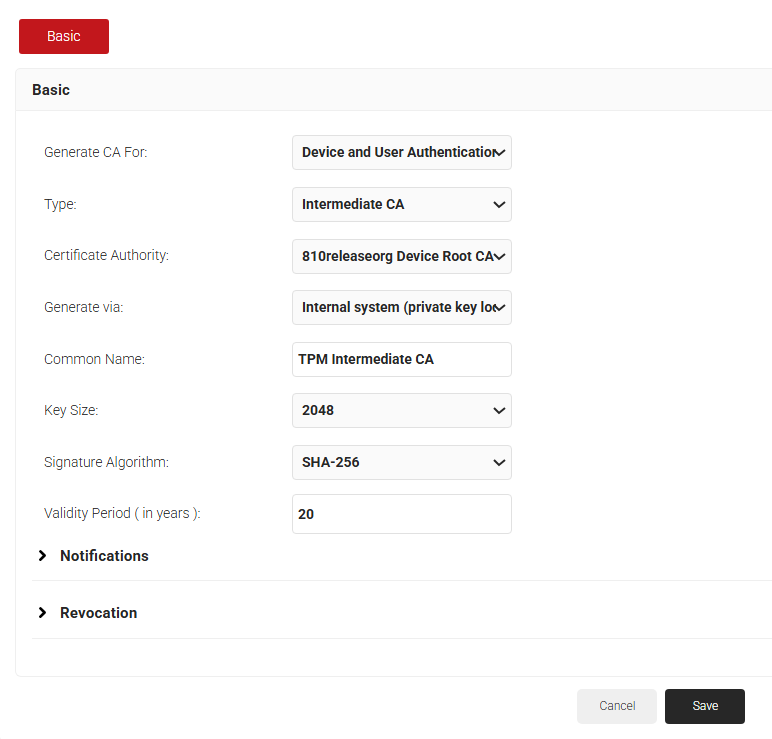
- In the Basic section, select the Device and User Authentication option from the Generate CA For drop-down list to authenticate devices and users.
- From the Type drop-down list, select Intermediate CA.
- From the Certificate Authority drop-down list, select the default Root CA for your organization.
- In the Common Name field, enter a common name for the CA certificate.
- From the Key Size drop-down list, select 2048 for the CA certificate key pair.
- From the Signature Algorithm drop-down list, select the signature algorithm for the certificate signing request. The option available is SHA-256.
- In the Validity Period (in years) field, enter the validity period of the CA certificate.

- Click Save. The new intermediate CA is generated.

This section describes the steps to configure a key attestation platform for TPM.
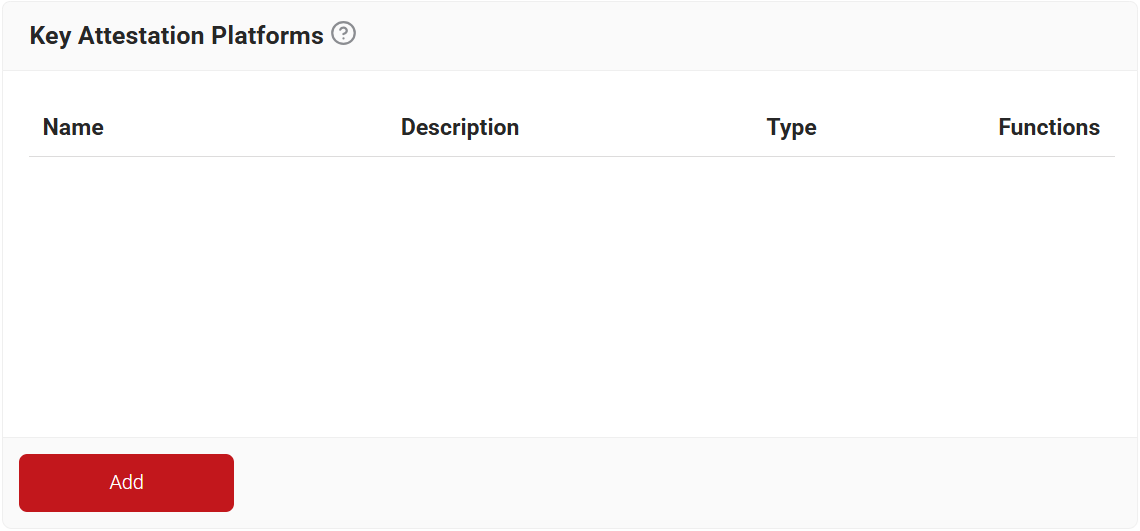
- Navigate to Integration Hub > Key Attestation Platforms.
- Click Add.
Figure: Key Attestation Platform Page
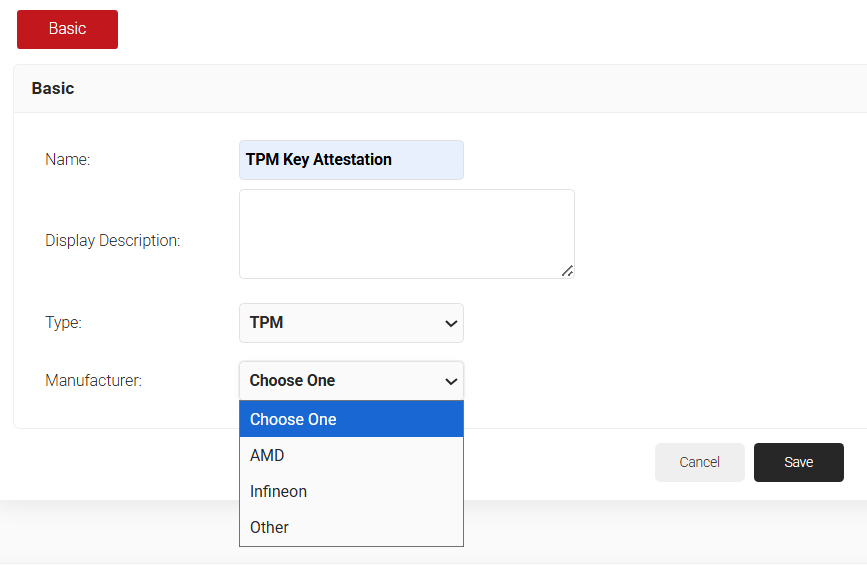
- In the Name field, enter a name for the key attestation platform.
- In the Display Description field, enter a suitable description for the key attestation platform.
- From the Type drop-down list, select TPM.
- From the Manufacturer drop-down list, select the trusted vendor that manufactured the TPM chip. SecureW2 currently supports AMD and Infineon.
NOTE: Select Other in the Manufacturer field and manually enter a manufacturer that is not listed.
Figure: Adding a TPM key attestation Platform
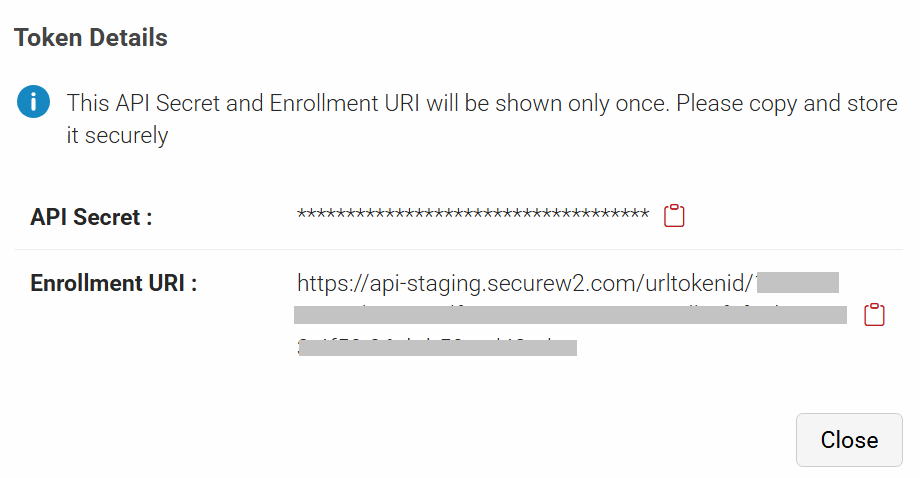
- Click Save. The Token Details pop-up appears. Copy the API secret and Enrollment URI values into a text editor, as they are required for TPM enrollment.

If the TPM chip’s manufacturer is not listed in the Manufacturer drop-down, Admin can select Other to manually enter the manufacturer, add the Manufacturer Root CA, and specify the whitelisted domains for the AIA URL.
This section describes the steps to configure a custom manufacturer for TPM.
- Navigate to Integration Hub > Key Attestation Platforms.
- Click Add.
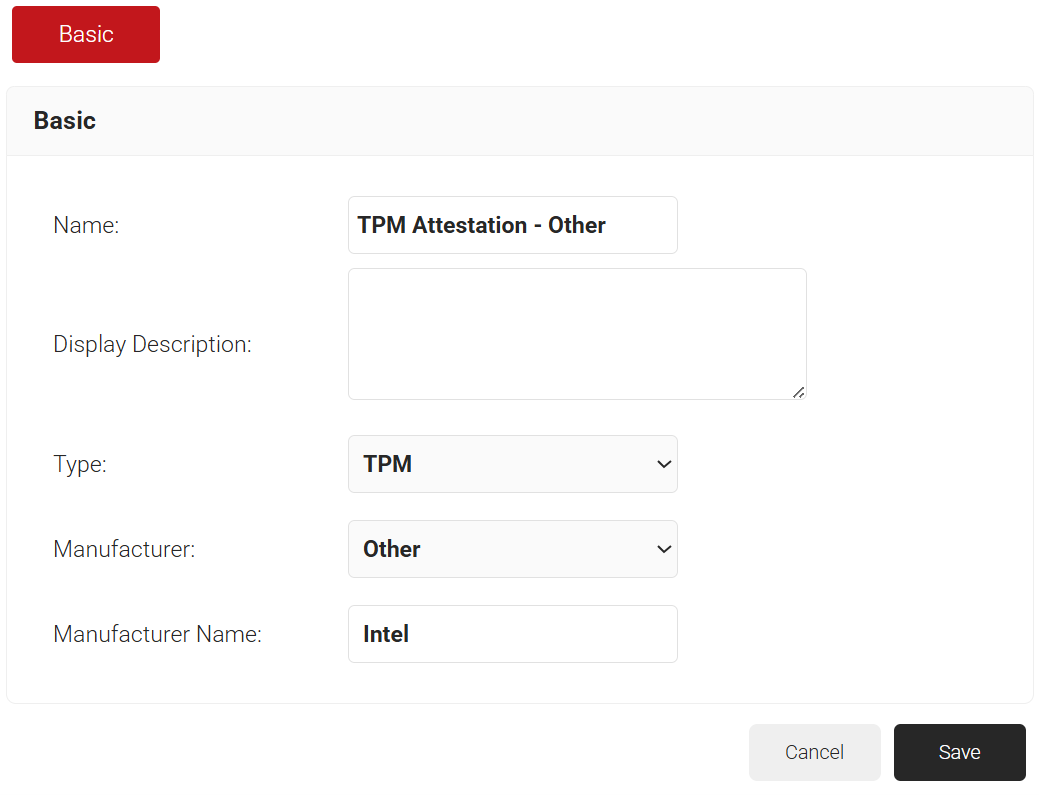
- In the Name field, enter a name for the key attestation platform.
- In the Display Description field, enter a suitable description for the key attestation platform.
- From the Type drop-down list, select TPM.
- From the Manufacturer drop-down list, select Other.
- In the Manufacturer Name field, enter the manufacturer’s name.
Figure: Adding a TPM key attestation provider for a custom manufacturer

- Click Save. The Token Details pop-up appears. Copy the API secret and Enrollment URI values into a text editor, as they are required for TPM enrollment.
Figure: Token details dialog box
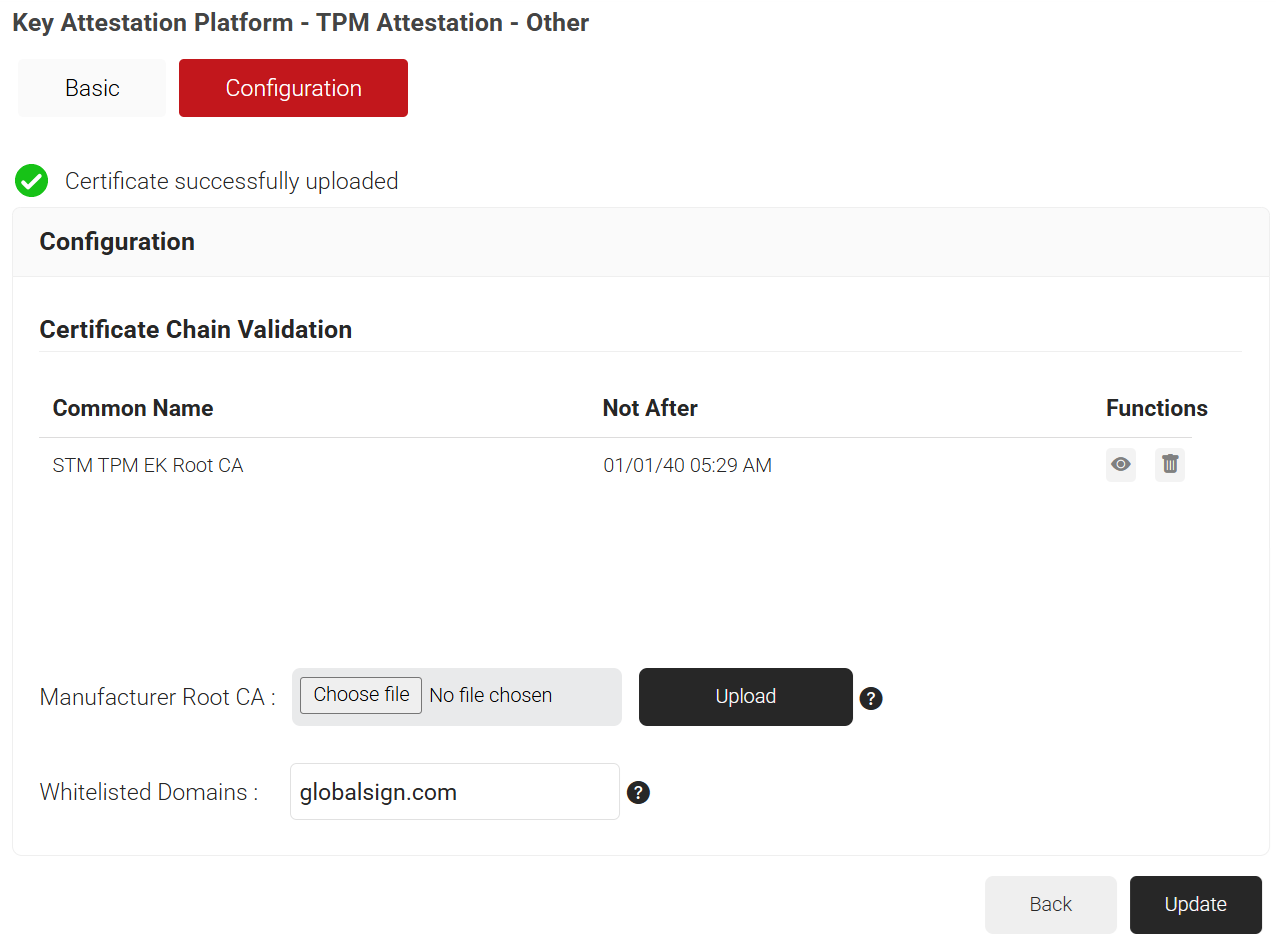
- Click the Configuration tab.
- In the Manufacturer Root CA field, click Choose file to locate and upload the root certificate.
- In the Whitelisted Domains field, enter the whitelisted domain and click Upload.

- Click Update.
- Go to Policy Management > Policy Workflows.
- Click Add Policy Engine Workflows.
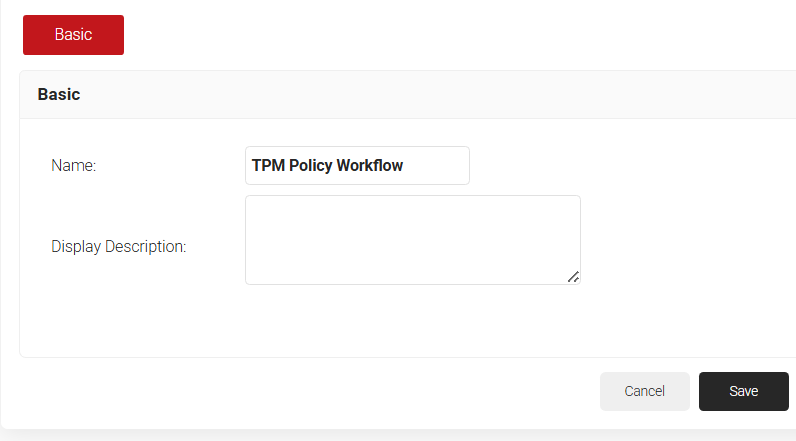
- In the Basic section, in the Name field, enter a name for the policy.
- In the Description field, enter a description for the policy.

- Click Save. The page refreshes and automatically selects the Conditions tab.
- In the Conditions section, click the Core Provider drop-down and select the Device Management Platform auto-created with the same name as the Key attestation platform.

- Click Update.

Device Role Policy helps in mapping the attestation provider in JoinNow for device attestation.
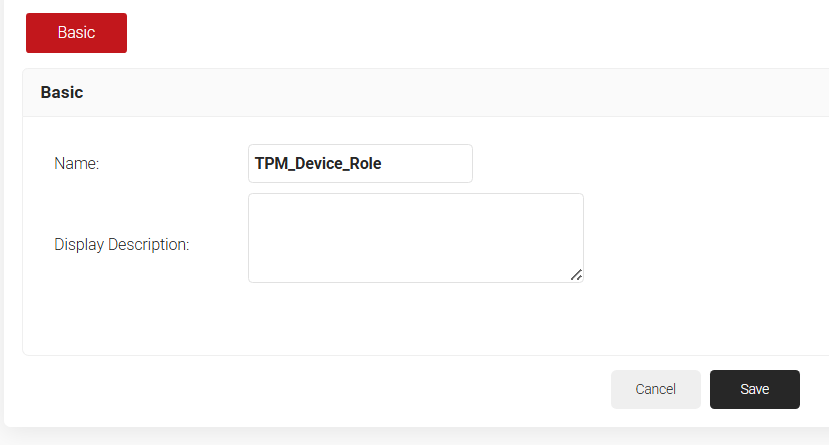
- From the JoinNow Management Portal, go to Policy Management > Device Roles.
- Click Add Device Role Policy.
- In the Basic tab, enter a name in the Name field.
- For Display Description, enter a description.

- Click Save. The page refreshes, and the Conditions tab opens.
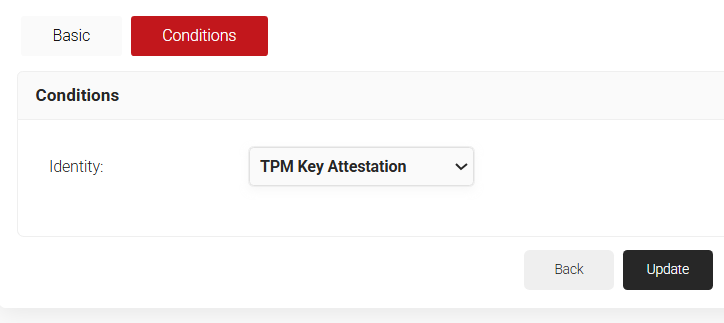
- Click on the Conditions tab.
- From the Identity drop-down, select the Key Attestation Provider created in the 2.1 Configure Key Attestation Platform section.

- Click Update.
- From the JoinNow Management Portal, go to Policy Management > Enrollment.
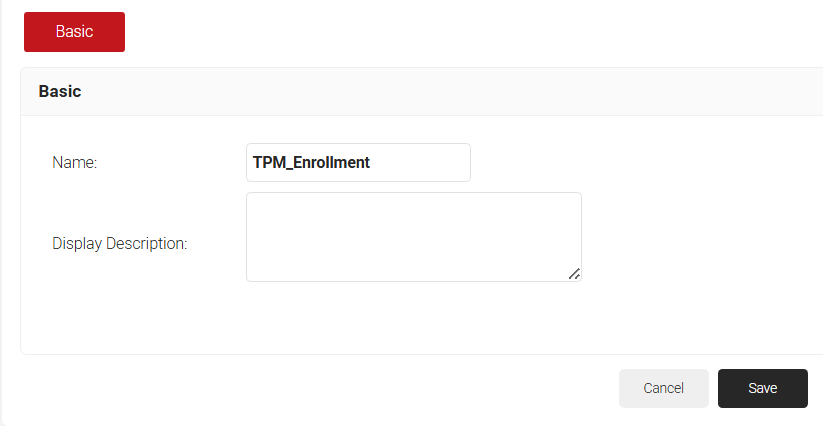
- Click Add Enrollment Policy.
- In the Basic tab, for Name, enter a name.
- For Description, enter a description.

- Click Save. The page refreshes and displays the Conditions and Settings tab.
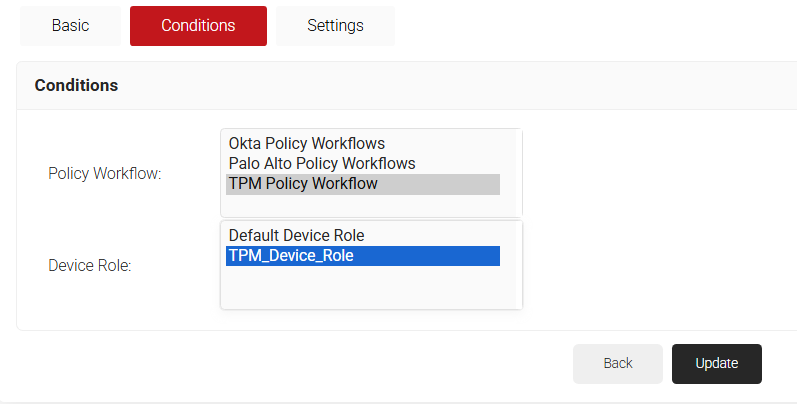
- In the Conditions section, for Role, select the user role policy you created in the Creating a Policy Workflow section.
- For Device Role, select the device role created in the Creating a Device Role Policy section.

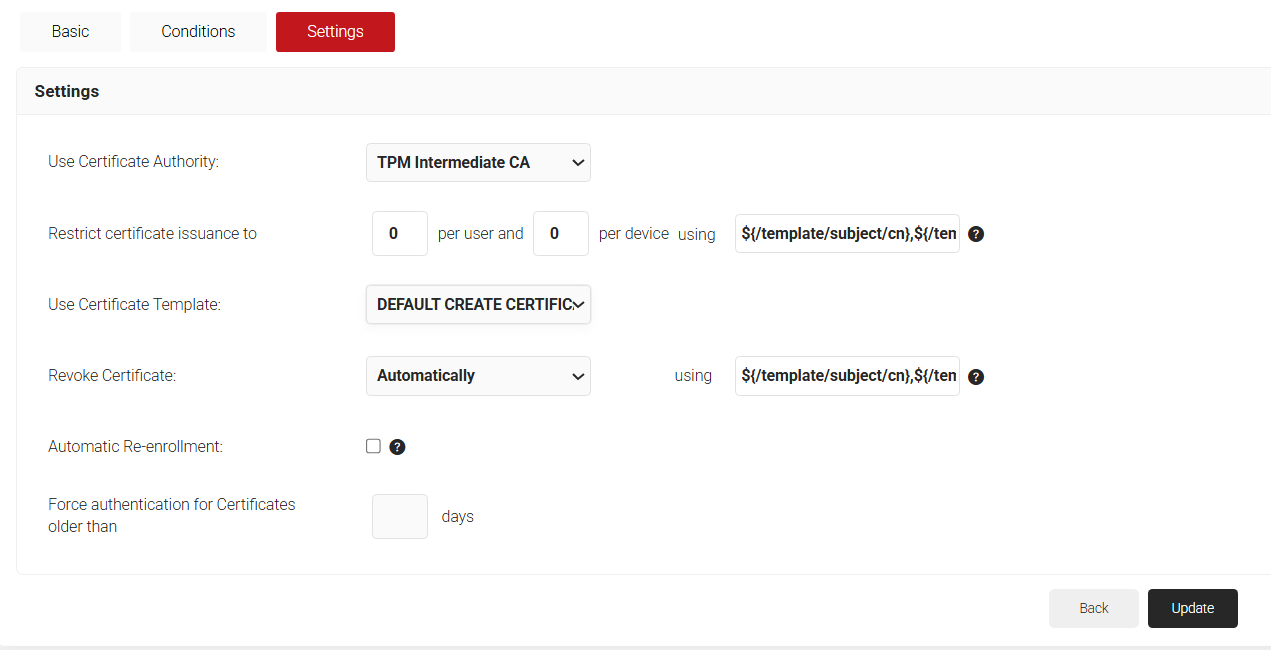
- Click on the Settings tab.
- From the Use Certificate Authority drop-down, select the Certificate Authority created for TPM.
- From the Use Certificate Template drop-down list, choose the DEFAULT CREATE CERTIFICATE TEMPLATE 1.

- Click Update.
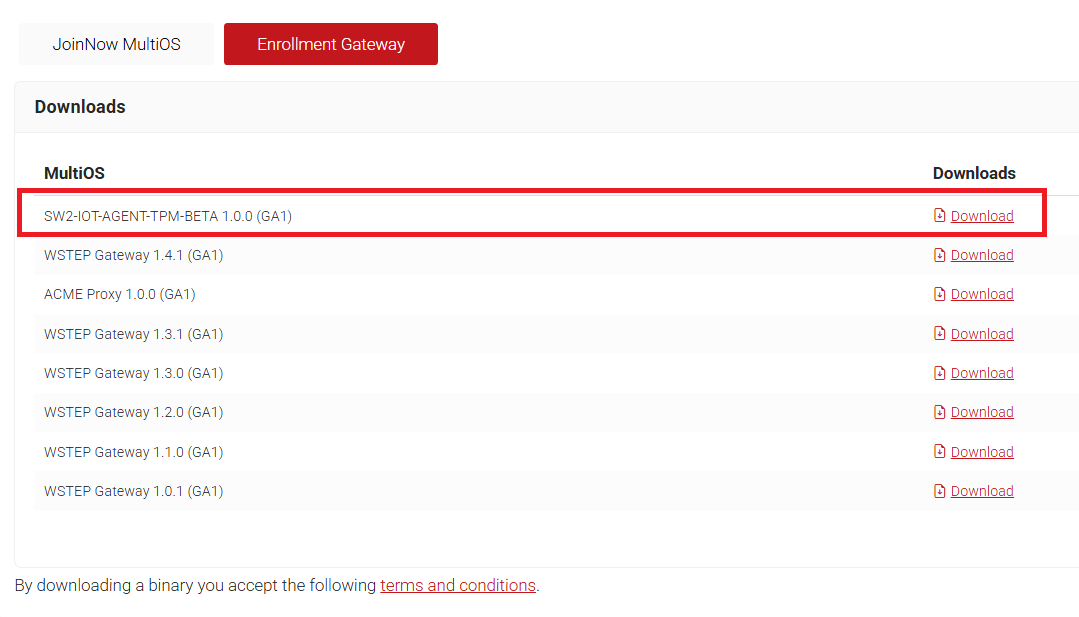
To download the TPM agent required for a Linux machine:
- Navigate to Downloads > Enrollment Gateway.
- Click the Download button adjacent to the TPM Agent.

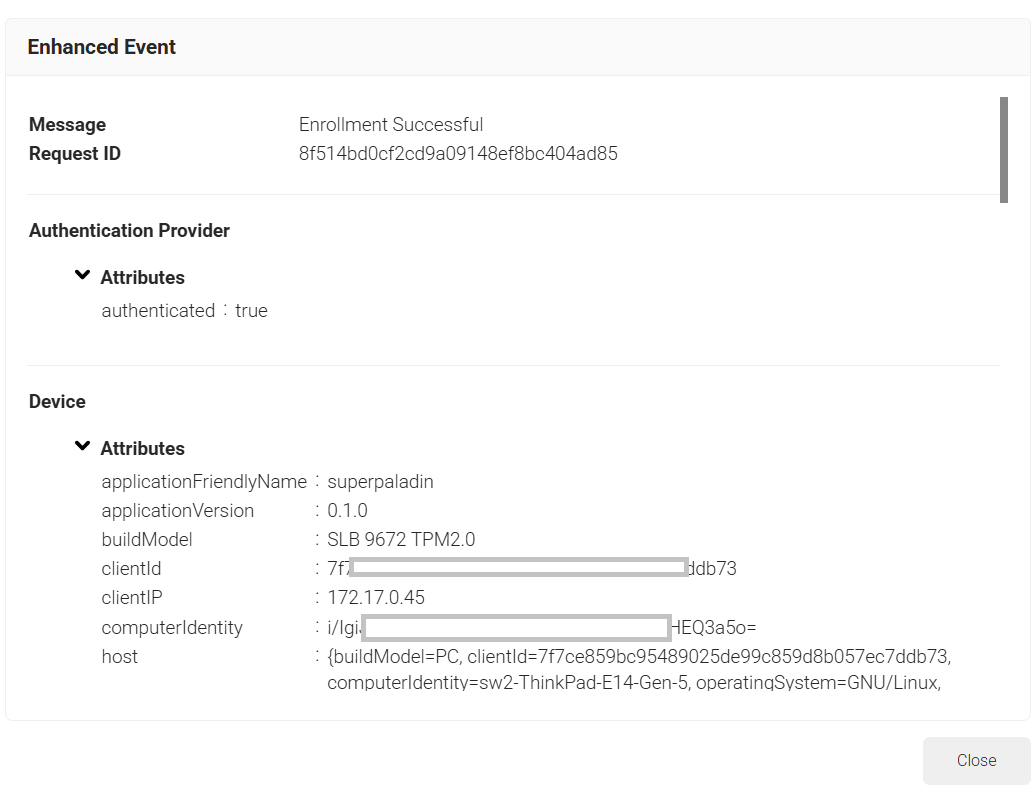
Admins can check the enrollment success message on the Enhanced Events page under Data and Monitoring: