

How to Setup EAP-TLS with Workspace One
The Simple Certificate Enrollment Protocol (SCEP) is a protocol commonly used with Mobile Device Management (MDM) systems to automate the certificate life cycle for their managed devices. The Simple Certificate Enrollment Protocol uses a combination of a unique API URL and a Shared Secret, distributed to devices in a SCEP Profile, that enables the devices to enroll themselves for certificates without any user intervention. The SCEP enrollment helps IT Admins save some time compared to enrolling certificates for the MDM manually.
This enables devices to be configured for certificate-based Wi-Fi authentication from the Certificate Authority (CA) of your choosing, the instant they open their laptop. Using an SCEP profile to enable certificate-based authentication allows business users to improve their network security by safeguarding their devices from insecure password-based authentication.
Workspace ONE is a type of digital platform that provides services for IT admin to operate Mobile Device Management (MDM) and Mobile Access Management (MAM) from the Cloud Management. For the certificate enrollment in SCEP protocol, the MDM, like Workspace ONE, offers SCEP that devices can use and request certificates from our Public Key Infrastructure (PKI). In this document, you will see the configuration of Extensible Authentication Protocol- Transport Layer Security (EAP-TLS) with Workspace ONE.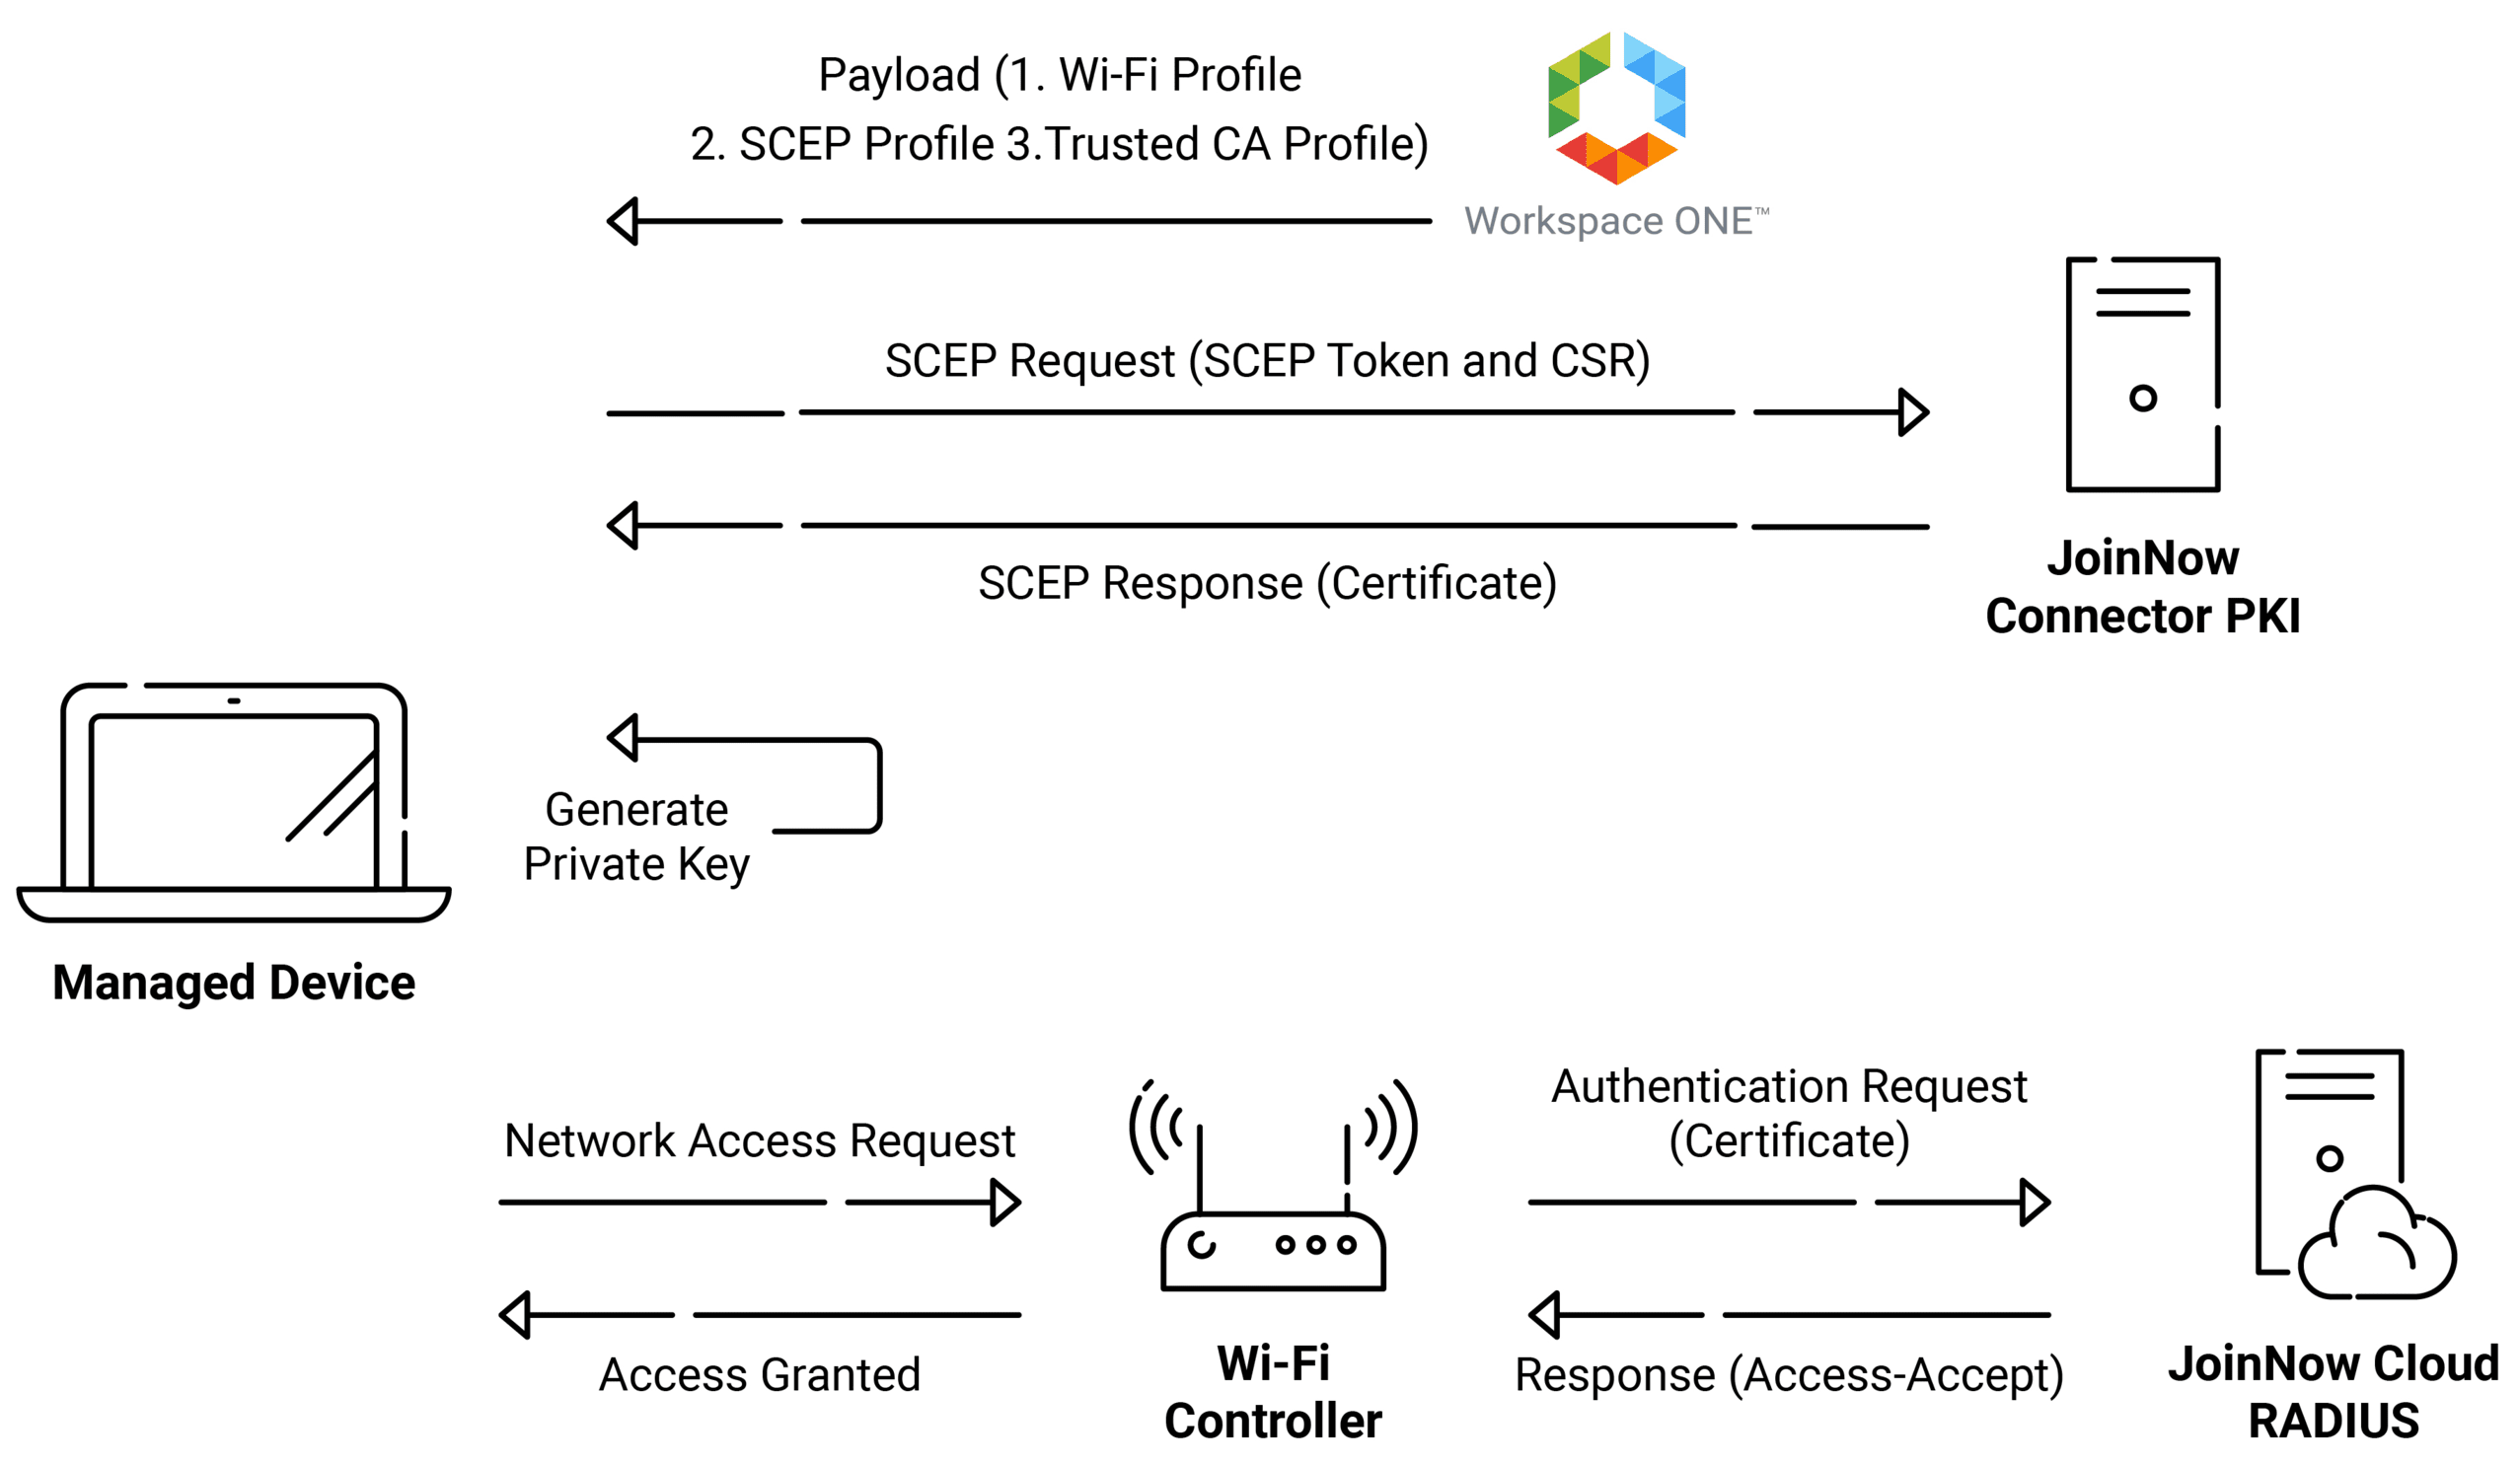
To create a new intermediate CA, perform the following steps:
- Log in to the JoinNow Management Portal.
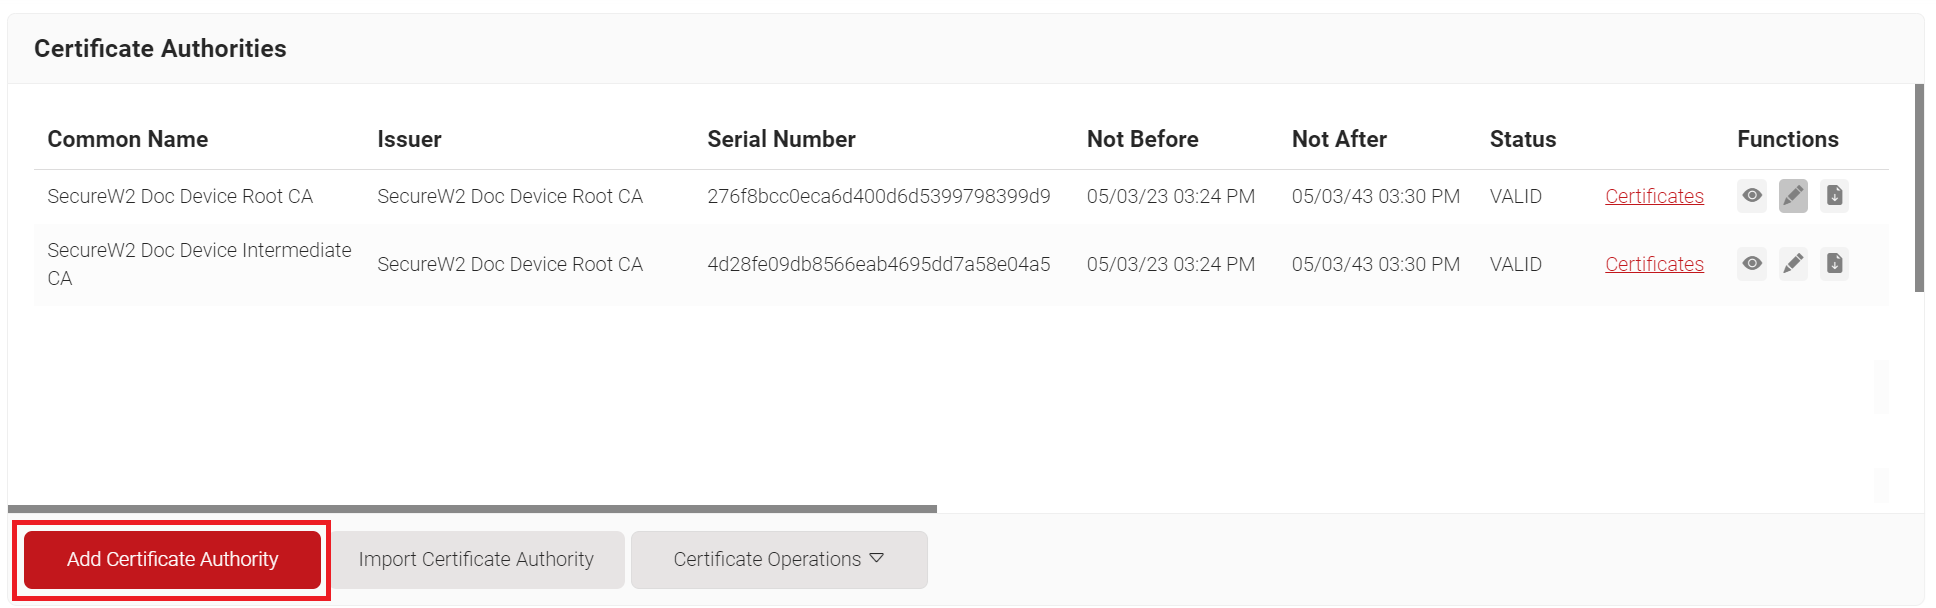
- Navigate to PKI > Certificate Authorities.
- Click Add Certificate Authority.
- In the Basic section, from the Generate CA For drop-down list, select Device and User Authentication to authenticate devices and users.
- From the Type drop-down list, select Intermediate CA.
- From the Certificate Authority drop-down list, select the default Root CA that comes with your organization.
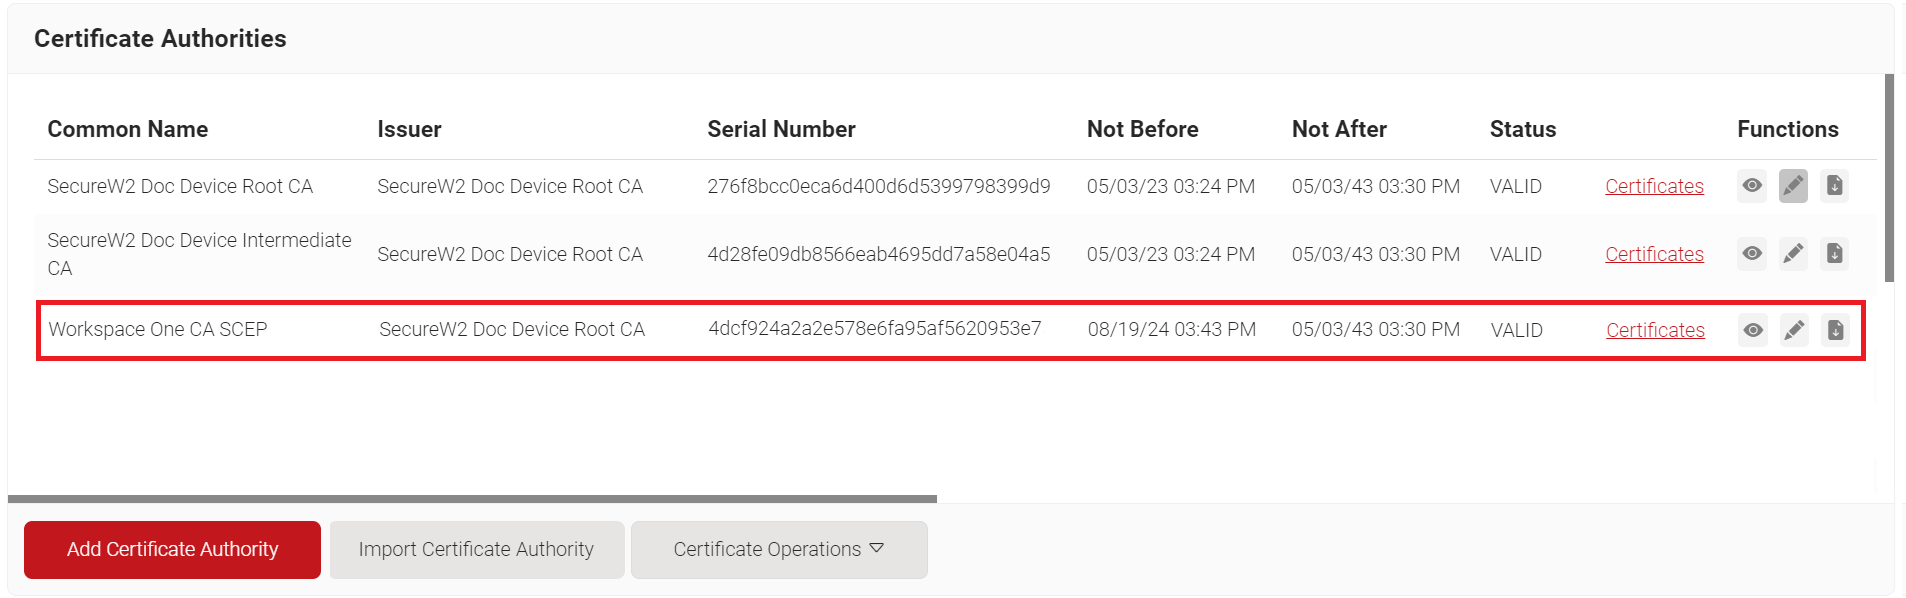
- In the Common Name field, enter a common name for the CA certificate. SecureW2 recommends a name that includes "SCEP."
- From the Key Size drop-down list, select 2048 for the CA certificate key pair.
- From the Signature Algorithm drop-down list, select the signature algorithm for the certificate signing request. The option available is SHA-256.
- In the Validity Period (in years) field, enter the validity period of the CA certificate.
- In the Notifications section:
- From the Expiry Notification Frequency (in days) drop-down list, select the frequency interval for which a certificate expiration notification should be sent to users.
- Select the Notify user on successful Enrollment check box to notify users after a successful enrollment.
- In the Revocation section:
- In the Revoke Certificate if unused for field, select the number of days after which an unused certificate can be revoked.
- From the Reason Code drop-down list, select any one of the following reasons for which the certificate is revoked.
- Certificate Hold
- AA Compromise
- Privilege Withdrawn
- Unspecified

- Click Save. The new intermediate CA is generated.
The steps are to be followed for creating a Workspace ONE Certificate Template to configure with EAP-TLS Authentication:
To create an Intune Certificate Template, perform the following steps:
- Navigate to PKI > Certificate Authorities.
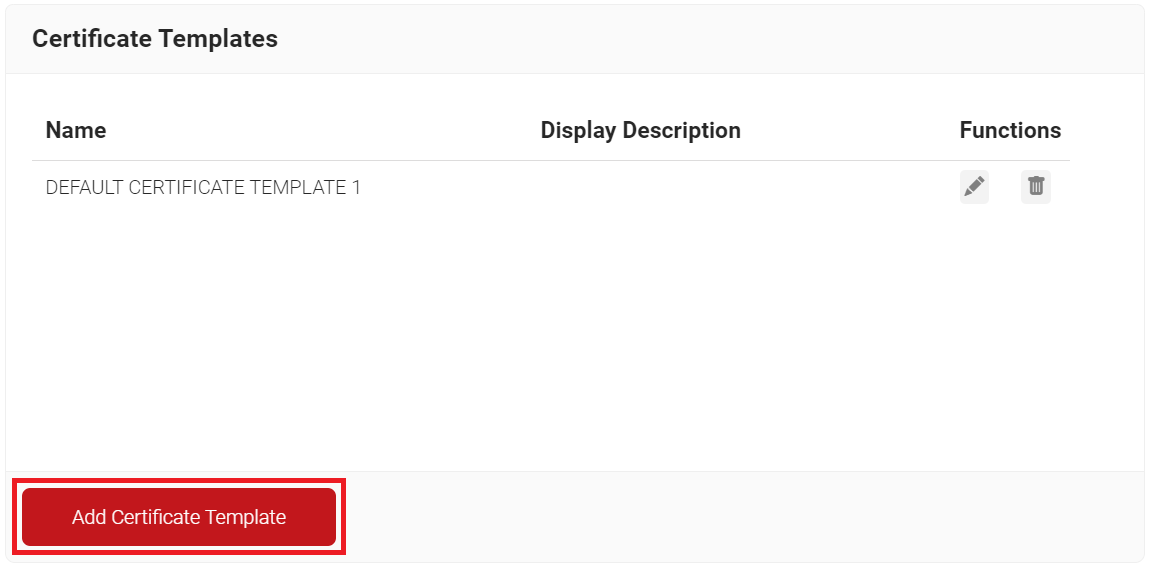
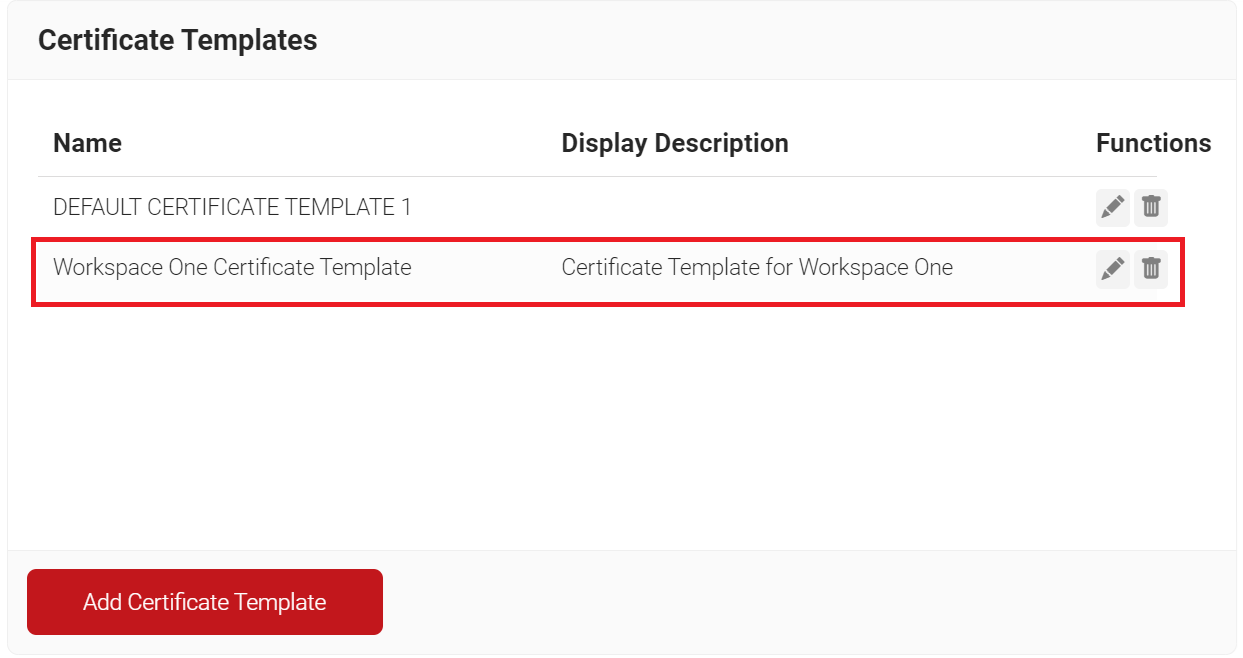
- Scroll to the Certificate Templates section and click Add Certificate Template.
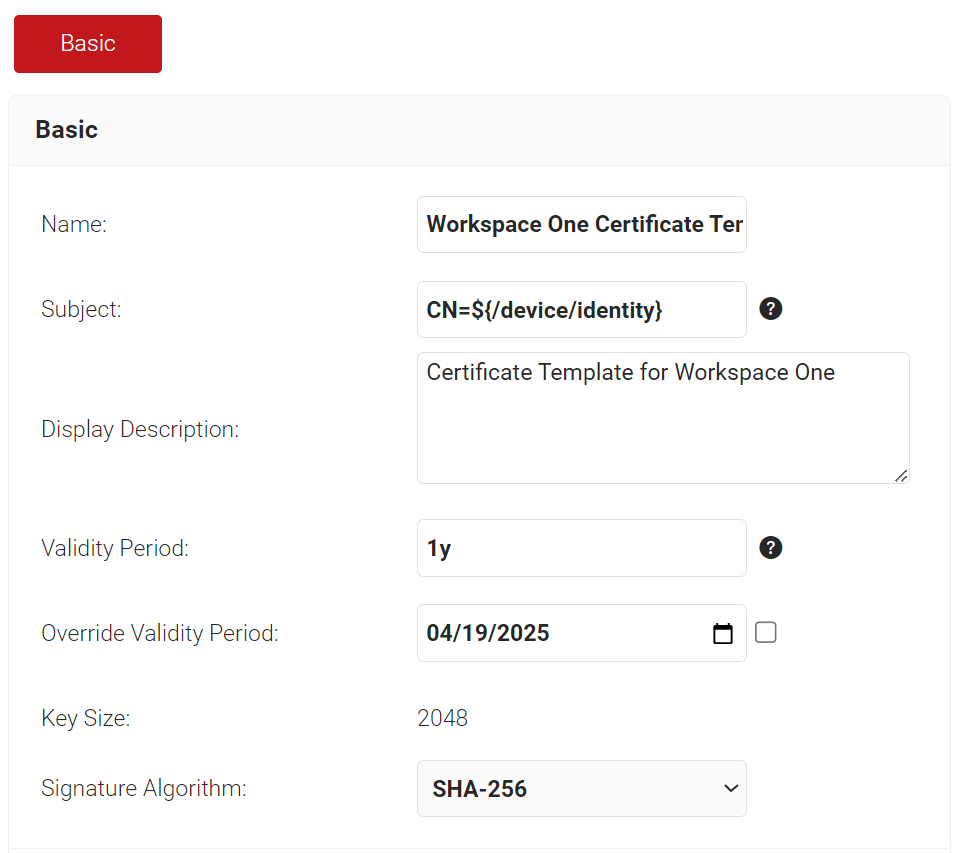
- In the Basic section, for the Name field, enter the name of the certificate template.
- In the Subject field, enter the following source value recommended for the Workspace ONE specific certificate template: CN=${/device/identity}.
- In the Display Description field, enter a suitable description for the certificate template.
- In the Validity Period field, type the validity period of the certificate (based on the requirement).
- From the Signature Algorithm drop-down list, select SHA-256 as the signature algorithm for the certificate signing request.
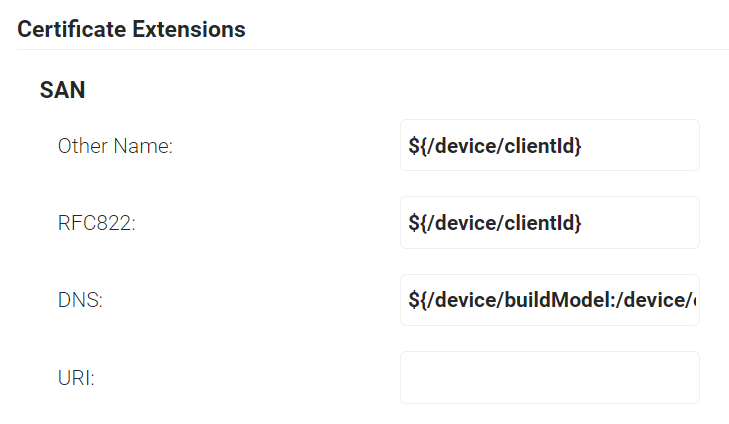
- In the SAN section, the following configurations are the recommended values. This can be changed as per the requirement of the infrastructure and setup.
- In the Other Name field, enter ${/device/clientId}
- In the RFC822 field, enter ${/device/clientId}
- In the DNS field, enter ${/device/buildModel:/device/operatingSystem:/device/identity}
- In the Extended Key Usage section, from the Use Certificate For list, select Client Authentication.
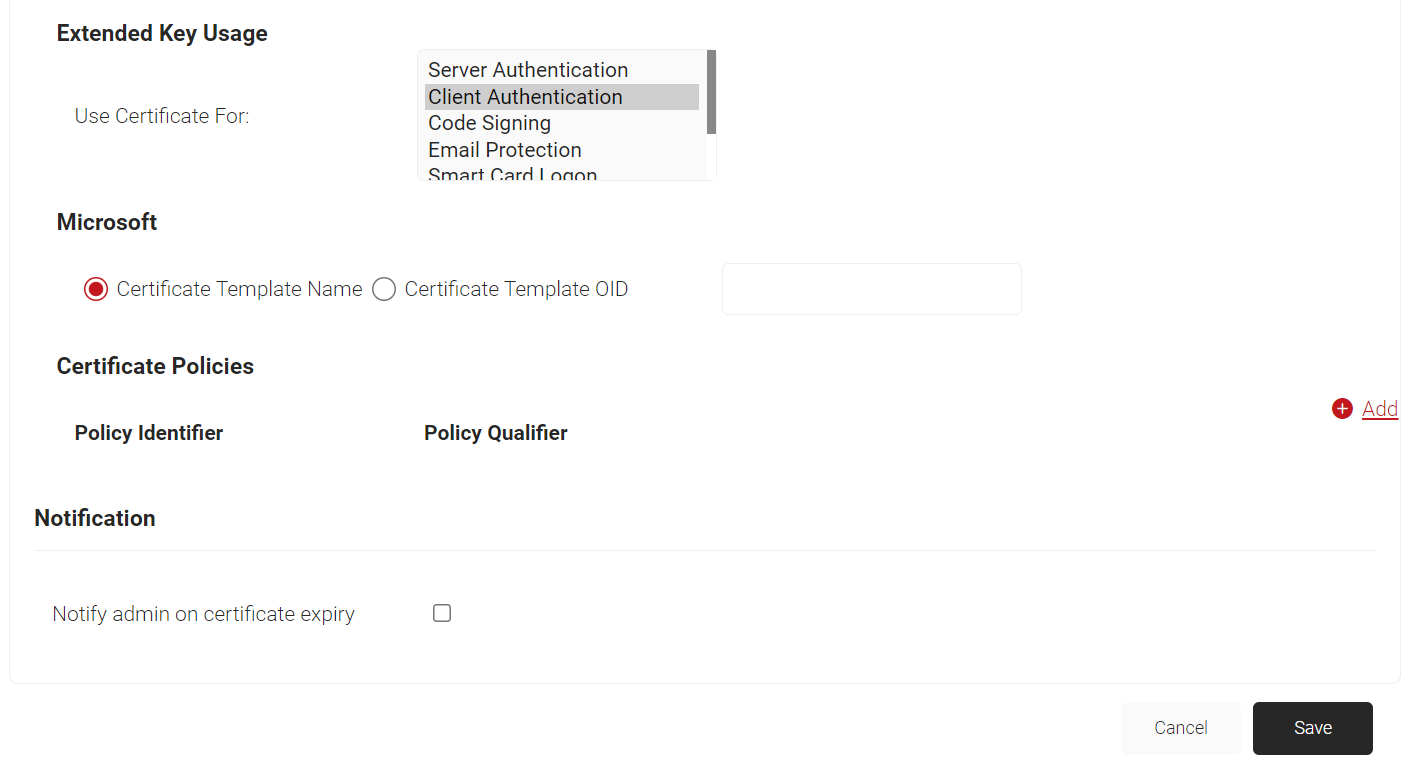
- Click Save.
To generate the SCEP URL and secret, perform the following steps:
- Log in to the JoinNow Management Portal.
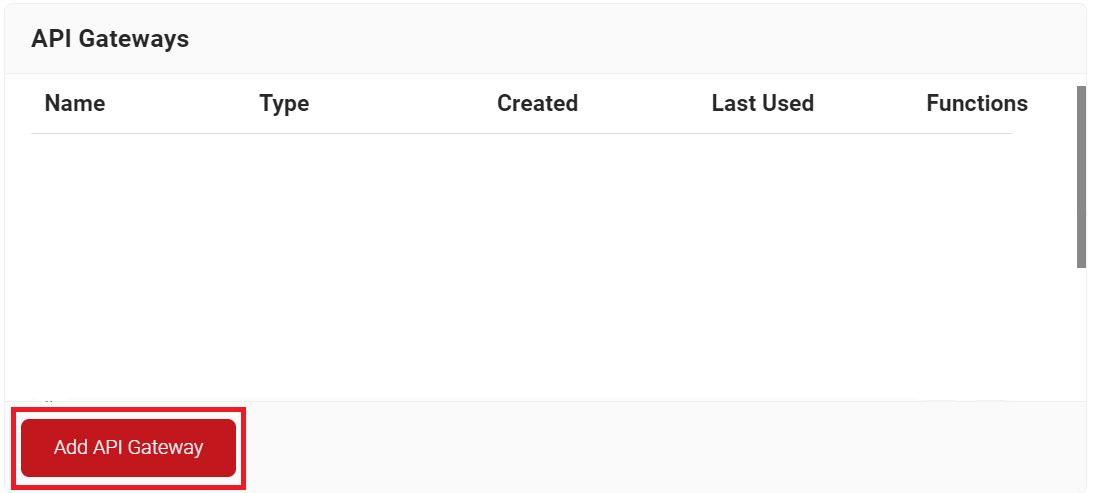
- Navigate to Identity Management > API Gateways.
- Click Add API Gateway.
- In the Basic section, enter the name of the API Gateway in the Name field.
- In the Display Description field, enter a suitable description for the API Gateway.
- From the Type drop-down list, select SCEP Enrollment Token.
- From the SCEP Vendor drop-down list, choose Workspace ONE.
- From the Certificate Authority drop-down list, select the intermediate CA you created earlier in the Creating an Intermediate CA for Workspace ONE SCEP Gateway Integration section. If you do not select a CA, the organization CA is chosen by default.
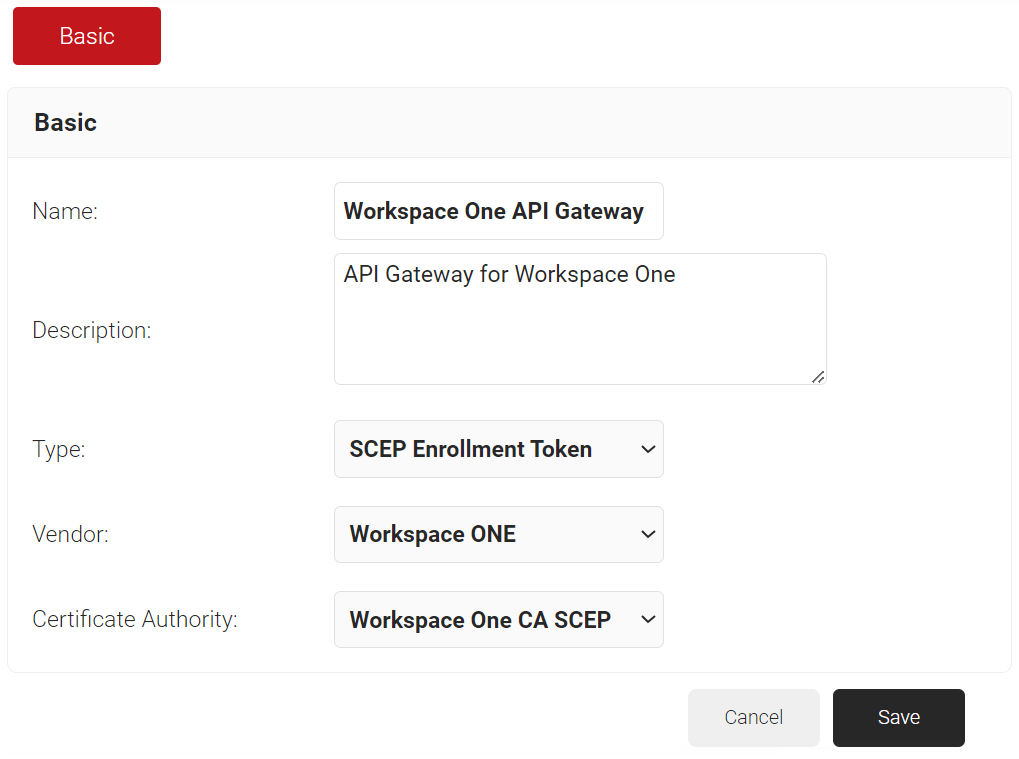
- Click Save. A .csv file containing the API secret and Enrollment URL is downloaded. In addition, the Enrollment URL is displayed on the page.
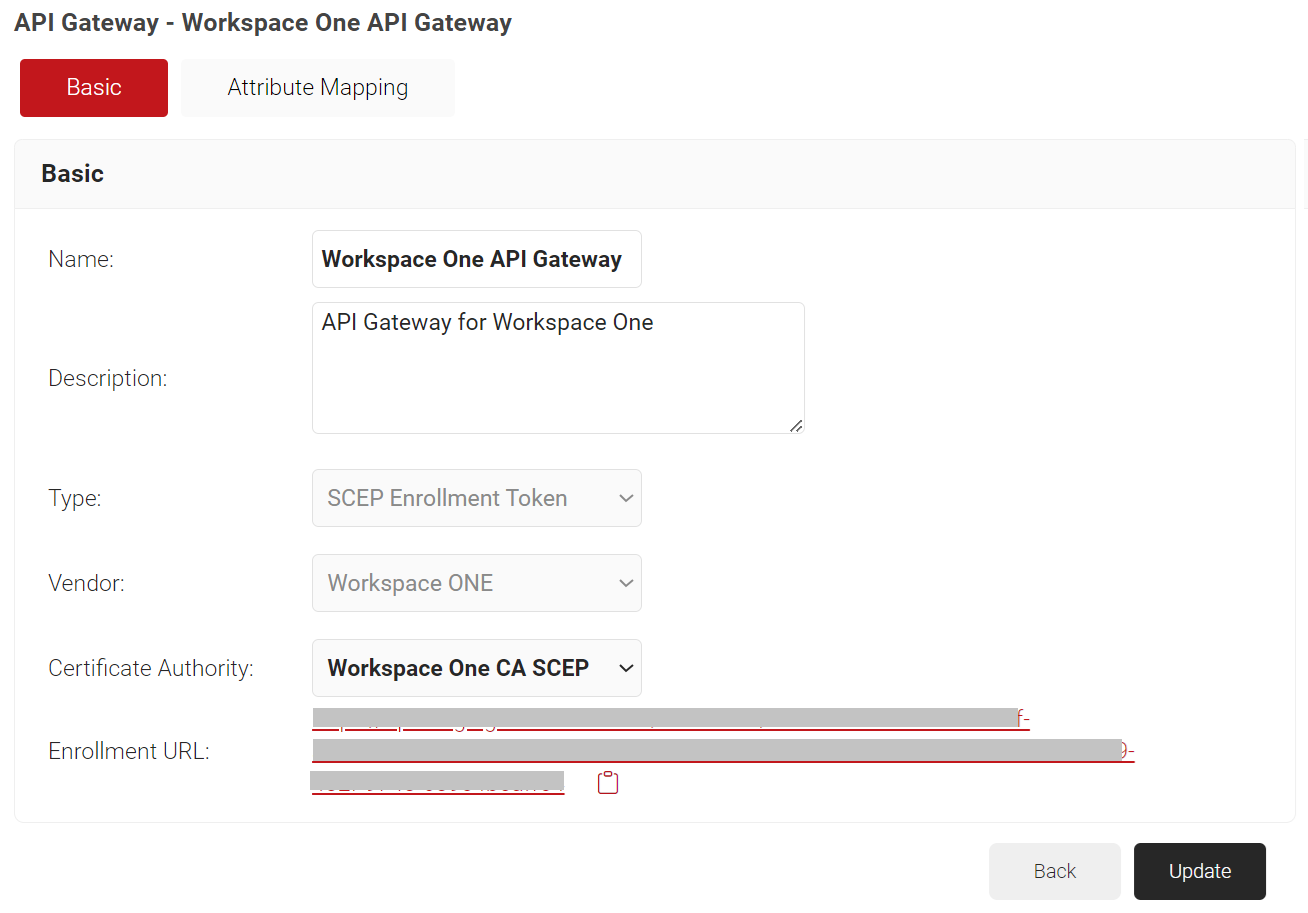
NOTE: Save the file securely. This file is downloaded only once during token creation. If lost, the token and secret cannot be retrieved.
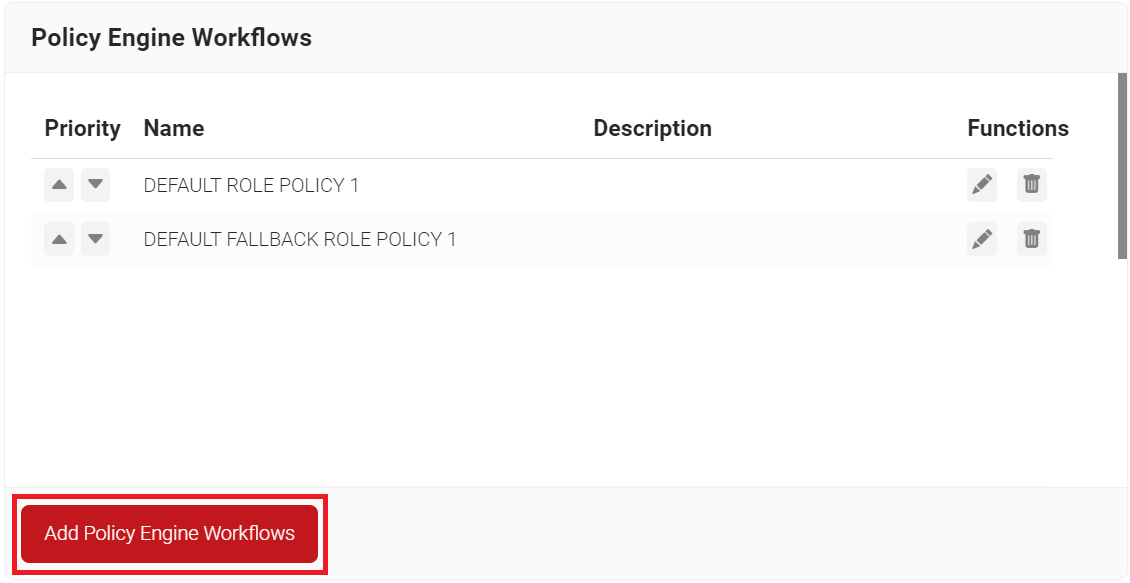
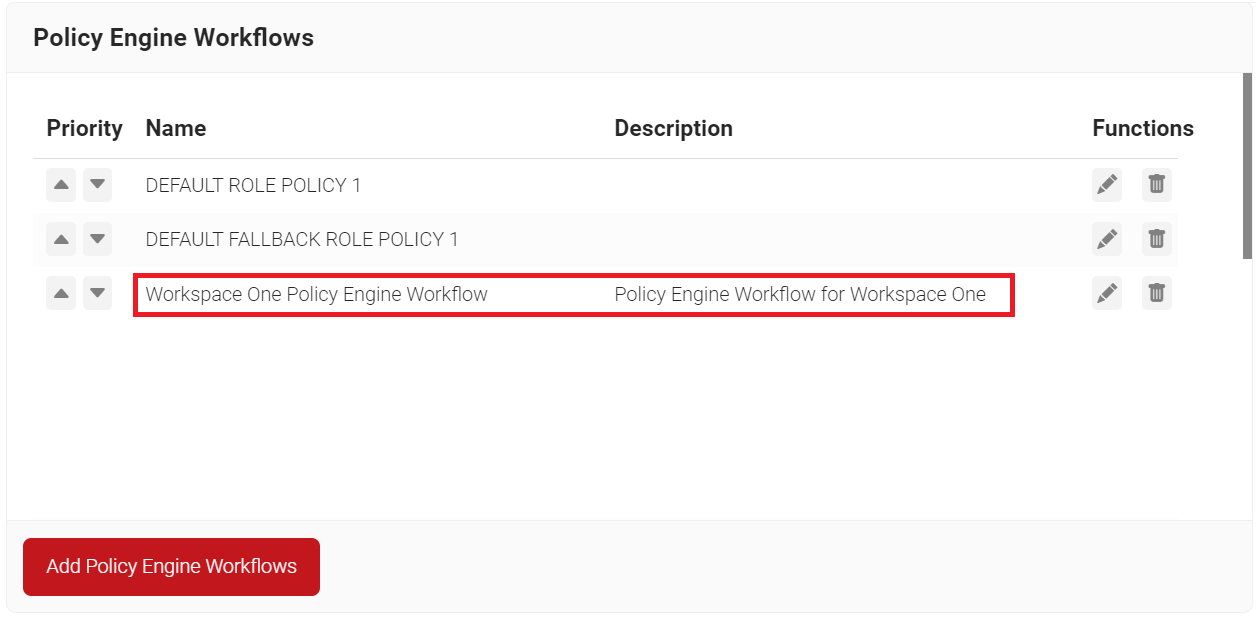
- Navigate to Policy Management > Policy Engine Workflows.
- Click Add Policy Engine Workflows.
- In the Basic section, enter the name of the policy engine workflow in the Name field.
- In the Display Description field, enter a suitable description for the policy engine workflow.
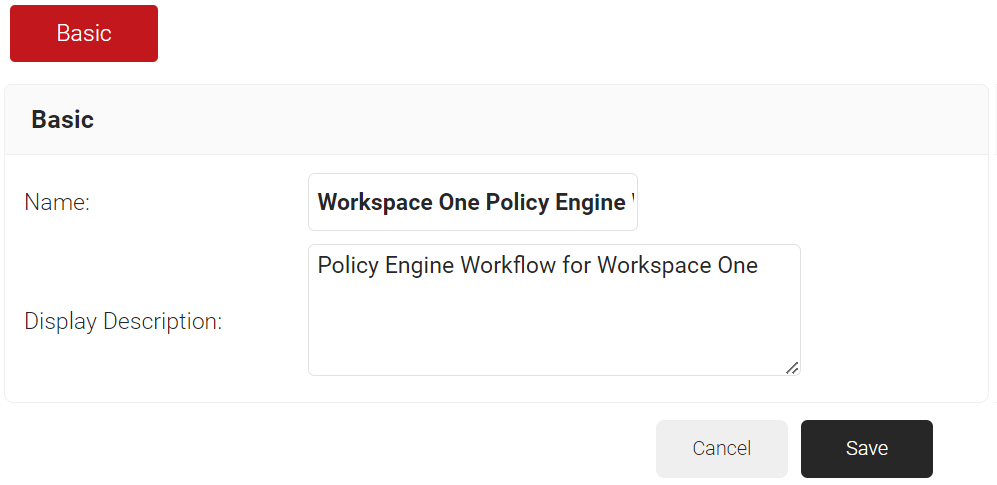
- Click Save.
- The page refreshes, and the Conditions tab is displayed.
- Select the Conditions tab.
- In the Conditions section, from the Identity Provider drop-down list, select the API Gateway that you created earlier (refer to the Generating a SCEP URL and Secret section).
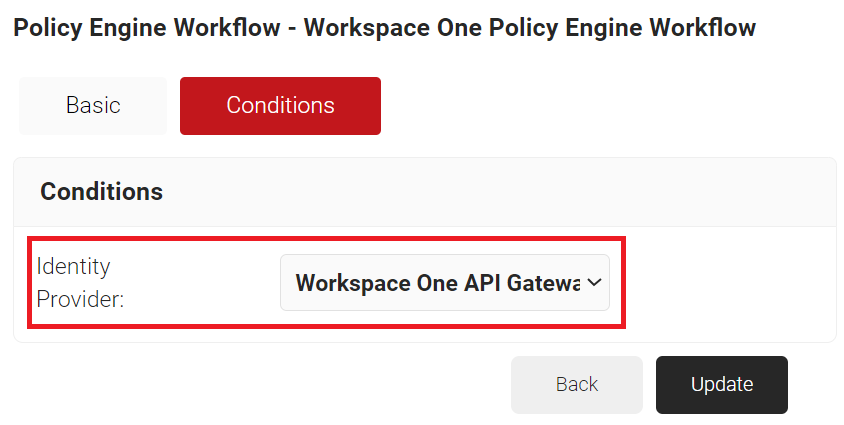
- Click Update.
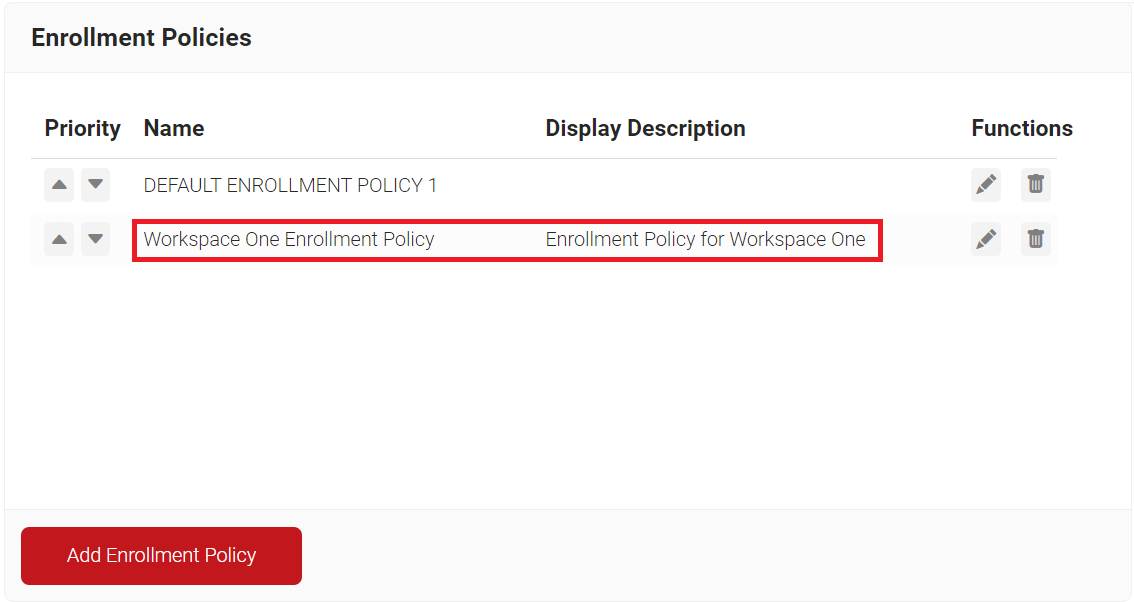
To add an Enrollment Policy, perform the following steps:
- Navigate to Policy Management > Enrollment Policies.
- Click Add Enrollment Policy.

- In the Basic section, enter the name of the enrollment policy in the Name field.
- In the Display Description field, enter a suitable description for the enrollment policy.
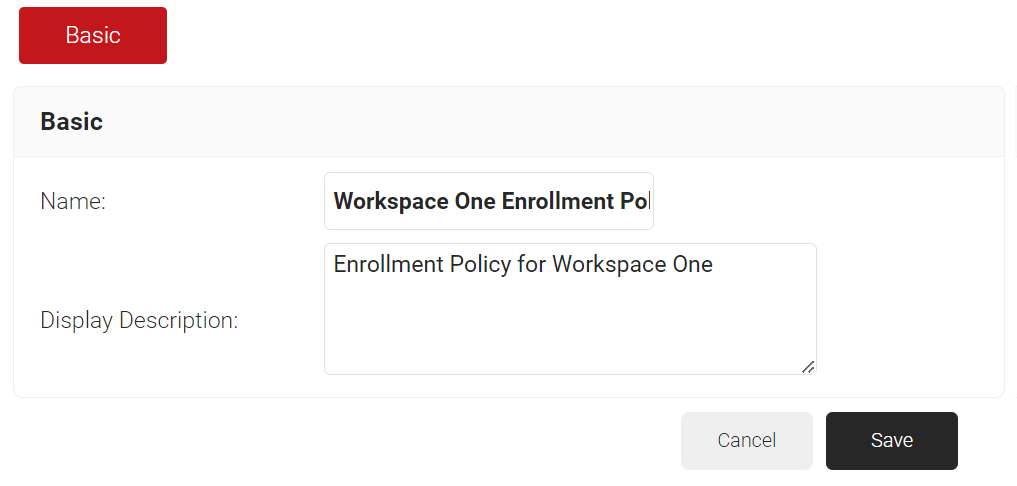
- Click Save.
- The page refreshes, and the Conditions and Settings tabs are displayed.
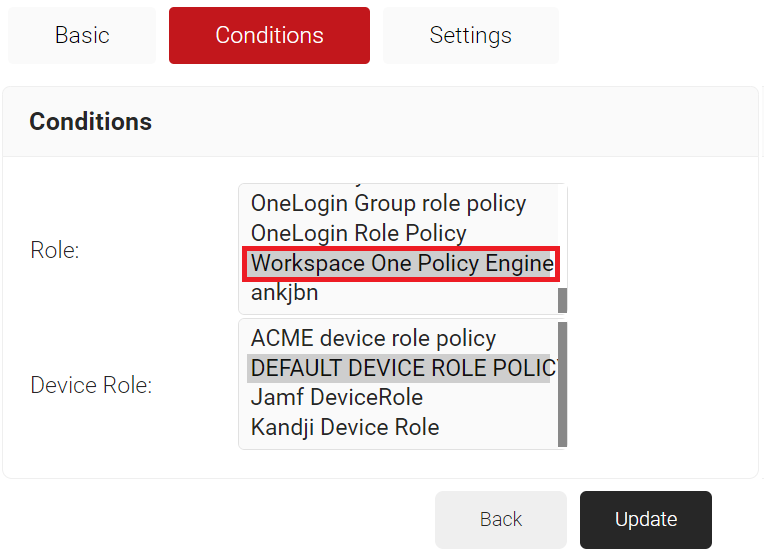
- Select the Conditions tab.
- In the Conditions section, from the Role list, select the Policy Engine Workflow you created earlier (see the Configuring a Policy Engine Workflow section).
- From the Device Role list, select DEFAULT DEVICE ROLE POLICY.
- Select the Settings tab.
- In the Settings section, from the Use Certificate Authority drop-down list, select the intermediate CA you created earlier (refer to the Creating an Intermediate CA for Workspace One SCEP Gateway Integration section).
- From the Use Certificate Template drop-down list, select the template you created earlier (see the Creating a Certificate Template section).
- In the other settings, the default values are retained.
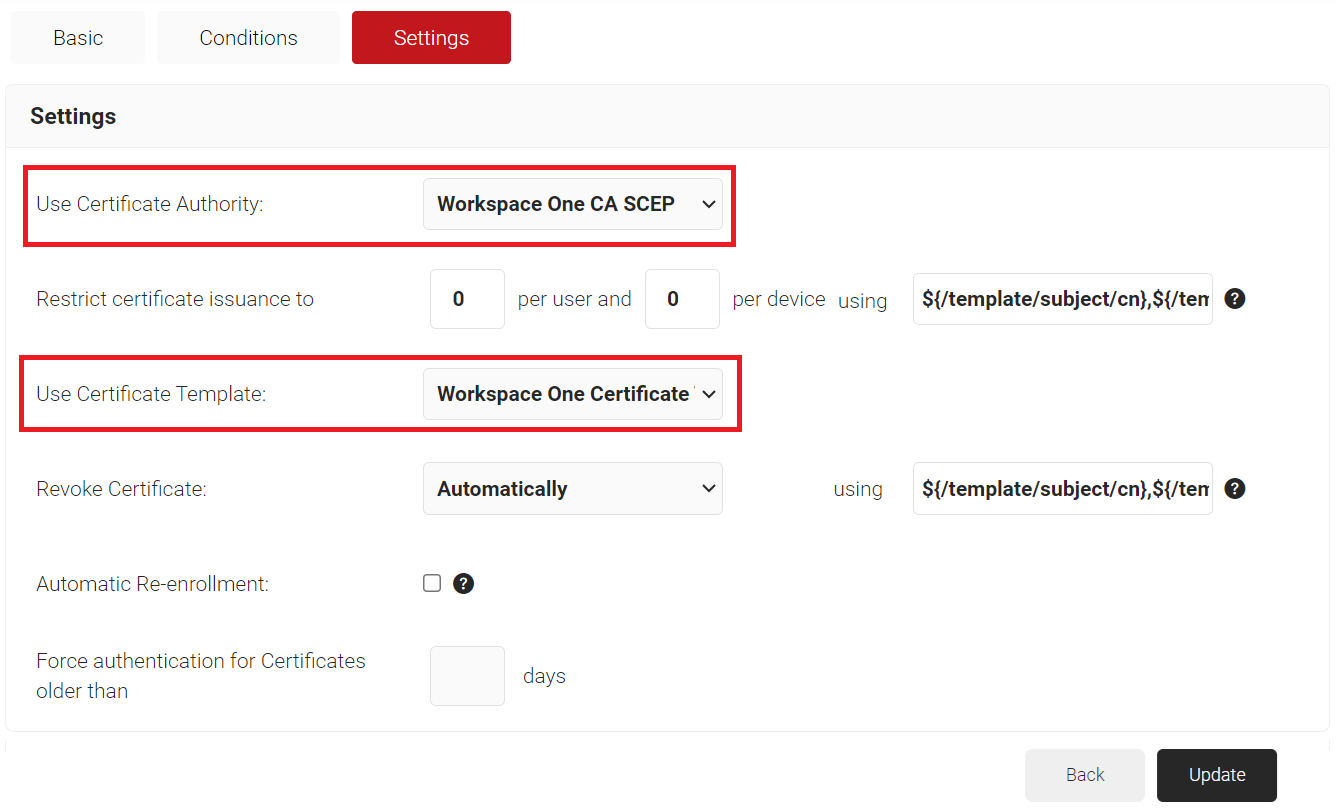
- Click Update.
- To create a Certificate Authority:
- Log in to the Workspace ONE UEM Portal.
- Navigate to Devices > Certificates > Certificate Authorities.
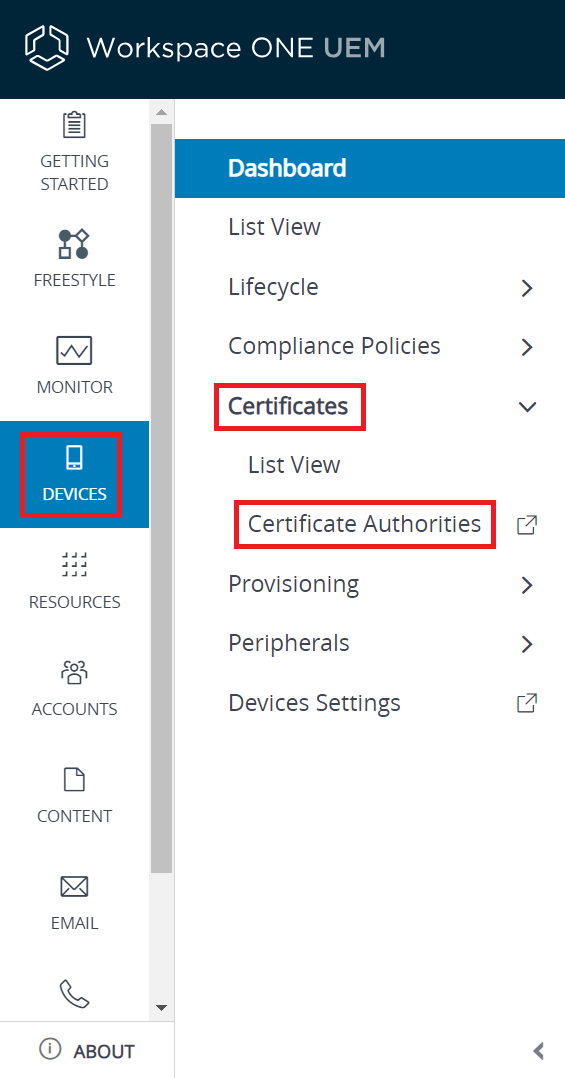
- Under the Certificate Authorities tab, click + ADD to create a new Certificate Authority.
- In the Name field, enter the name of the certificate authority.
- In the Description field, enter a suitable description for the certificate authority.
- From the Authority Type drop-down list, select Generic SCEP.
- In the SCEP URL field, enter the SCEP server URL obtained from the downloaded .csv file (refer to the Generating a SCEP URL and Secret section). This is the endpoint that Workspace ONE will use to submit API calls to the Certificate Authority.
- In the Change Type field, select STATIC.
- In the Static Challenge and Confirm Challenge Phrase fields, enter the API secret obtained from the downloaded .csv file (see the Generating a SCEP URL and Secret section).
- Retain the default value in the Retry Timeout In Milliseconds and Max Retries When Pending fields.
- Toggle the Enable Proxy button to DISABLED state.
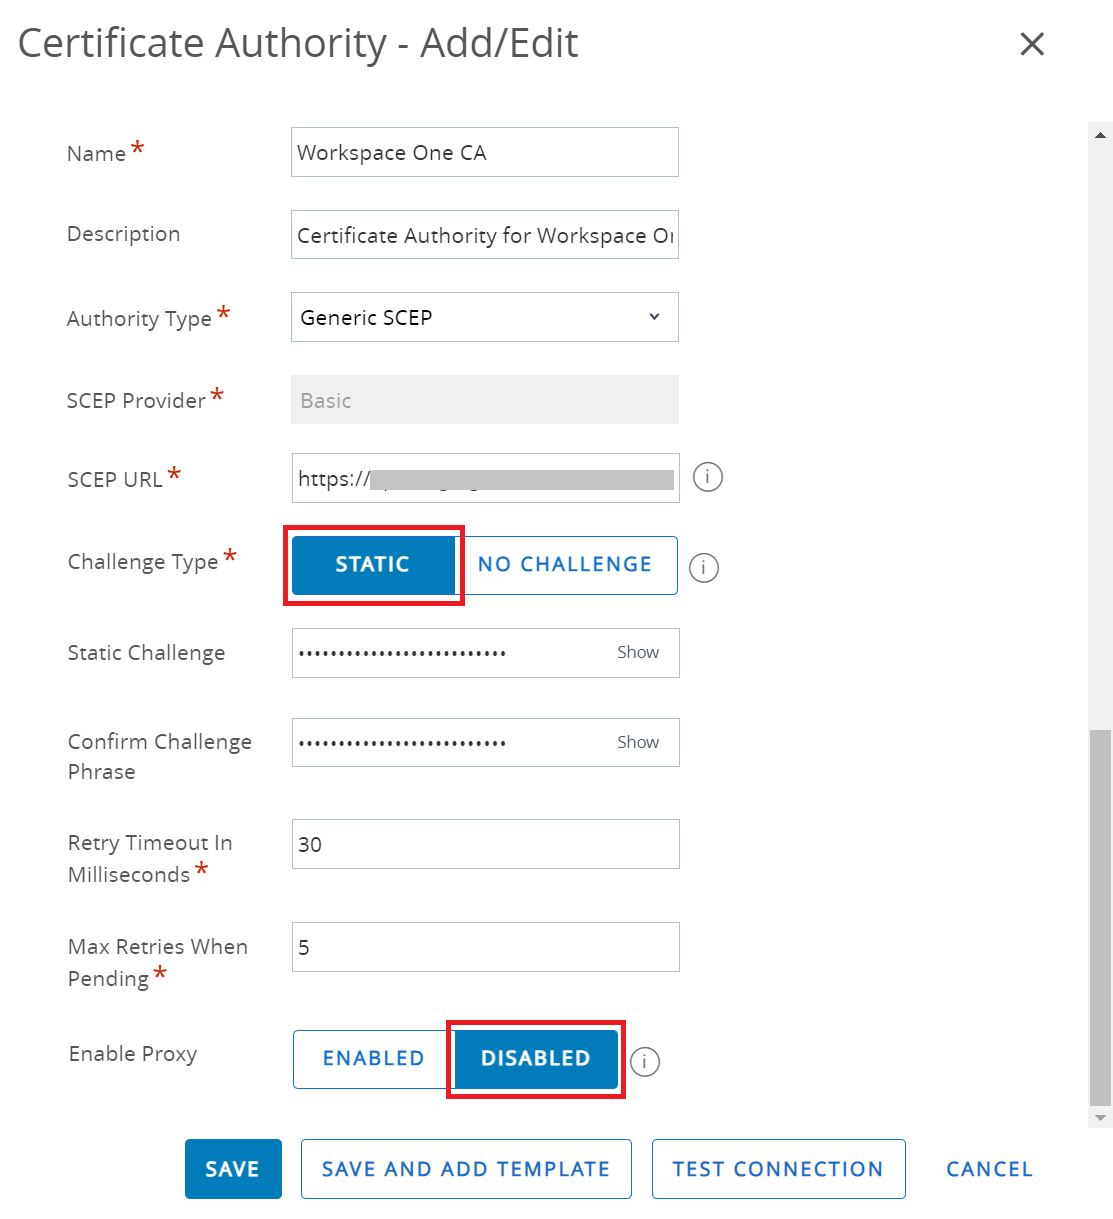
- Click SAVE.

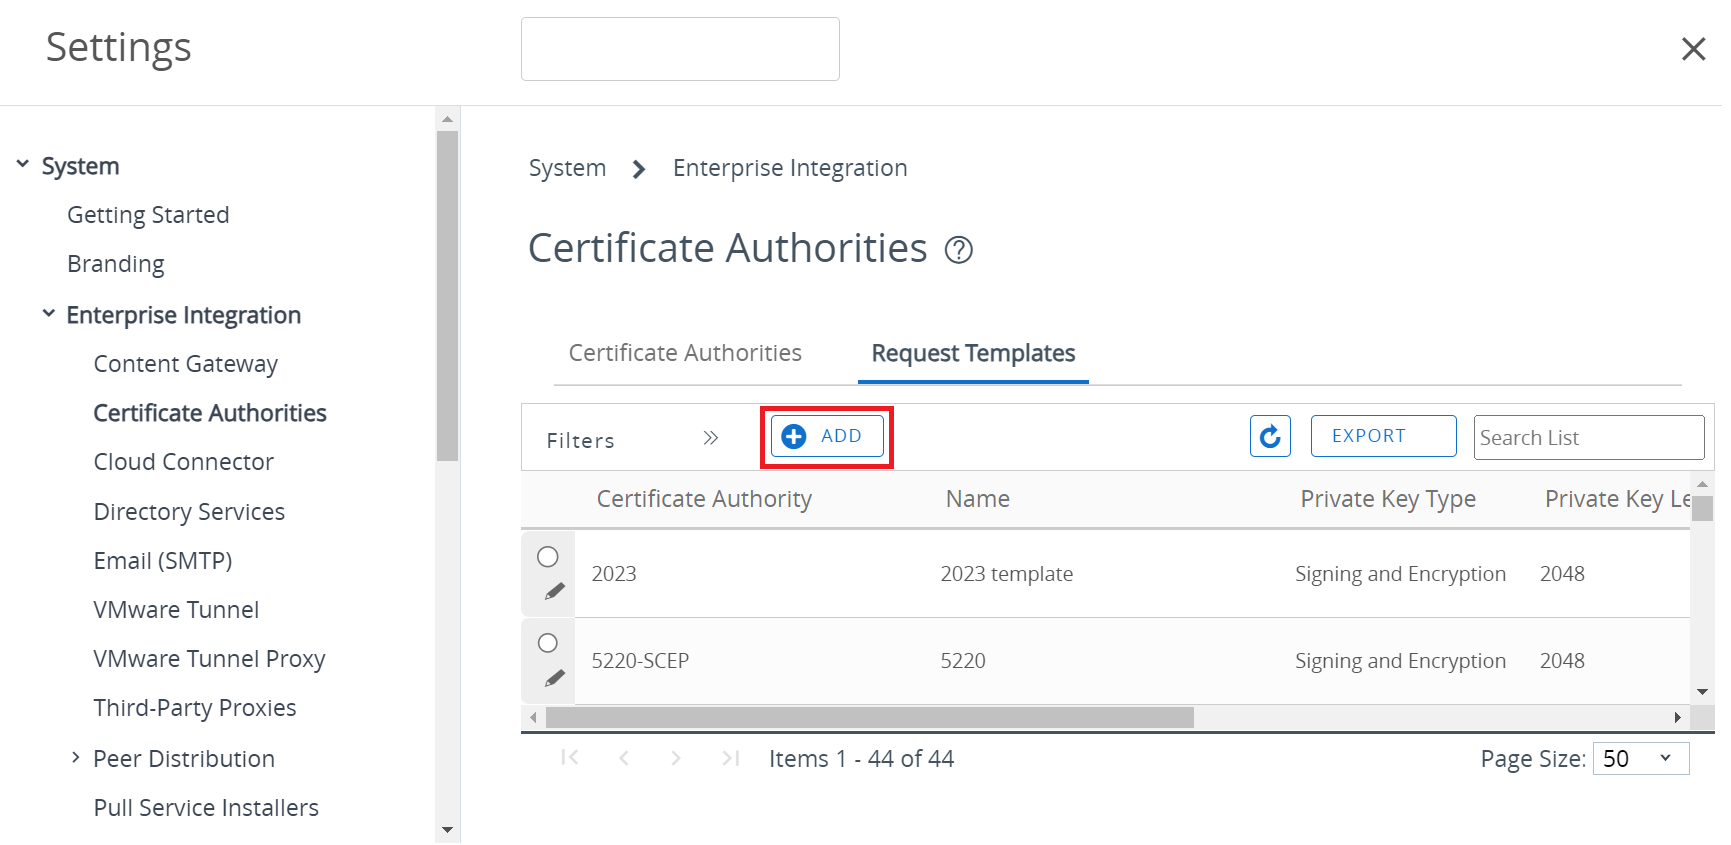
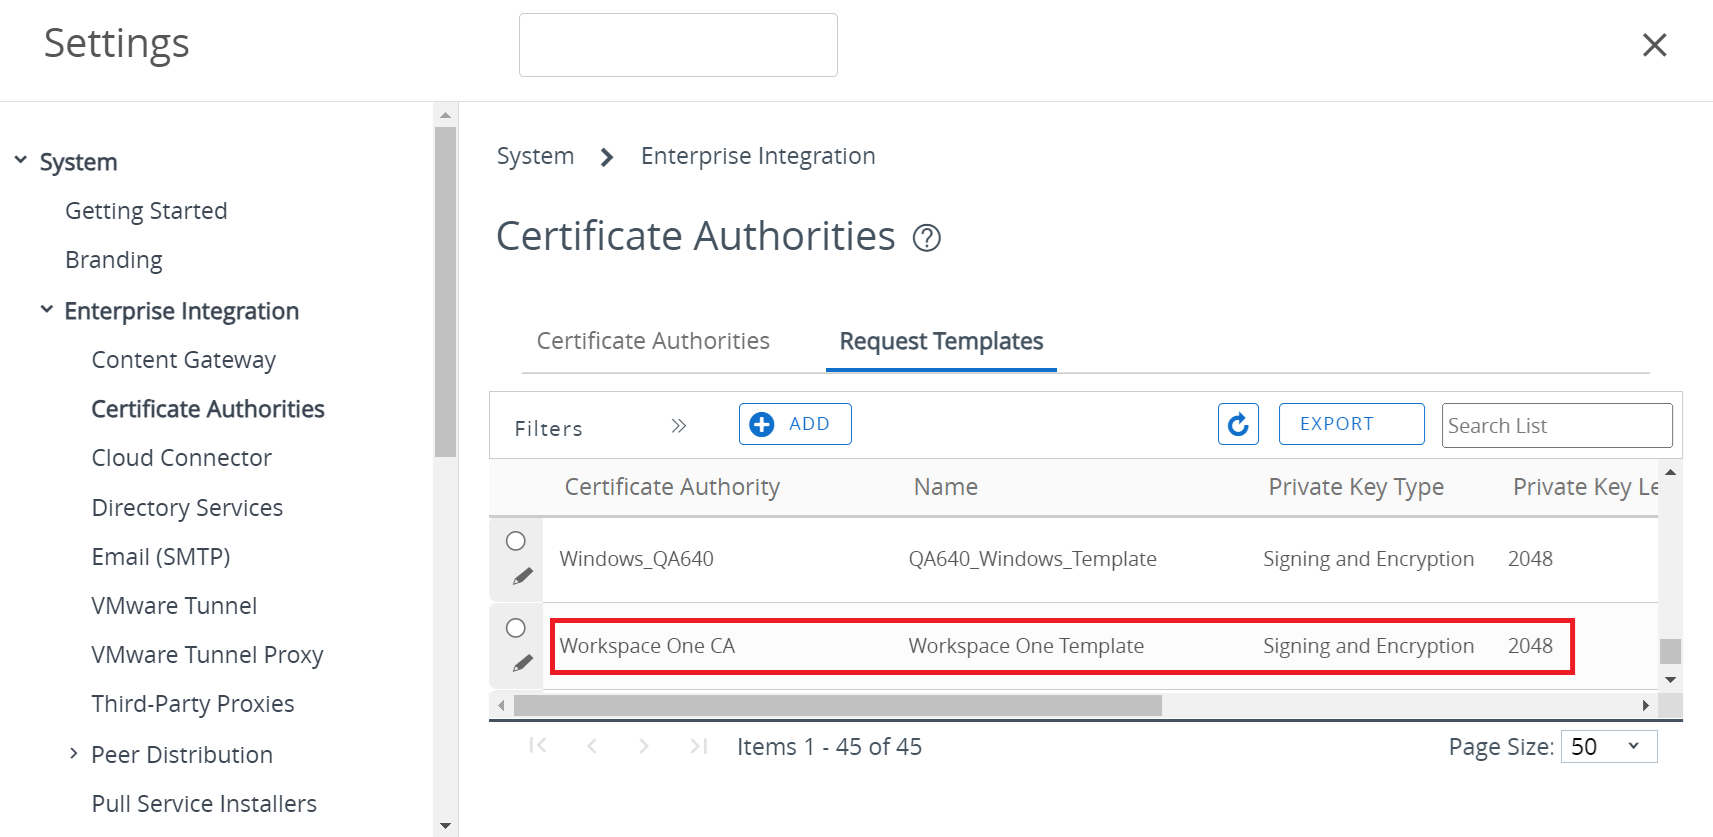
- To create a Certificate Template:
- Navigate to Devices > Certificates > Certificate Authorities.
- Under the Request Templates tab, click + ADD to create a new Certificate Template.
- In the Name field, enter the name of the certificate template.
- In the Description field, enter a suitable description for the certificate template.
- From the Certificate Authority drop-down list, select the CA created earlier (refer to Step 1).
- Select {DeviceUid} by clicking the + button next to the Subject Name field.
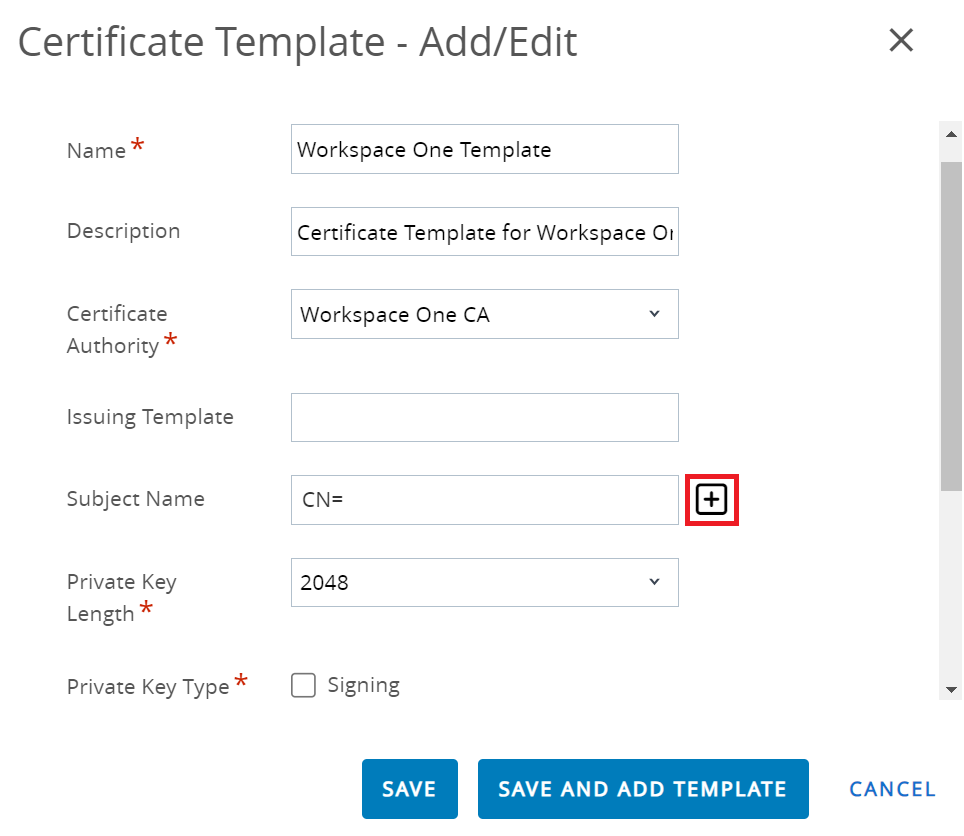

- From the Private Key Length drop-down list, select 2048.
- In the Private Key Type field, select both Signing and Encryption.
- In the SAN Type section, click + Add.
- Select User Principal Name from the drop-down list, and enter {DeviceUid};;;;;;;;;;{DeviceOperatingSystem} in the corresponding field.NOTE: {$DeviceUid} is followed by ten semicolons.
- In the Automatic Certificate Renewal field, switch on the ENABLED toggle button.
- In the Publish Private Key field, select the DISABLED toggle button.
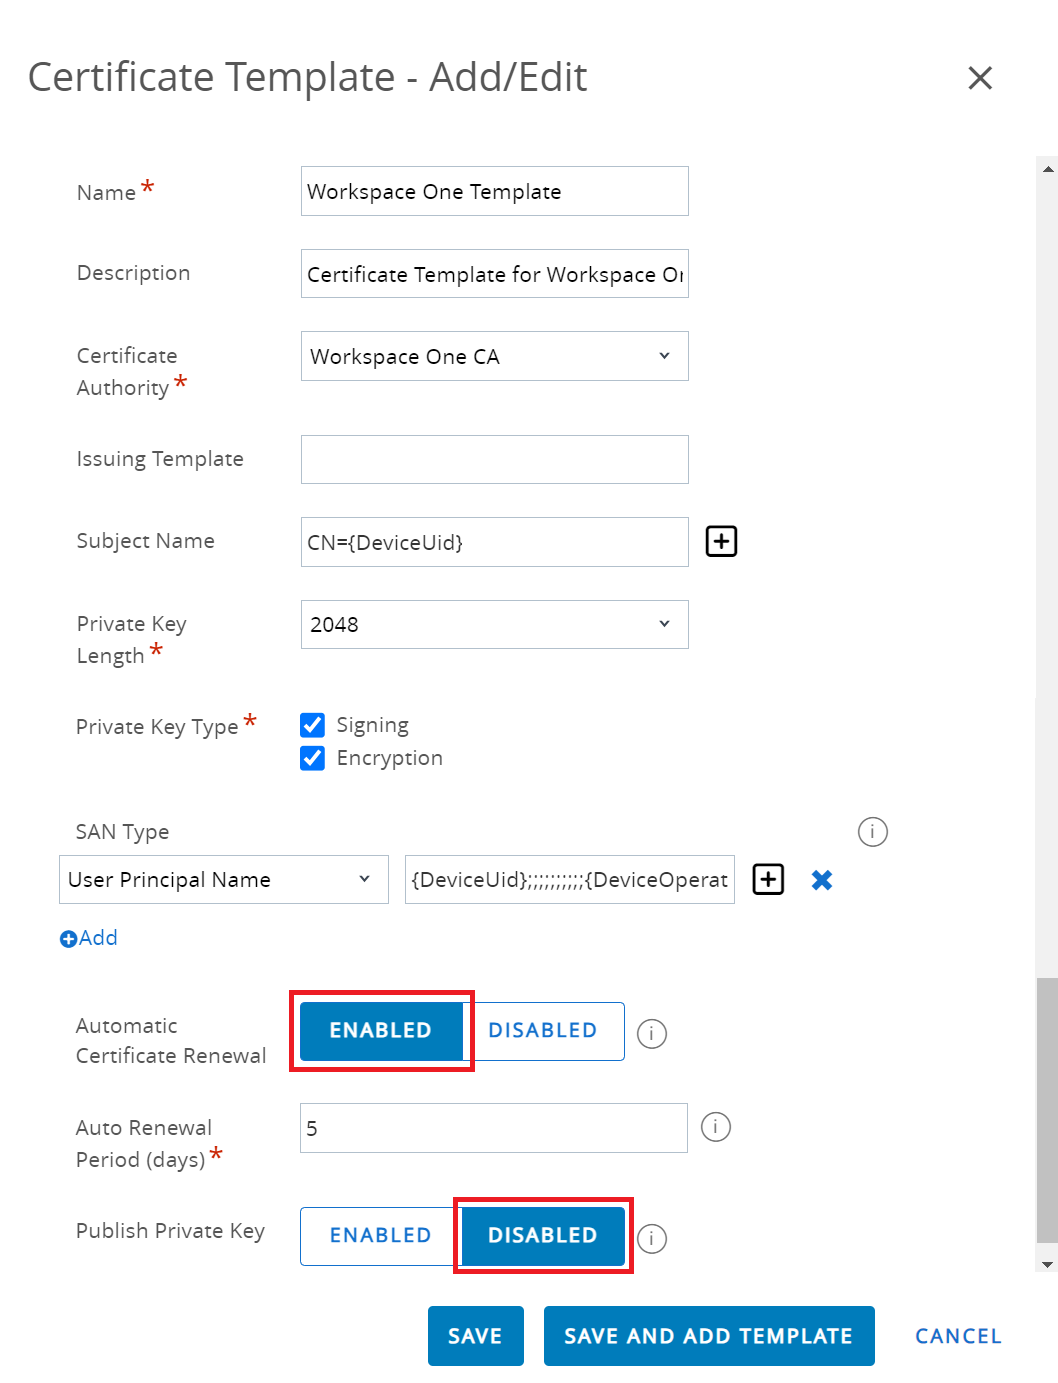
- Click SAVE.
- Navigate to Devices > Certificates > Certificate Authorities.
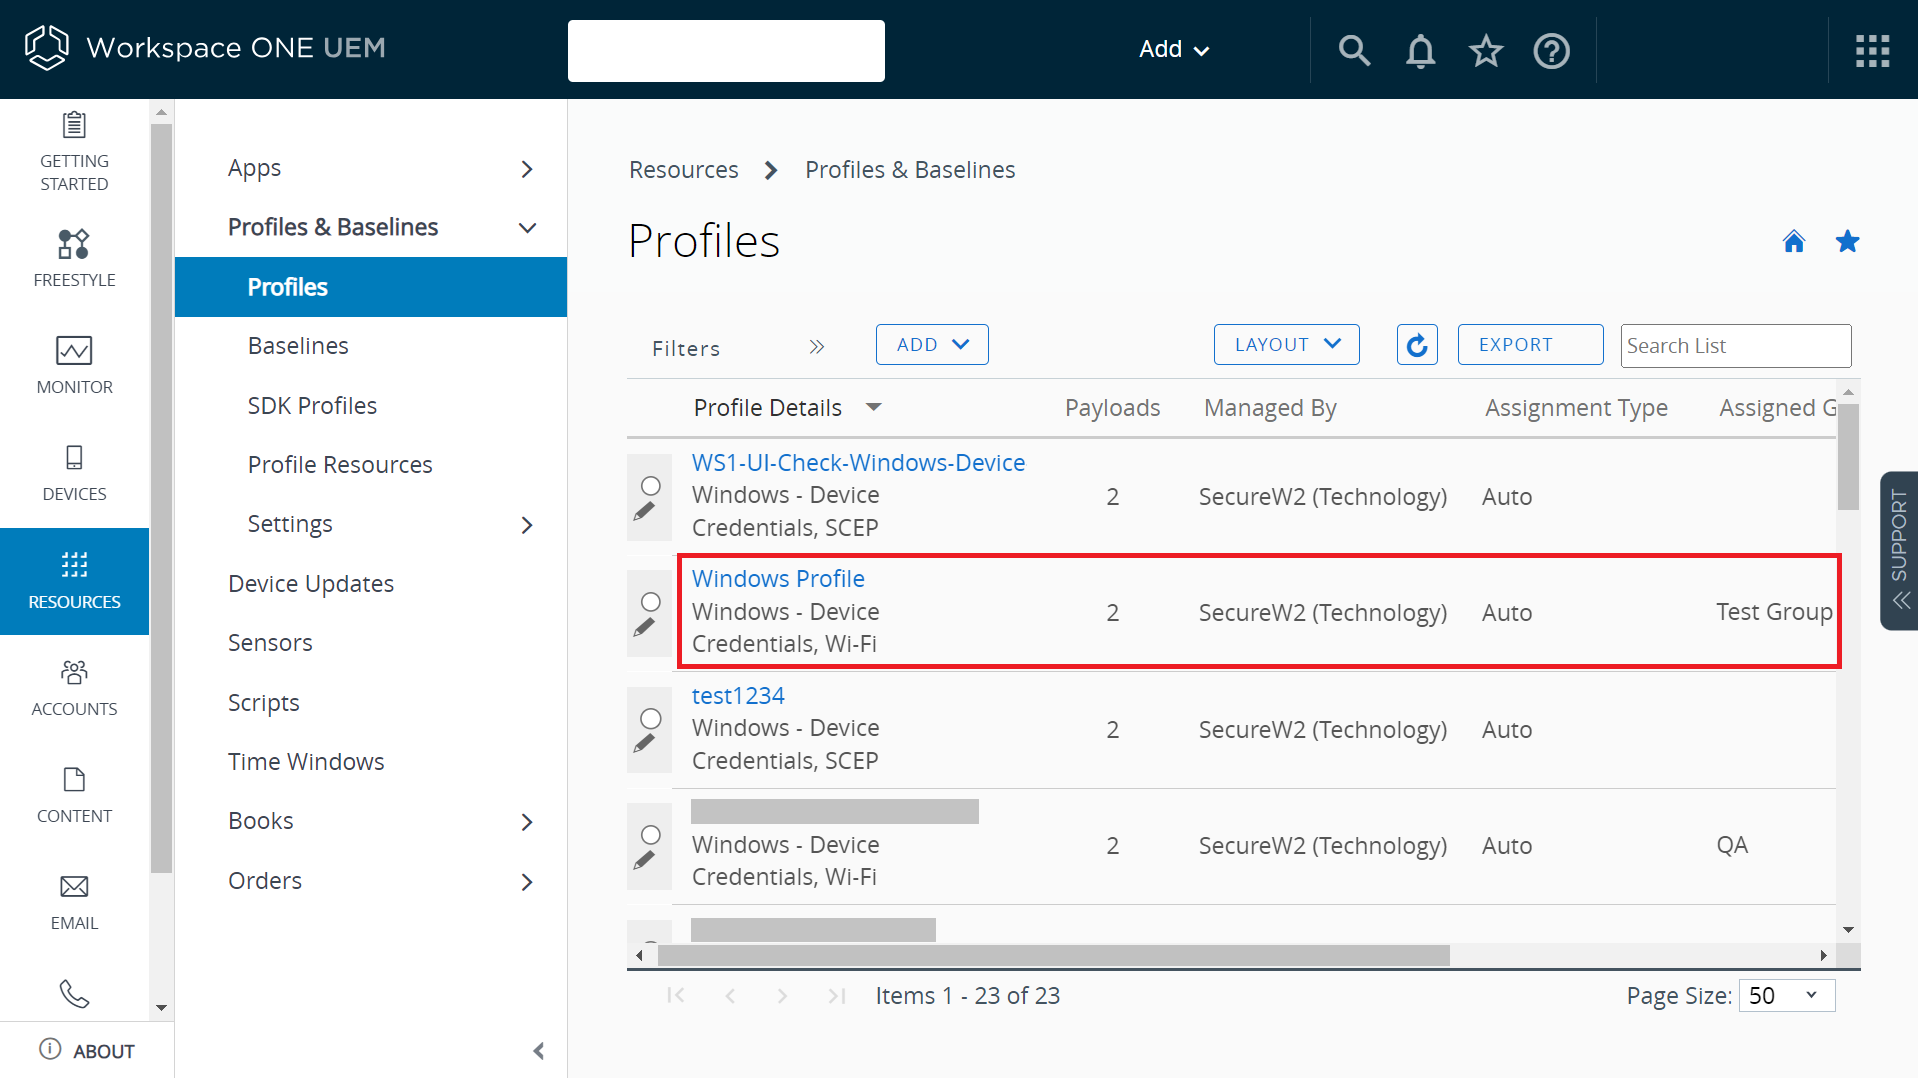
- To create a profile:
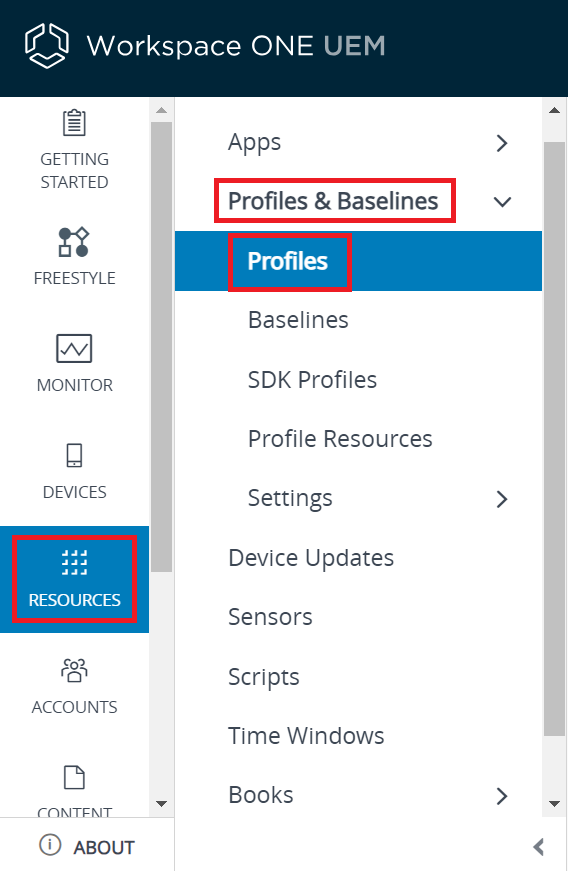
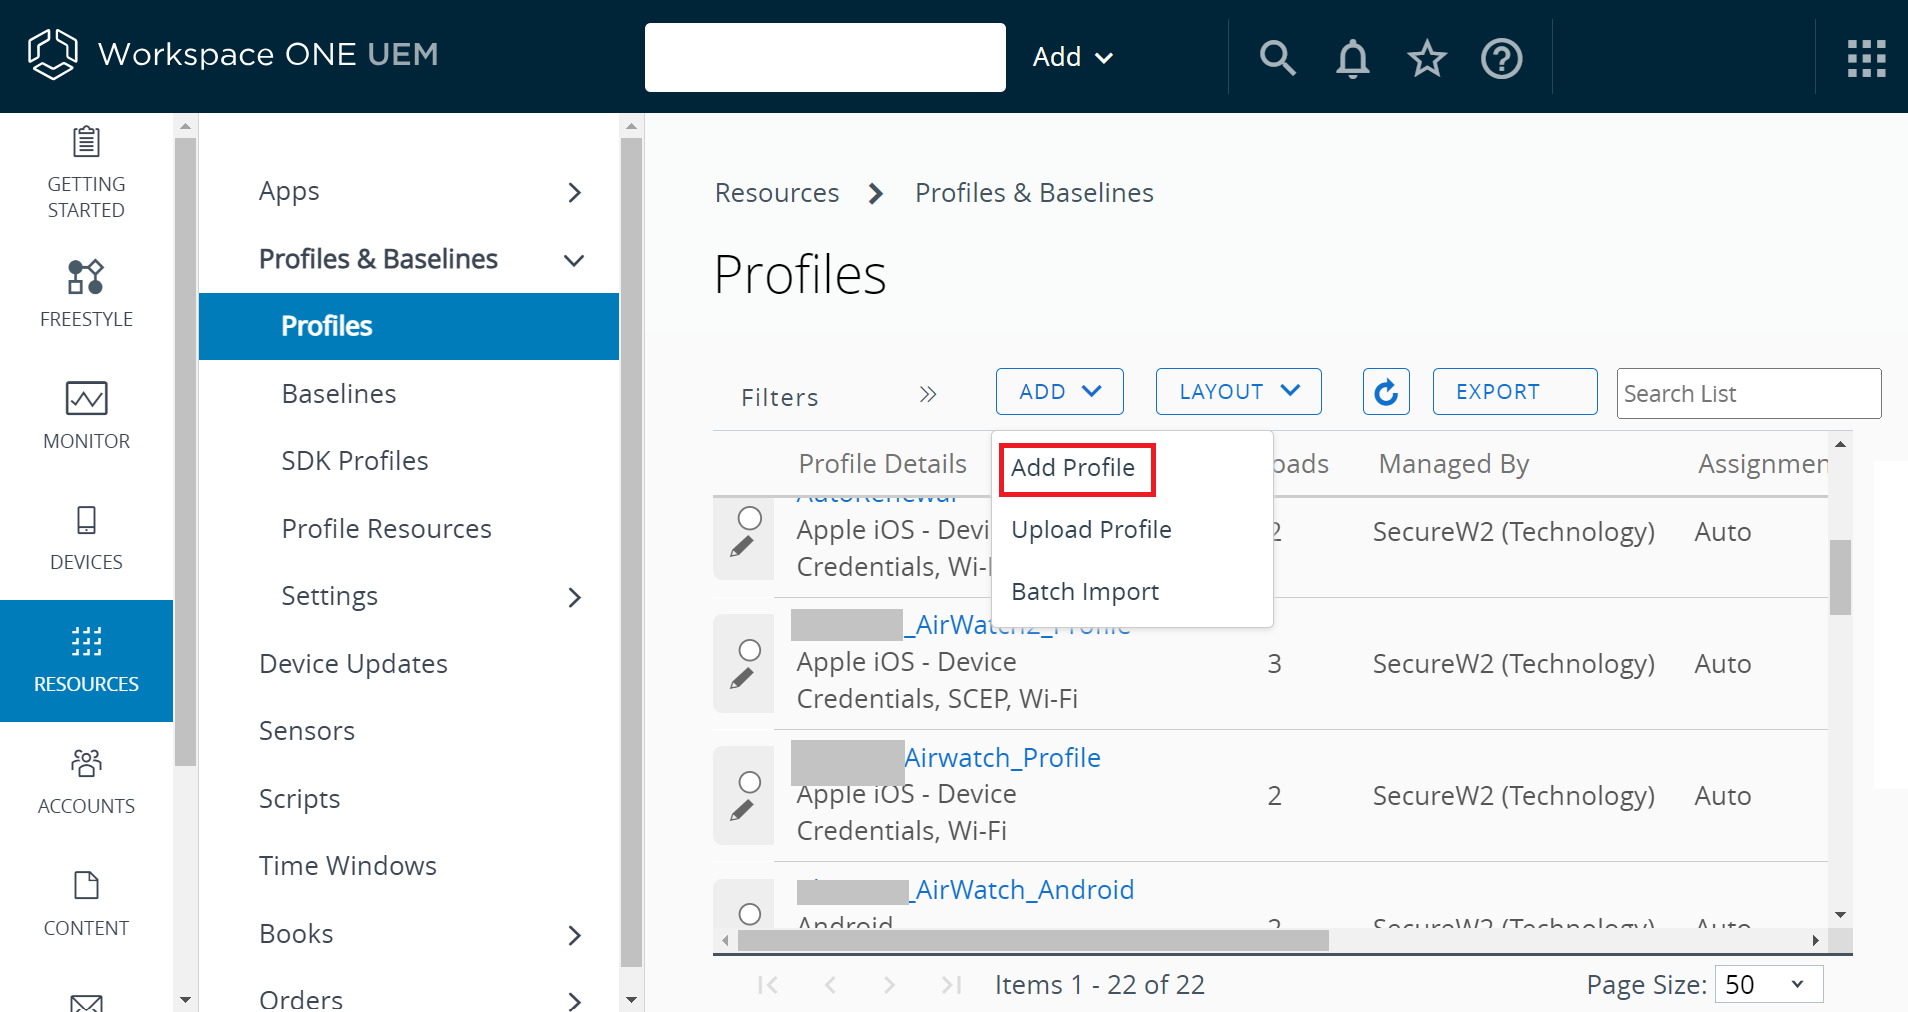
- Navigate to Resources > Profiles & Baselines > Profiles.
- Click ADD > Add Profile.
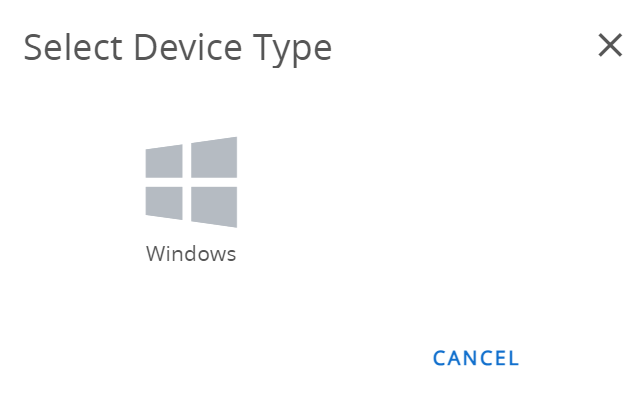
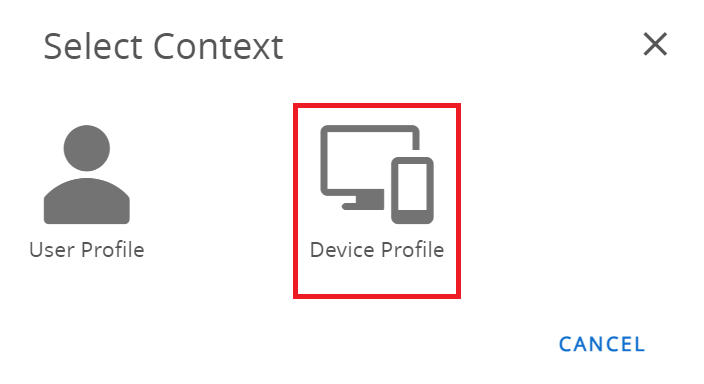
- On the Add Profile page, select an Operating System. For example, a profile for Windows is created.
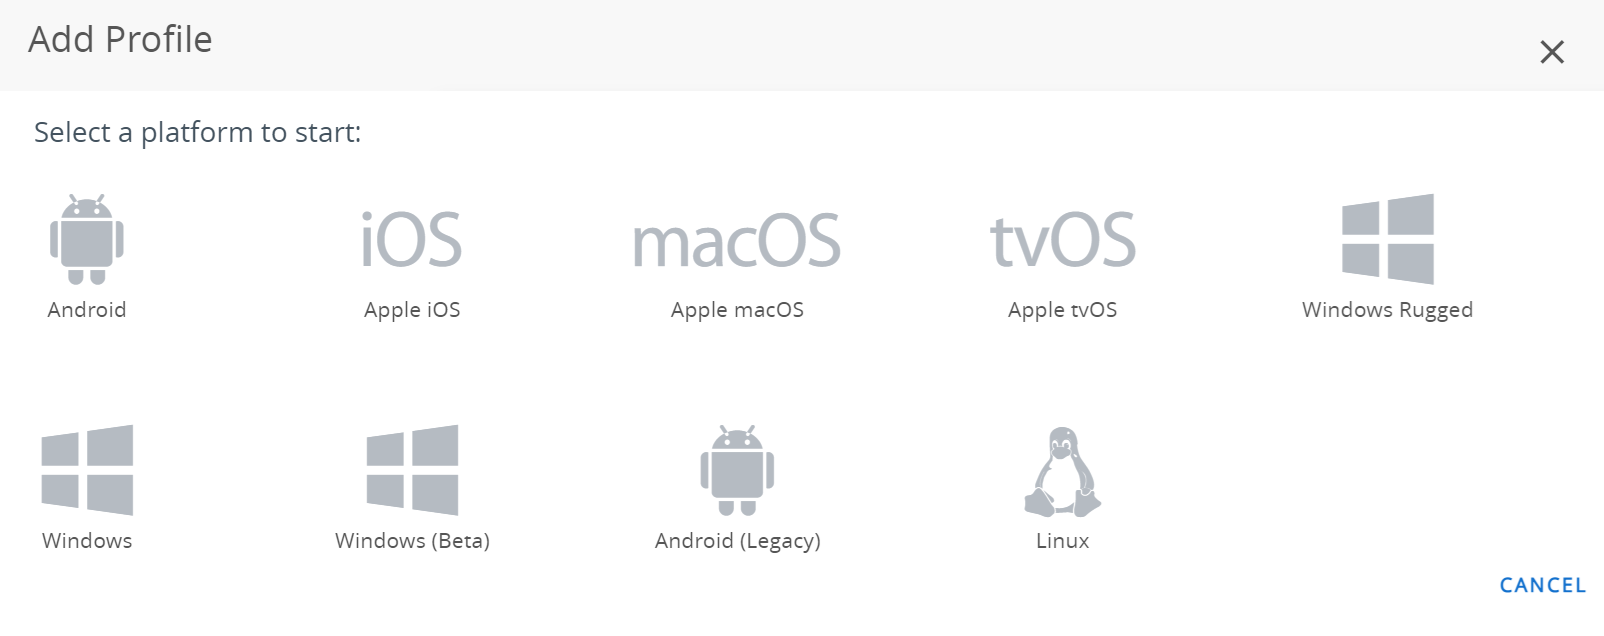
- Select Windows > Widows Desktop > Device Profile.
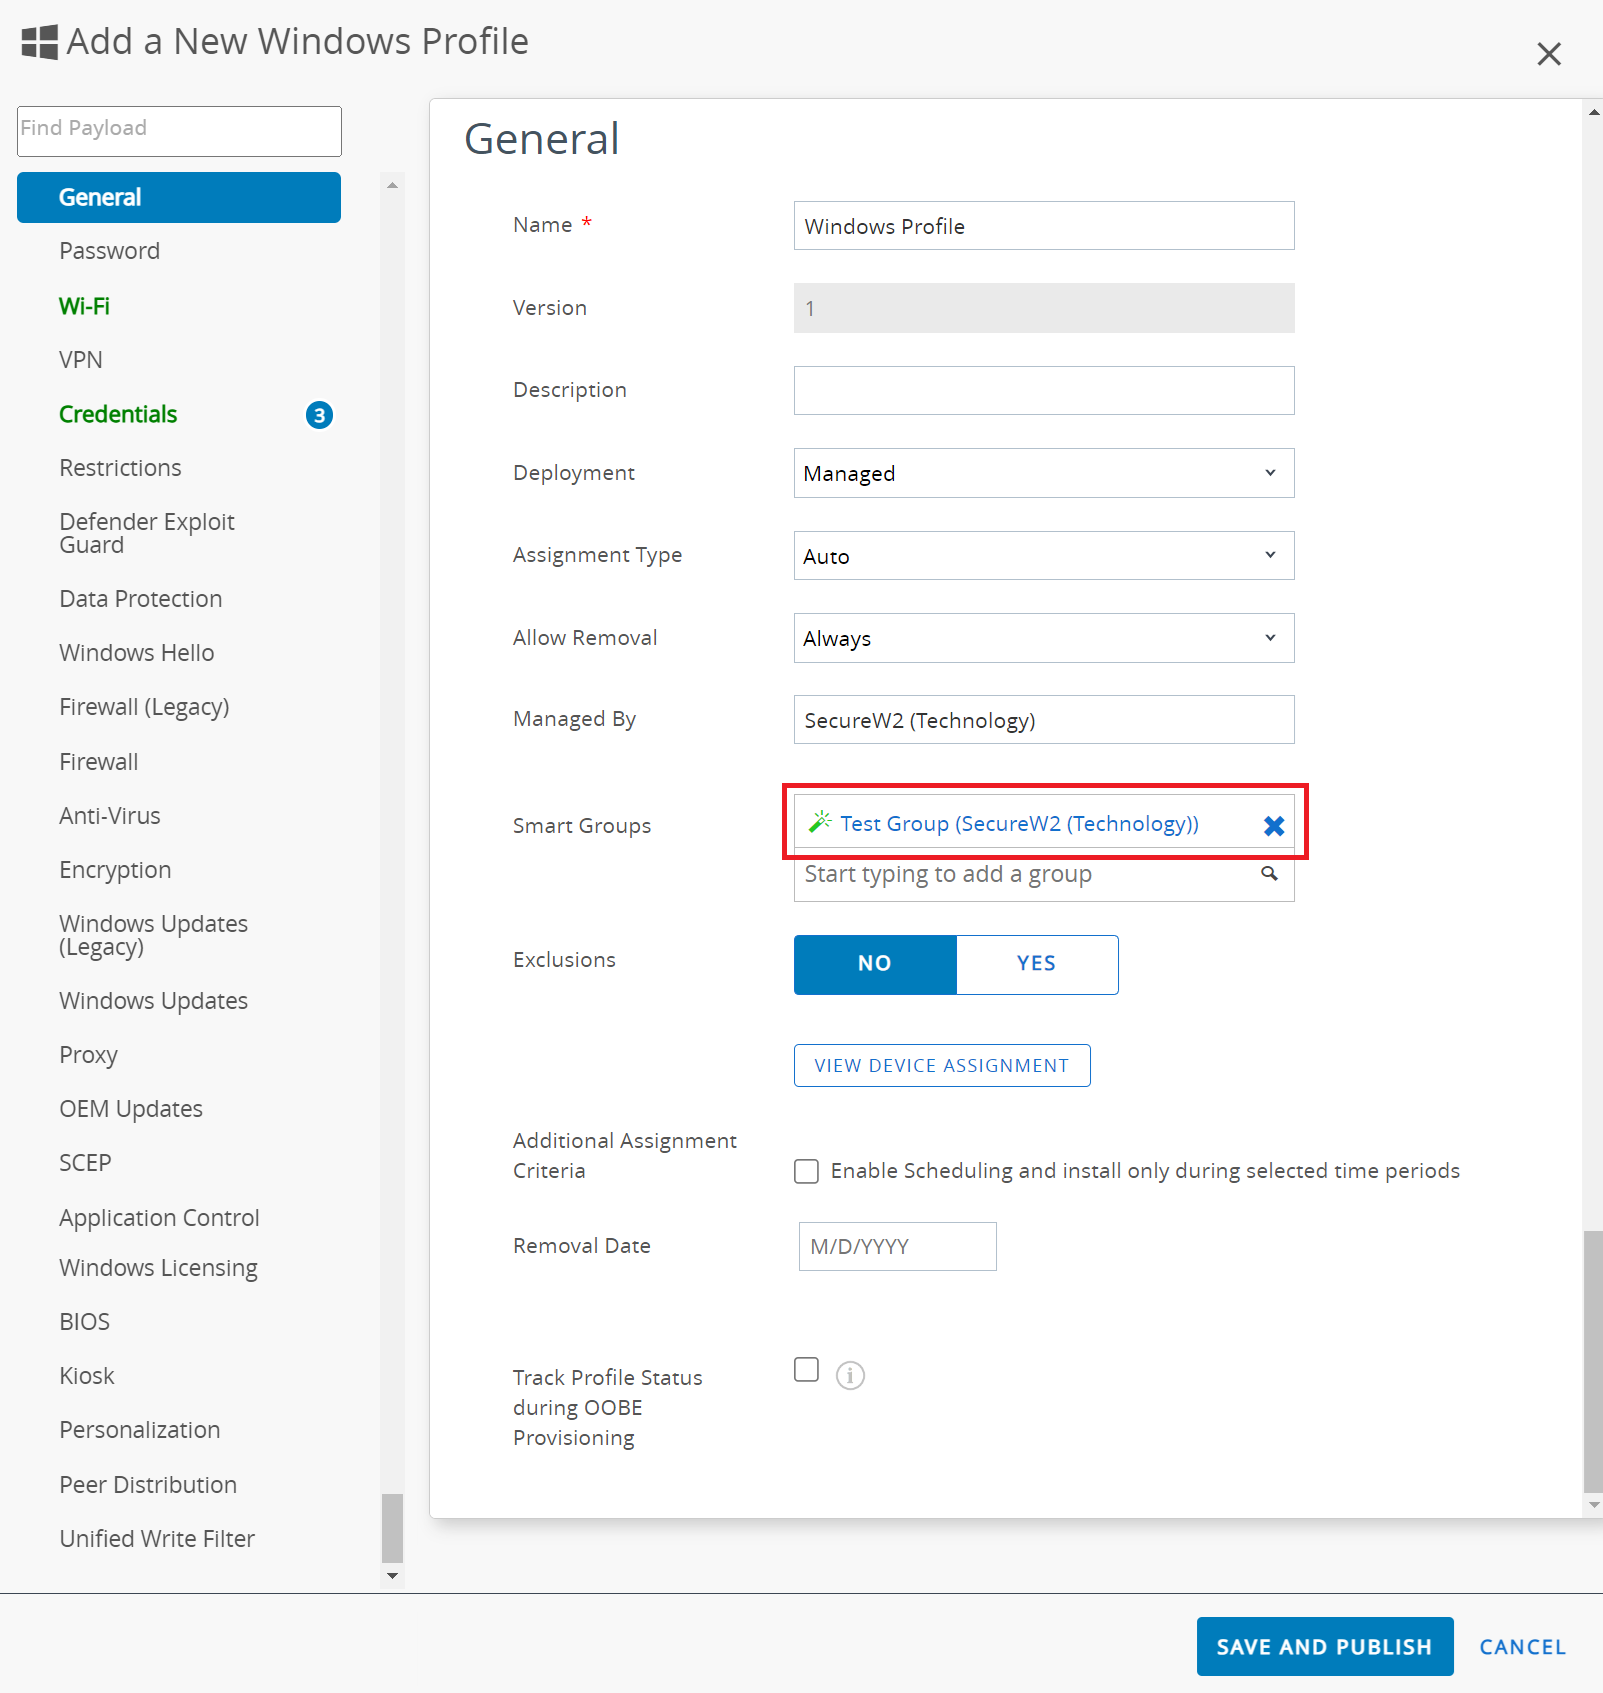
- In the General section:
- In the Name field, enter the name of the profile.
- Assign a group in the Smart Groups field to assign the profile to the device.
- In the Smart Groups field, select a group to assign the profile to the device.
- Select the Credentials payload and click CONFIGURE.
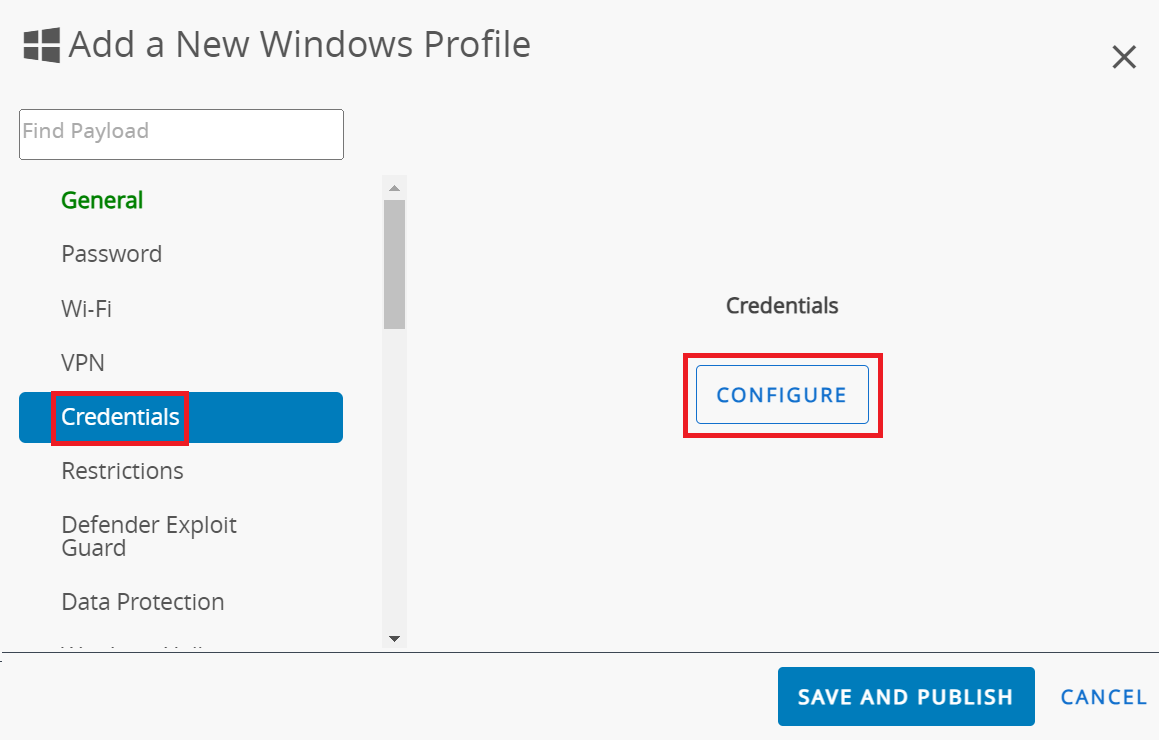
- In the Credentials section:
- From the Credential Source drop-down list, select Defined Certificate Authority.
- From the Certificate Authority drop-down list, select the CA you created earlier (refer to the Creating an Intermediate CA for Workspace ONE SCEP Gateway Integration section). The corresponding template created earlier (refer to the Creating a Certificate Template section) is displayed in the Certificate Template drop-down list.
- From the Key Location drop-down list, select TPM If Present.
- From the Certificate Store drop-down list, select Personal.
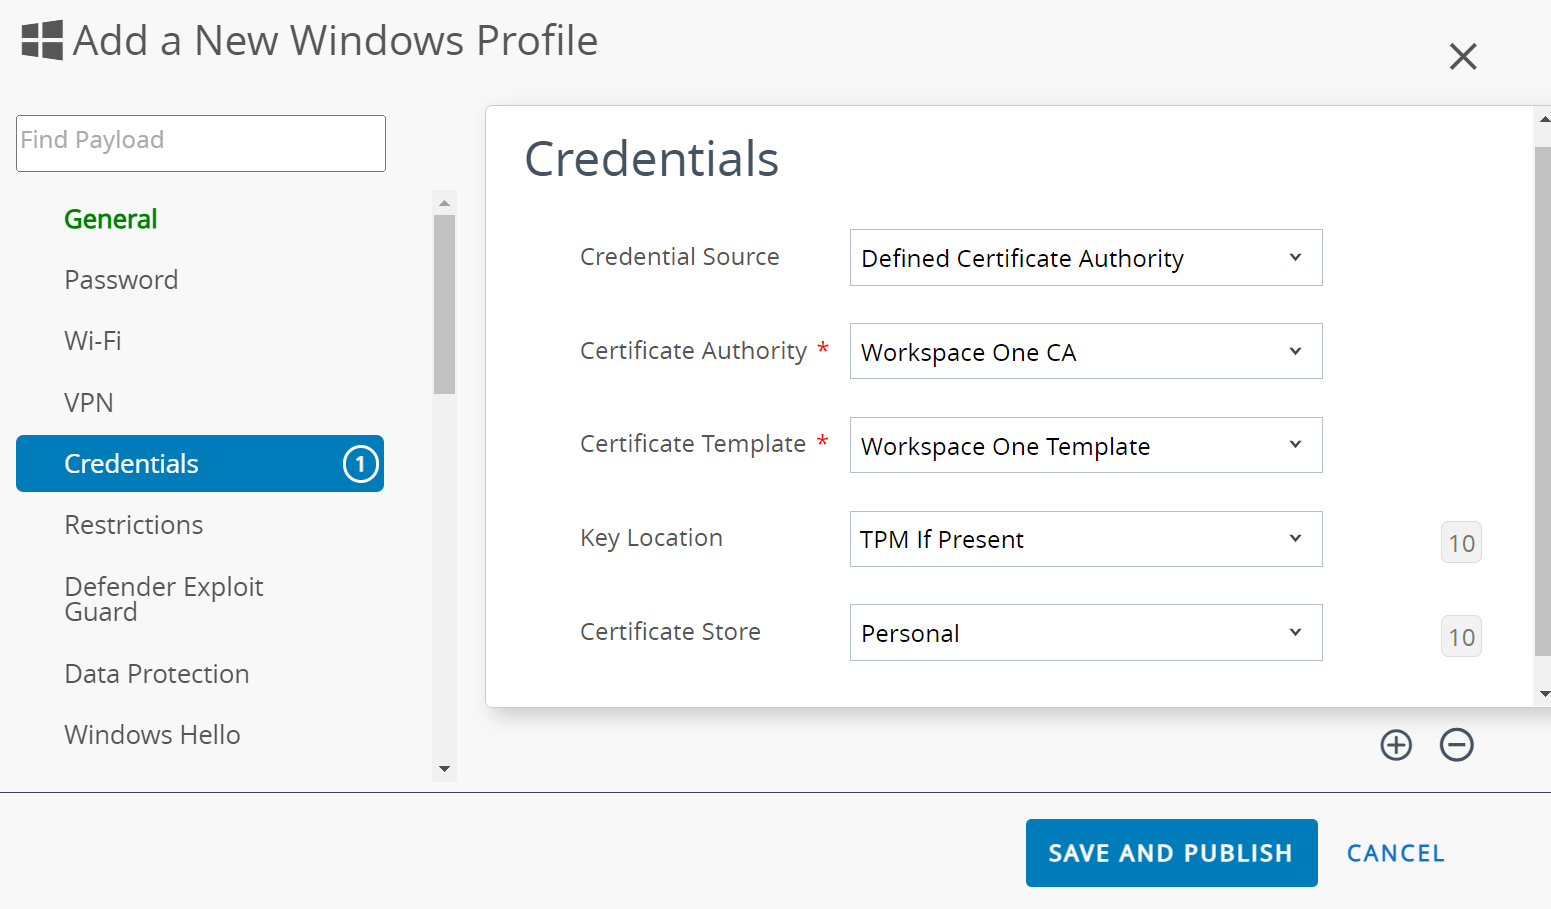
- Click the + button on the bottom right to add the credentials.
- In the Credentials #2 section:
- From the Credential Source drop-down list, select Upload.
- In the Certificate field, click UPLOAD.

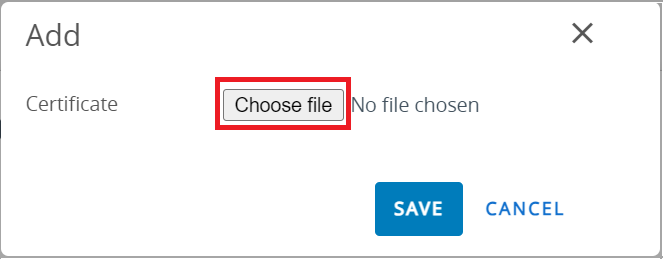
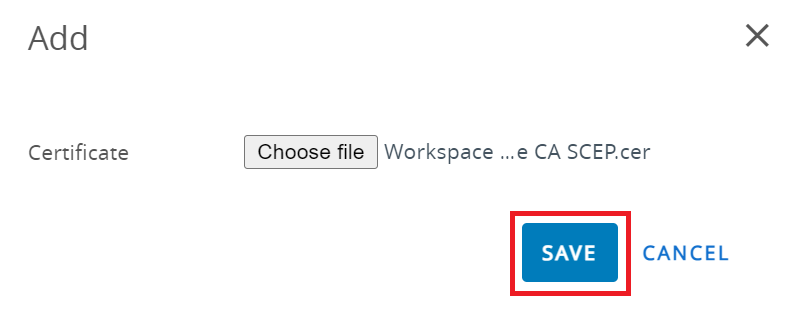
- On the Add pop-up window, click Choose file and select the Root CA certificate you want to upload.

- Click SAVE.

- From the Certificate Store drop-down list, select Trusted Root.
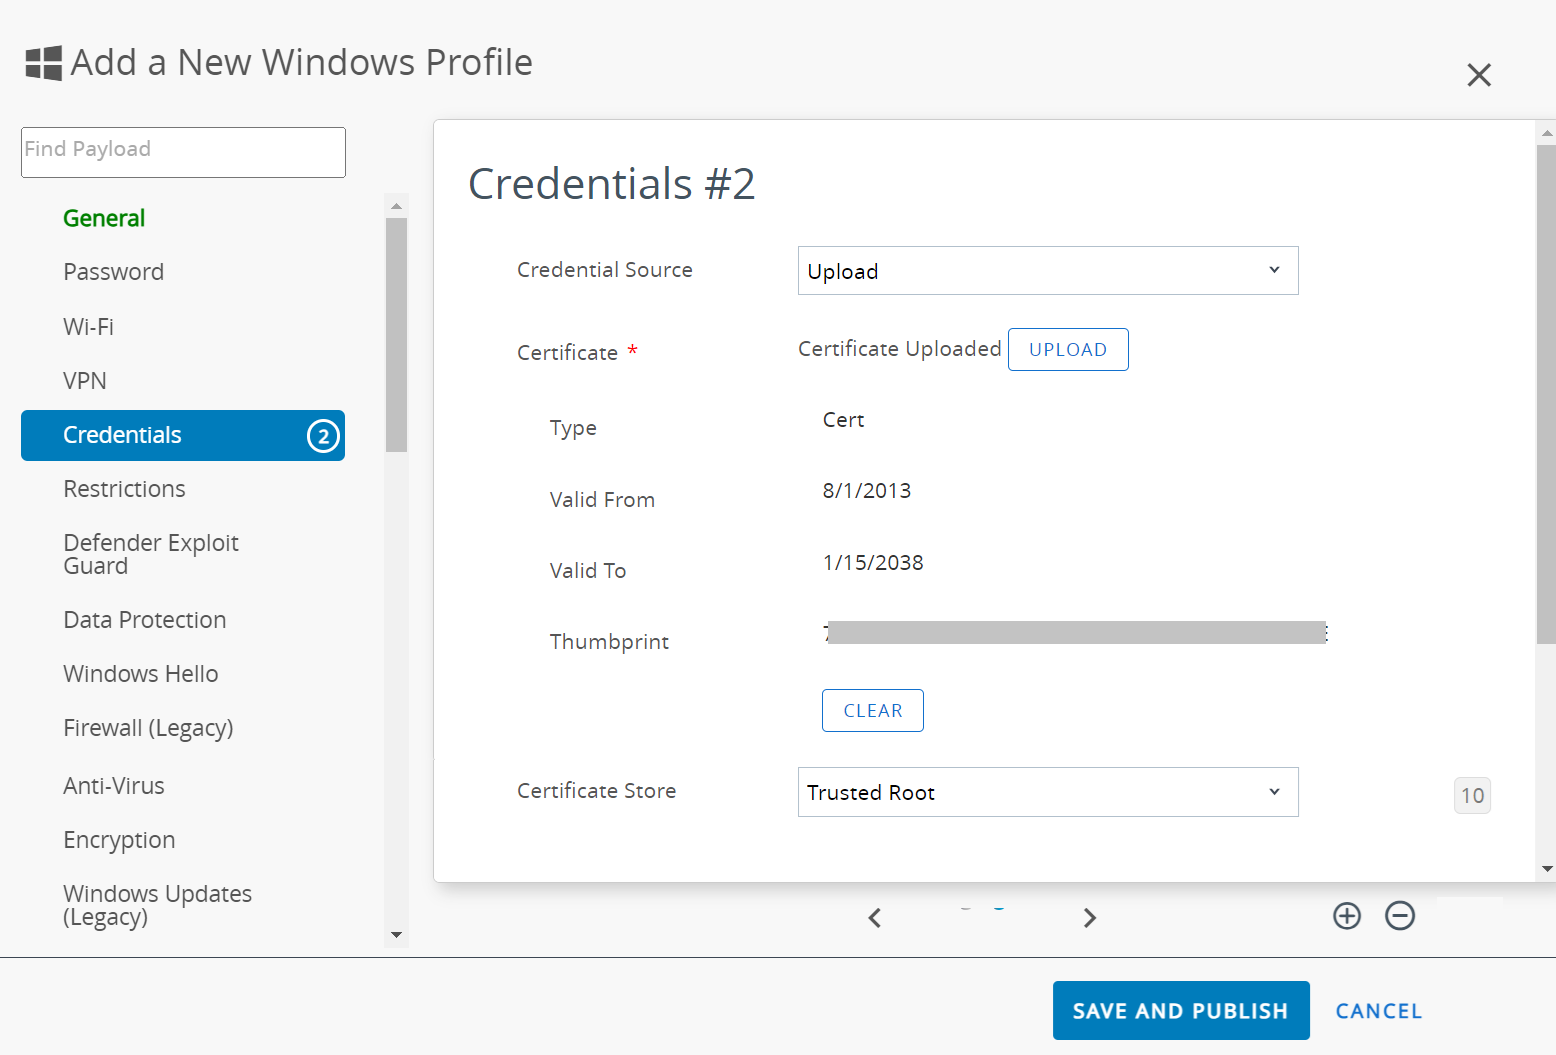
- Click the + button on the bottom right to add the credentials.
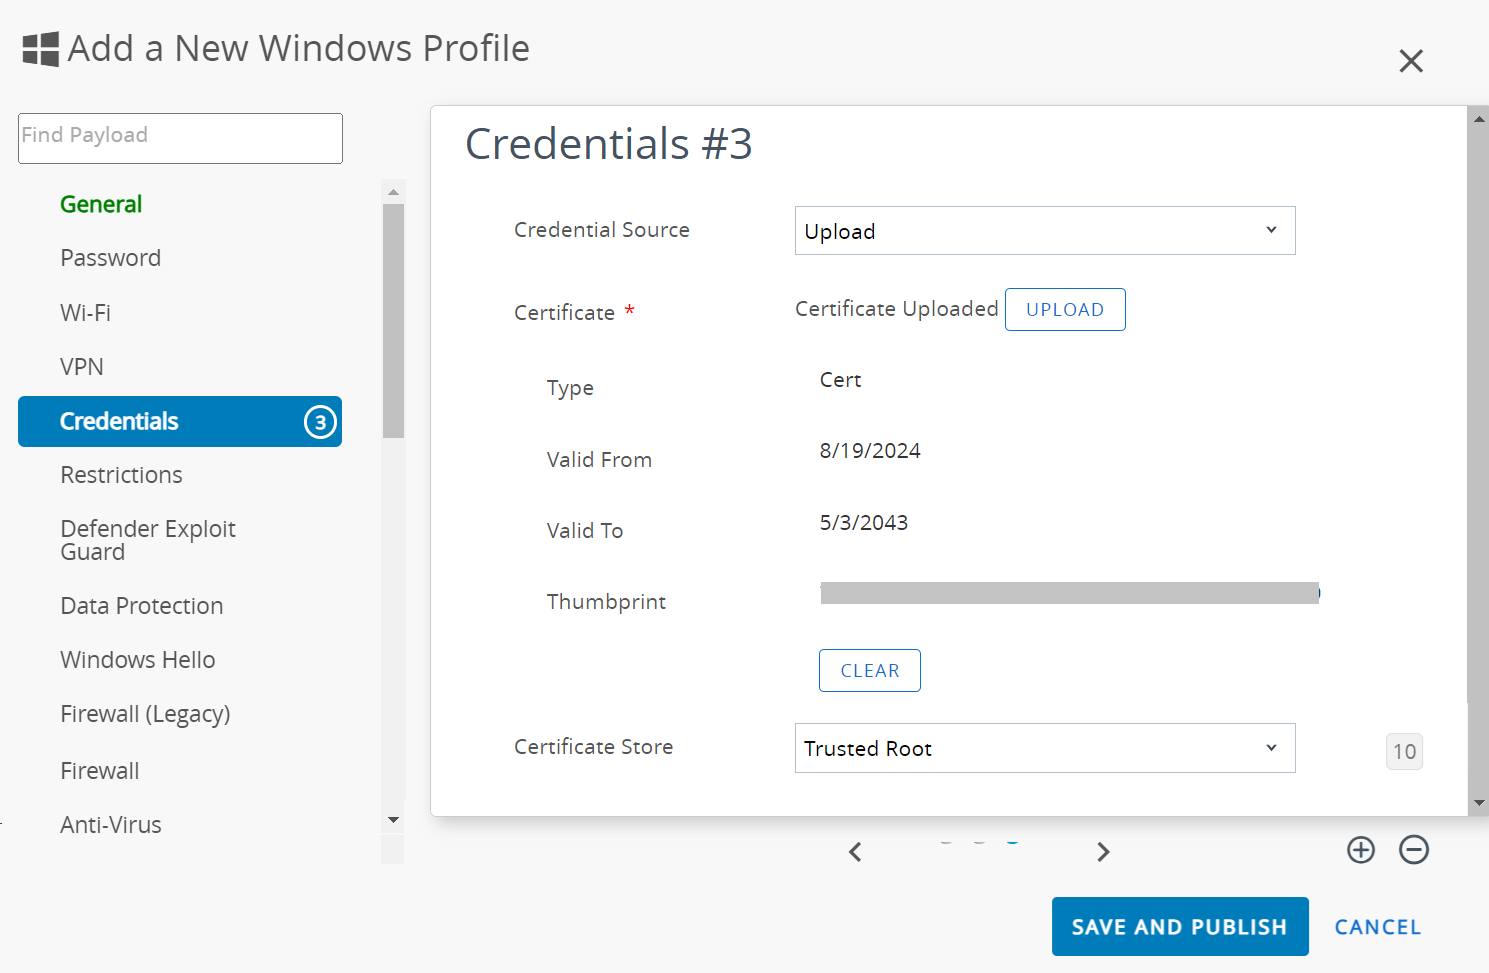
- In the Credentials #3 section:
- From the Credential Source drop-down list, select Upload.
- In the Certificate field, click UPLOAD.
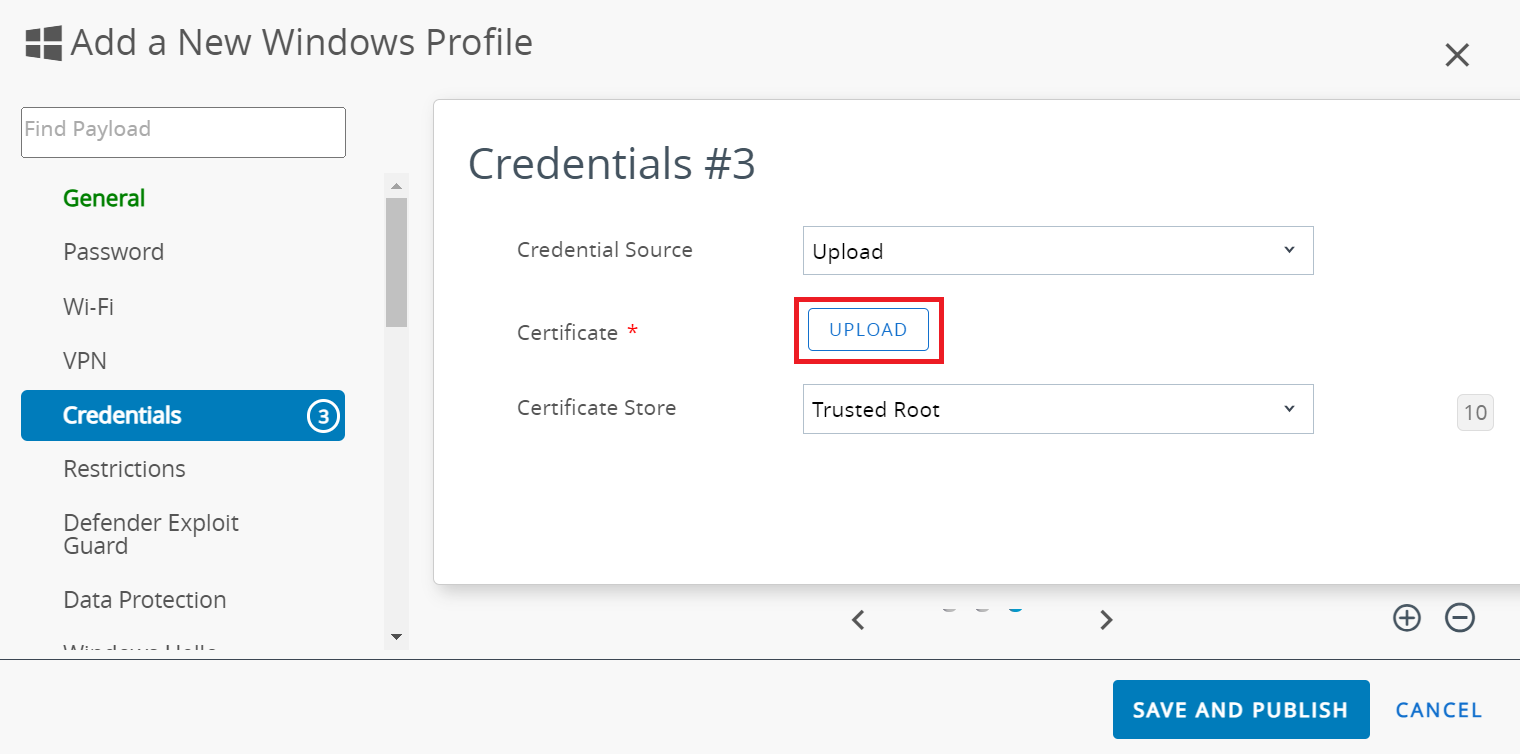
- On the Add pop-up window, click Choose file and upload the SecureW2 Issuing CA certificate you created earlier in the Creating an Intermediate CA for Workspace ONE SCEP Gateway Integration section.
- Click SAVE.
- From the Certificate Store drop-down list, select Trusted Root.
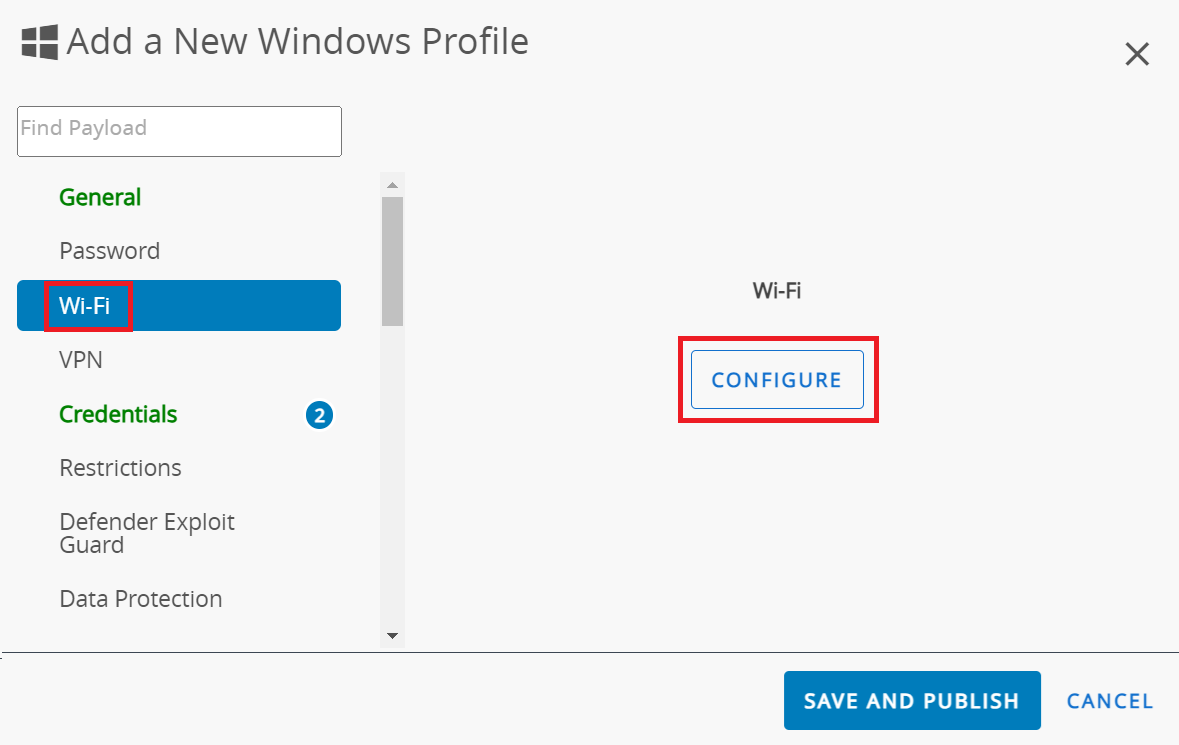
- Select the Wi-Fi payload and click CONFIGURE.
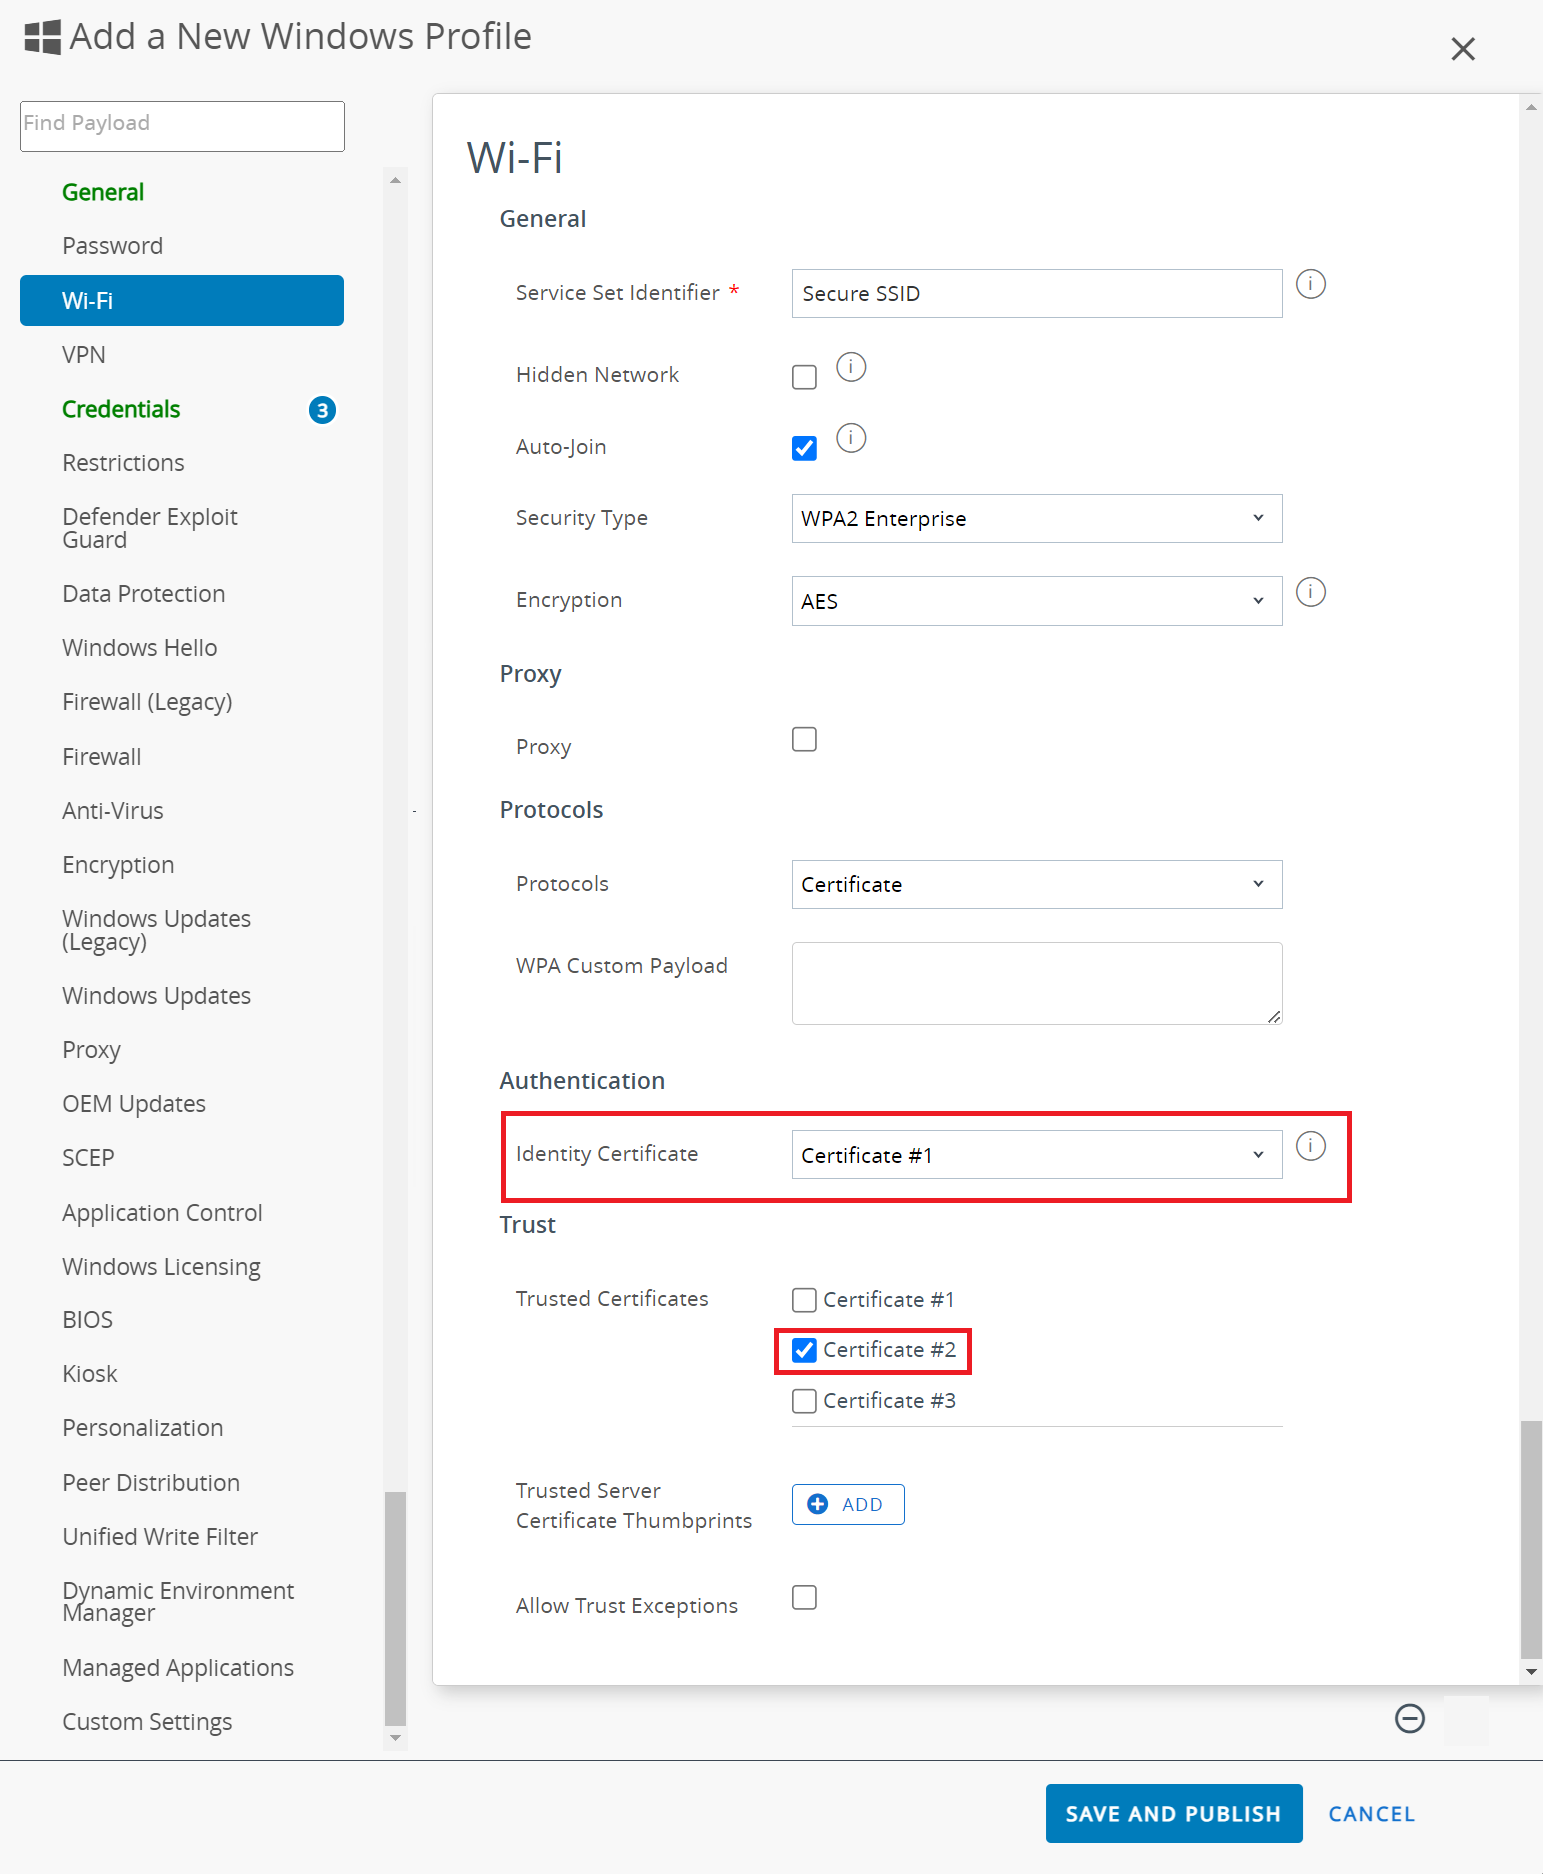
- In the Wi-Fi section:
- In the Service Set Identifier field, enter the name of the SSID.
- From the Security Type drop-down list, select WPA2 Enterprise.
- From the Encryption drop-down list, choose AES.
- From the Protocols drop-down list, select Certificate.
- From the Identity Certificate drop-down list, select Certificate #1, created earlier in the g step.
- In the Trusted Certificates list, select Certificate #2, created earlier in the h step.
- Click SAVE AND PUBLISH.
- Navigate to Resources > Profiles & Baselines > Profiles.
NOTE: SecureW2 JoinNow SCEP Gateway requires a unique device identifier, such as UDID/MAC-Address, to be sent as part of the SCEP request. This information is used to create a device in the JoinNow Management Portal.