The recent changes Google made to the Android SDK now prompts users to “Allow suggested Wi-Fi networks?” or “Connect to Wi-Fi networks?” (see image below). If you don’t press Allow on this prompt, the SecureW2 App can’t connect your device to the Wi-Fi network!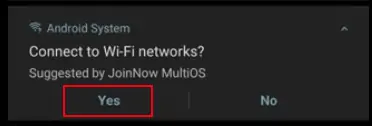
While Google has promised to fix this in Q1 of 2021, they haven’t specified if this fix will be an update for Android 10 or 11, or just something that’s fixed in Android 12. Making the situation worse, Android 10 devices experience delays waiting for the notification to pop-up, which is confirmed as another bug by Google.
However, after rigorous testing and feedback from the field, we’ve summarized the best ways you can get around this issue and get your Android connected today!
- First remove the Wi-Fi network you were attempting to connect to
- From the main menu, select Settings.
- In the Settings screen, select Wi-Fi settings from the Wireless and Network section
- Select the secure Wi-Fi network your organization uses. Some real-world examples include:
- eduroam
- Columbia U Secure
- UNA WiFi
- Click Forget
- Uninstall the SecureW2 JoinNow App from your Android Device
- Connect your device to your organization’s Onboarding Wi-Fi SSID
- Onboarding SSIDs are the Wi-Fi networks dedicated to setting up devices for the secure Wi-Fi network. Some real-world examples include:
- University of Washington
- UNC-Setup SSID
- WiFi@OSU
- Columbia University
- UNA Start Here
- Onboarding SSIDs are the Wi-Fi networks dedicated to setting up devices for the secure Wi-Fi network. Some real-world examples include:
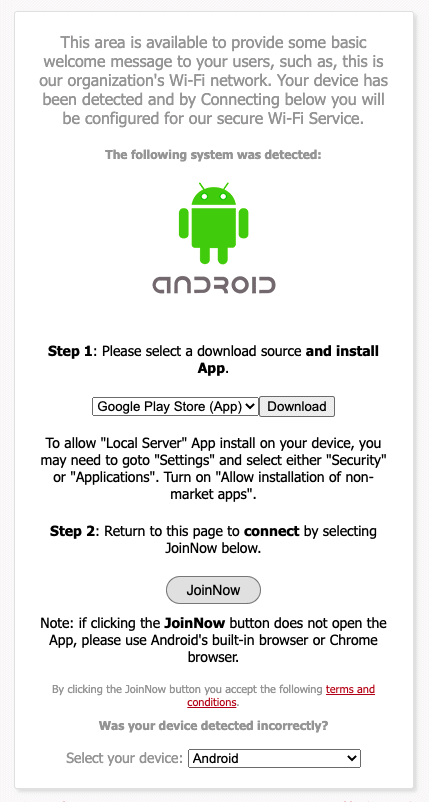
- If you are not redirected to your organization’s SecureW2 Landing Page automatically, navigate to it by using your preferred search engine and searching for your organization’s name + Wi-Fi and you should be able to find the SecureW2 Landing Page on your organization’s Wi-Fi IT page.
- The landing page should automatically detect your device is an Android device and present you with some instructions.
- Follow Step 1 and click Download which will navigate you to the Google Play Store where you can re-install the SecureW2 Application
- Once the app is installed, return back to your browser and click the JoinNow button.

- Once the application opens, enter in your username and password provided by your Organization.
IMPORTANT: This next section highlights how the SecureW2 Android Application works around the nuances of the Android Operating System that commonly prevents devices from properly connecting to the Wi-Fi network. Do not proceed further with the SecureW2 Android Application before reading the next section!
- Once you’ve entered in your credentials, you may be prompted to enter in a device description if your organization requires it. If you are not prompted, that is ok.
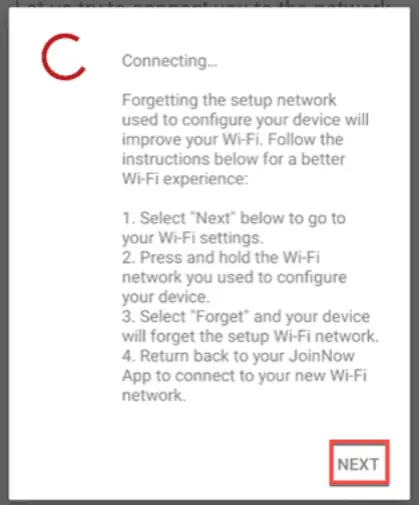
- Next, you will see a window that says Enrolling… which will be followed by Connecting…
This is where you will need to follow instructions carefully, so please pay close attention!
- In this Connecting… window in the App (shown below), you will see a set of instructions guiding you how to forget the Onboarding/Setup Wi-FI network you are/were using to download the SecureW2 App. If you’re not sure which network is your Onboarding network, here are some real-world examples of them:
- University of Washington
- UNC-Setup SSID
- WiFi@OSU
- Columbia University
- UNA Start Here

- Once you’ve forgotten/removed your Onboarding Wi-Fi Network, go back to the SecureW2 App.
- The app will now trigger an Android System notification asking you to Allow suggested Wi-Fi networks? or Connect to Wi-Fi networks? (some examples shown below) Select “Allow”, “Yes” or whatever confirmation option is shown to you (it varies per version of Android you have).


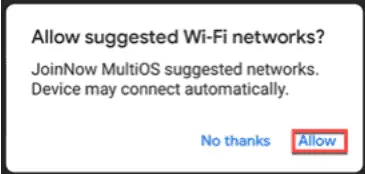
IMPORTANT: It is incredibly important that you do not decline, or ignore this Android System Notification. With recent changes made by Google, declining and dismissing this notification will prevent the SecureW2 Application from being able to configure your device to the Wi-Fi network!