CloudRADIUS talks directly with Okta (no LDAP required) using an API. To create an API Token, perform the following steps:
- Log in to the Okta Portal.
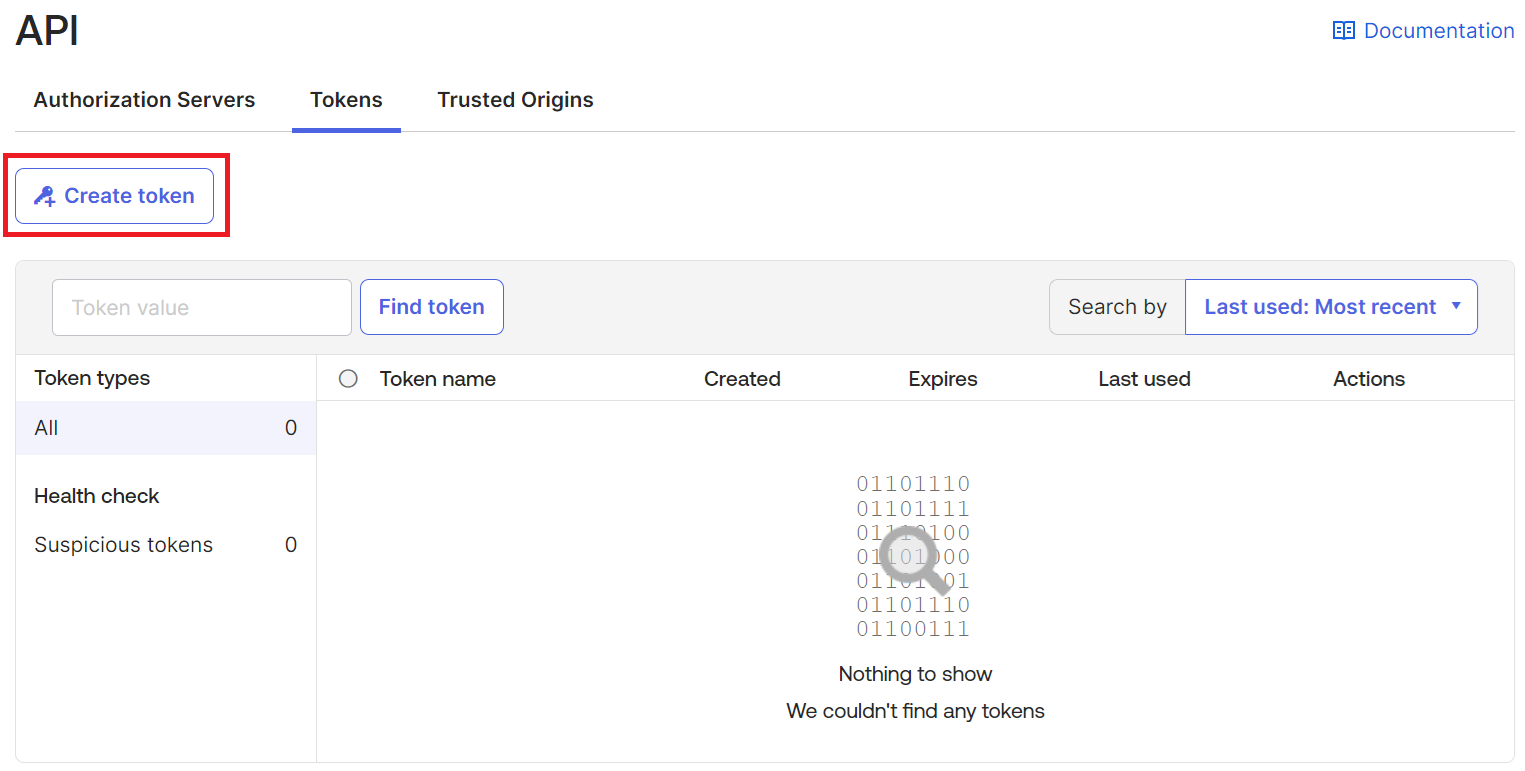
- On the left pane, from the Security menu, select API.
- Select the Tokens tab and on the displayed screen, click the Create token button.

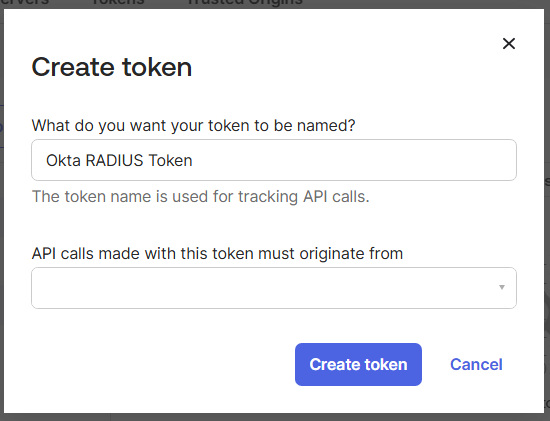
- In the Create token dialog box, enter a name for the token.
- From the API calls made with this token must originate from drop-down list, select the required API source(s).
- Click Create token.

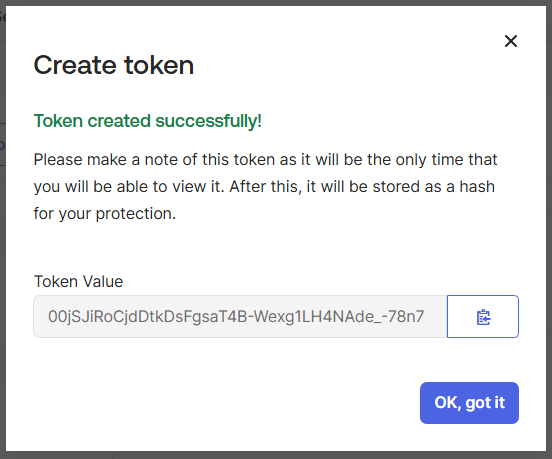
- On the displayed screen, copy the token value on your console.

NOTE: Ensure that you save the token value in your console.
Sometimes, administrators may not have Super Admin Privileges in the Okta Portal to create an API token; follow the steps below to create a service application in the Okta portal. This step requires a role with privileges to create a Service app.
To create a service app in Okta:
- Log in to the Okta portal.
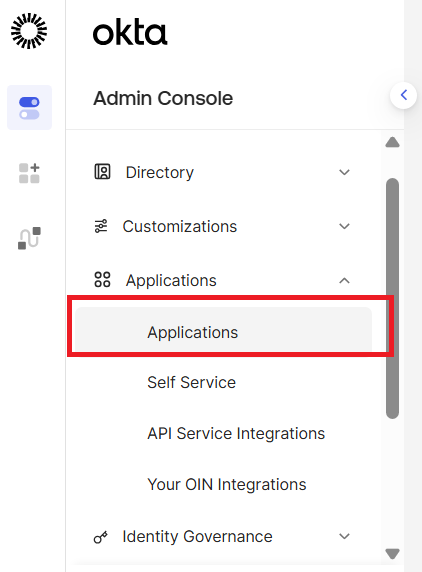
- Navigate to Applications in the left-side menu.

- On the Applications page, click Create App Integration.

- In the Create a new app integration pop-up, select API Services.
- Click Next.

- In the App Integration name field, enter a name for the service app.
- Click Save. The app is saved and opens to the General tab.



To obtain the Client Id and Private key:
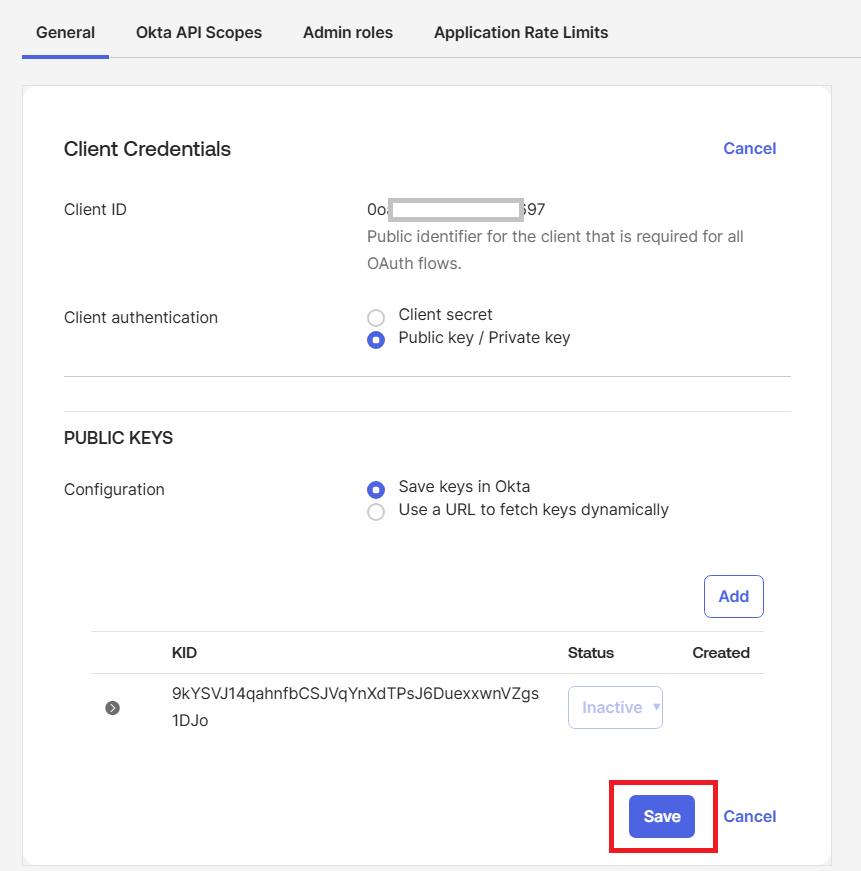
- Under Client Credentials, copy the Client ID to be used for configuring the core provider in JoinNow.
- Click Edit for the Client Credentials section.

- For Client Authentication, check the Public key / Private key option.
- Under Public Keys, click Add key.

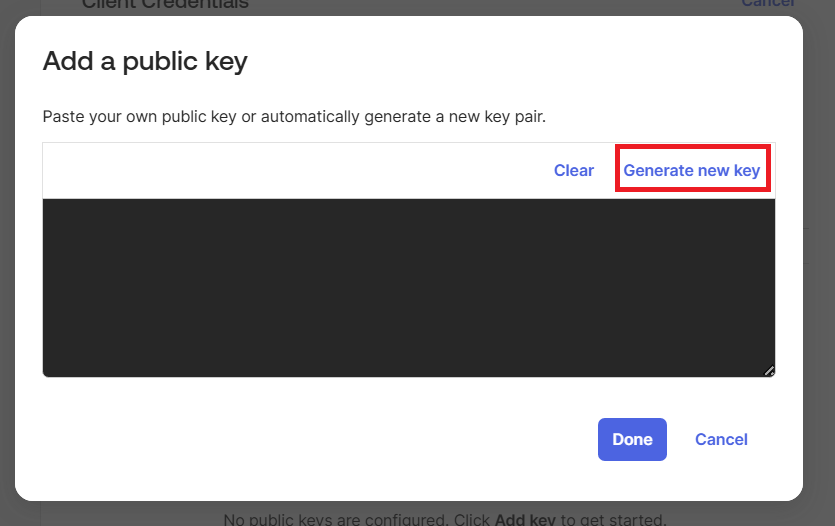
- In the Add a public key pop-up, click Generate new key.

- The page refreshes, and a new private key is generated in JSON format. Click Copy to clipboard. Save the acquired content in a text file. This contains both the private key and pubic key.

- Click Save.



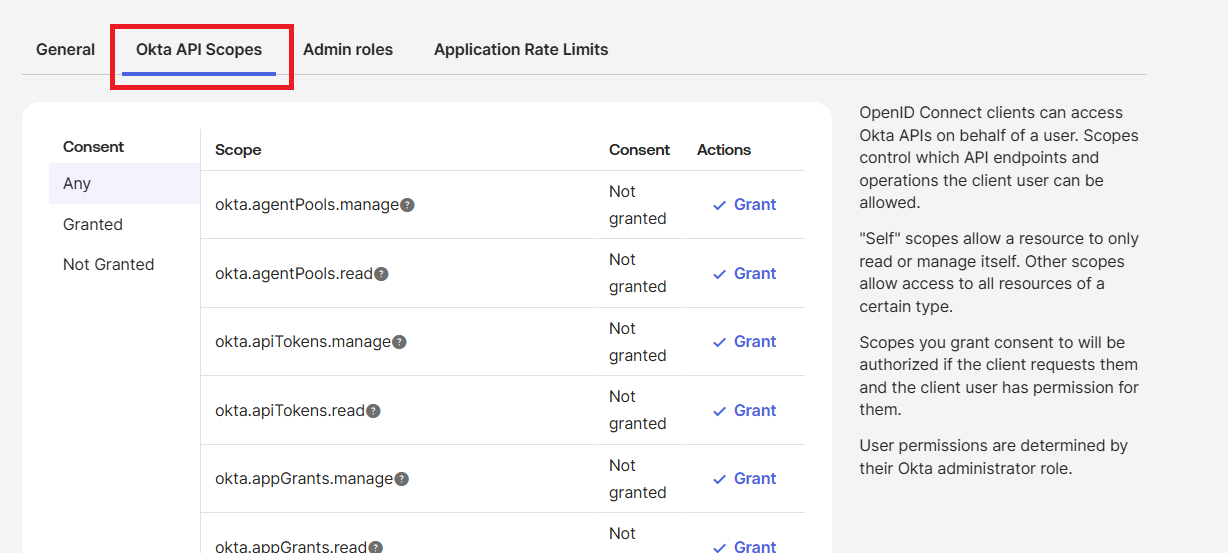
- Click on the Okta API Scopes tab.

- From the listed access grants, select the following roles:
- okta.users.read
- okta.groups.read.
- Click Grant Access to provide access to the service app for reading user and group information.
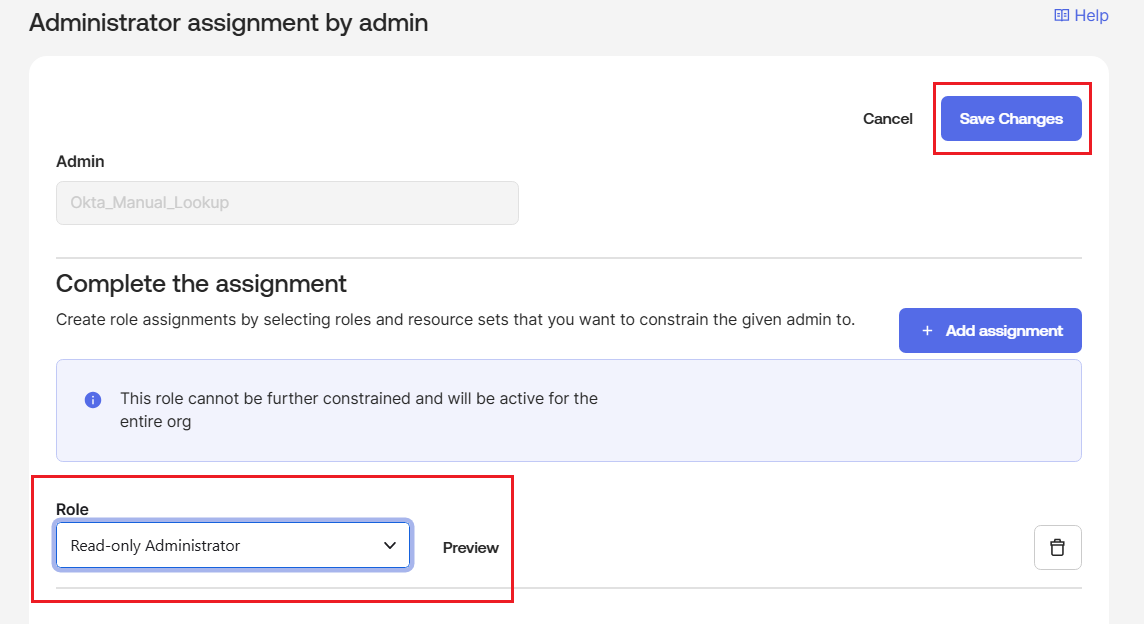
- Click on the Admin roles tab and click on Edit assignments.
- From the Role drop-down, select Read-only Administrator.

- Click Save Changes.
To create a core platform, perform the following steps:
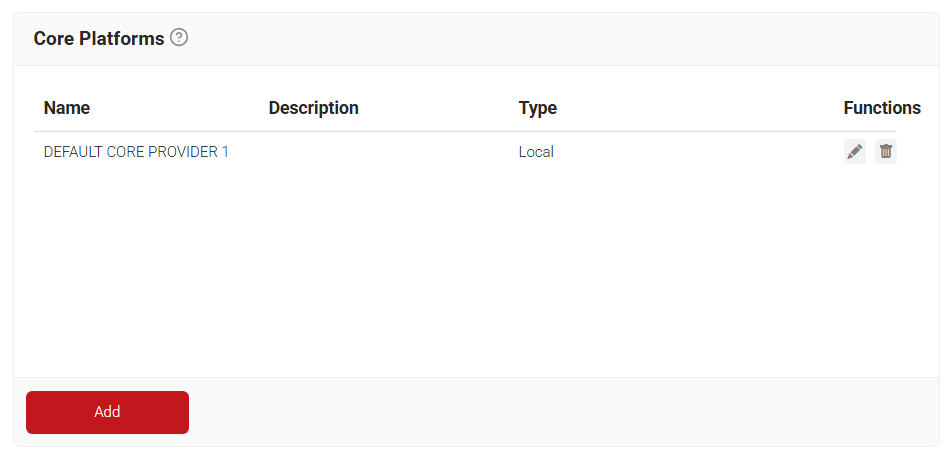
- Navigate to Integrations Hub > Core Platforms.
- Click Add.

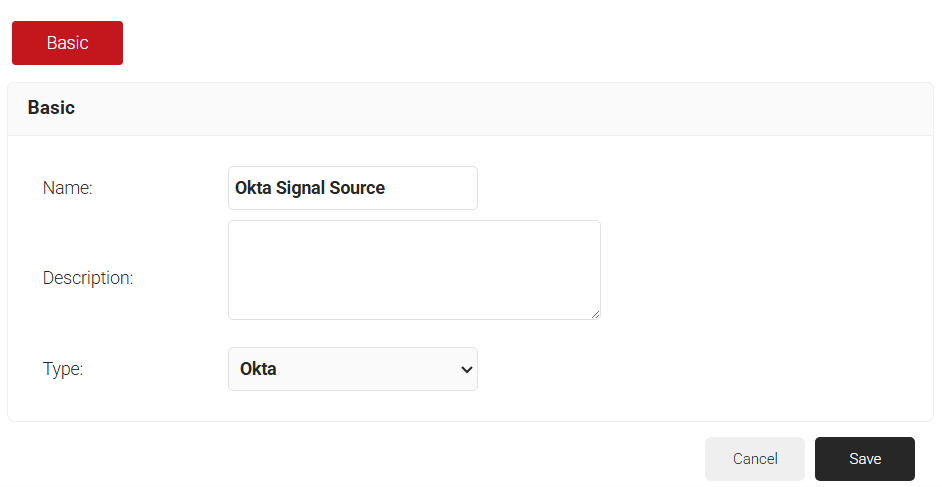
- In the Basic section, enter the name of the core provider in the Name field.
- In the Description field, enter a suitable description for the core provider.

- From the Type drop-down list, select Okta.
- Click Save.
- The page refreshes and displays the Configuration, Attribute Mapping, and Groups tabs.
- Click the Configuration tab.
- Under the Configuration section, Okta has two types of configurations available:
- Auto – Uses API token to automatically configure lookup with Okta portal. Generating API Token needs Super Admin privileges in the Okta Portal.
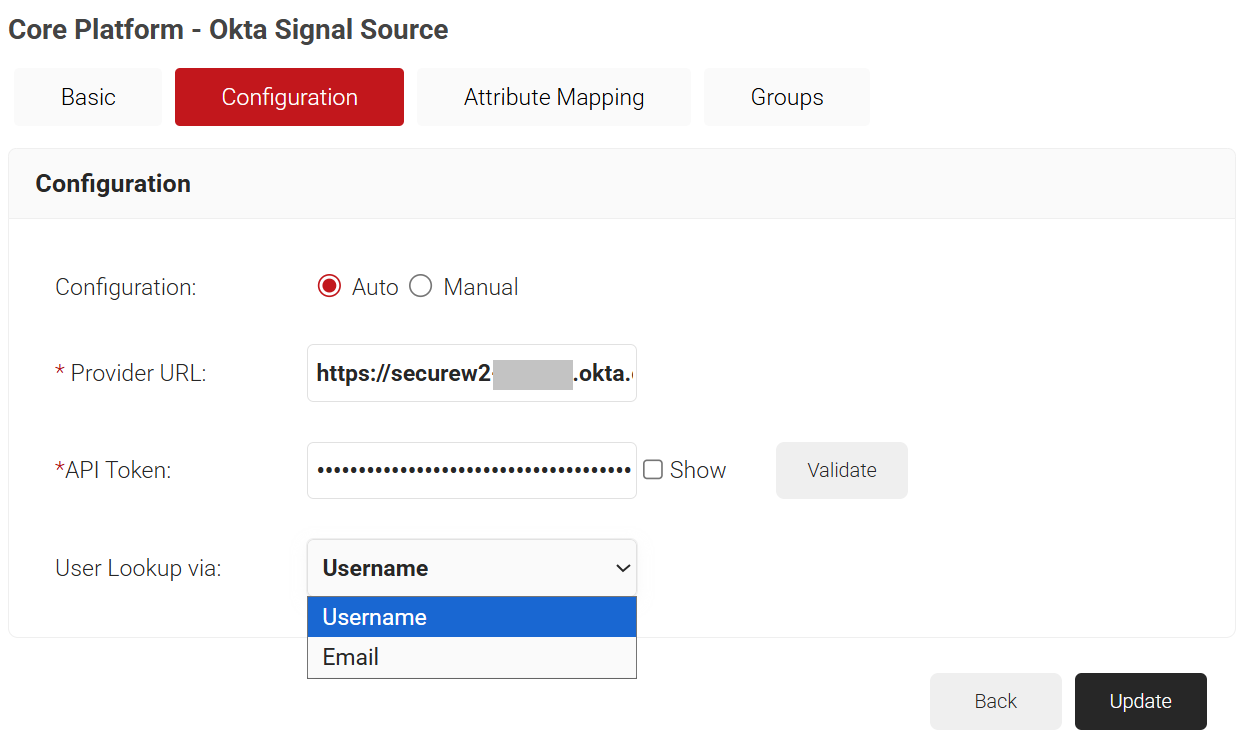
- In the Provider URL field, enter your Okta organization URL. For example, https://dev-123456.okta.com/.
NOTE: Do not use “admin” in the organization URL, as lookup fails. - In the API Token field, enter the token you obtained from the Okta portal (see the Creating an API Token section).
- By default, Okta looks up users by the Username attribute. A User Lookup via drop-down list is now available to support customers who want to match users using a custom Email attribute.
Select one of the following options from the User Lookup via drop-down list:- Username – Looks up the user by username (default)
- Email – Looks up the user by email address.
Figure: Okta Auto Signal Source configuration
- Click Validate to check the connection with Okta.
- Click Update.
- In the Provider URL field, enter your Okta organization URL. For example, https://dev-123456.okta.com/.
- For Manual Configuration:
- Click on the Manual radio button.
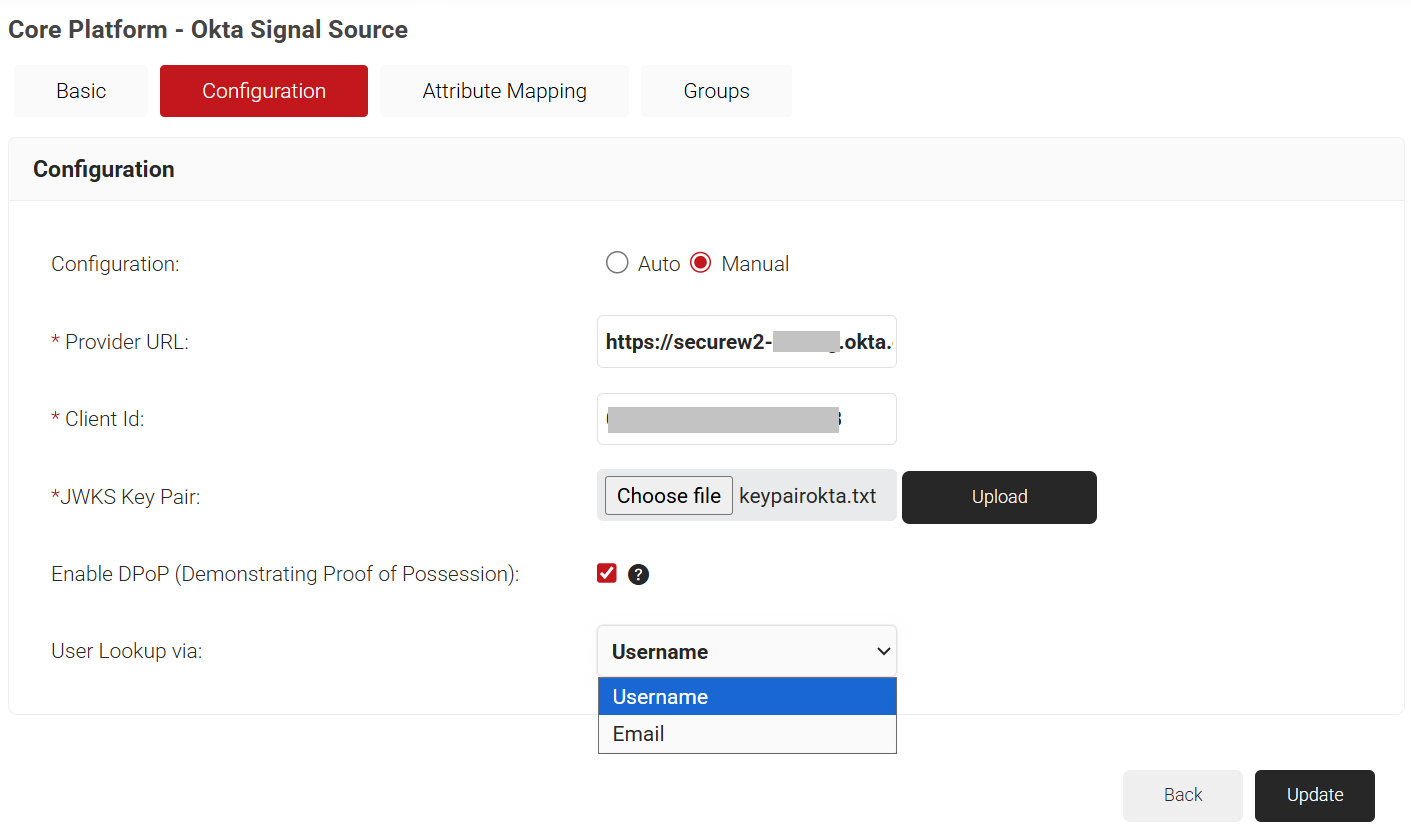
- In the Provider URL field, enter the Provider URL of your Okta account. For example, https://dev-123456.okta.com/.
- In the Client ID field, enter the client ID obtained from creating a lookup application in Okta.
- For the JWKS Key Pair field, click Choose File. Upload the Key Pair file saved from Okta. Refer to Configuring Okta for Manual Lookup.
- Enable DPoP (Demonstrating Proof of Possession):
- Select this checkbox if the Require Demonstrating Proof of Possession (DPoP) header in token requests option is selected under Proof of possession in your Okta Service Application.
NOTE: Both settings must be enabled together. If this option is selected in Okta but the checkbox is left unchecked in the JoinNow Management Portal (or vice versa), lookups will fail. - If this option is not required, leave the checkbox disabled. JoinNow will continue to use standard bearer access tokens for Okta lookups, which is the default behavior.
- Select this checkbox if the Require Demonstrating Proof of Possession (DPoP) header in token requests option is selected under Proof of possession in your Okta Service Application.
- By default, Okta looks up users by the Username attribute. A User Lookup via drop-down list is now available to support customers who want to match users using a custom Email attribute.
Select one of the following options from the User Lookup via drop-down list:- Username – Looks up the user by username (default)
- Email – Looks up the user by email address.
Figure: Okta Manual Signal Source configuration
- Click Update.
- Click on the Manual radio button.
- Auto – Uses API token to automatically configure lookup with Okta portal. Generating API Token needs Super Admin privileges in the Okta Portal.
To add a custom attribute to the core provider, follow the steps below.
- Navigate to Integrations Hub > Core Platforms.
- Click the Edit link on the core provider created earlier (refer to the Configuring Account Lookup in JoinNow Management Portal section).
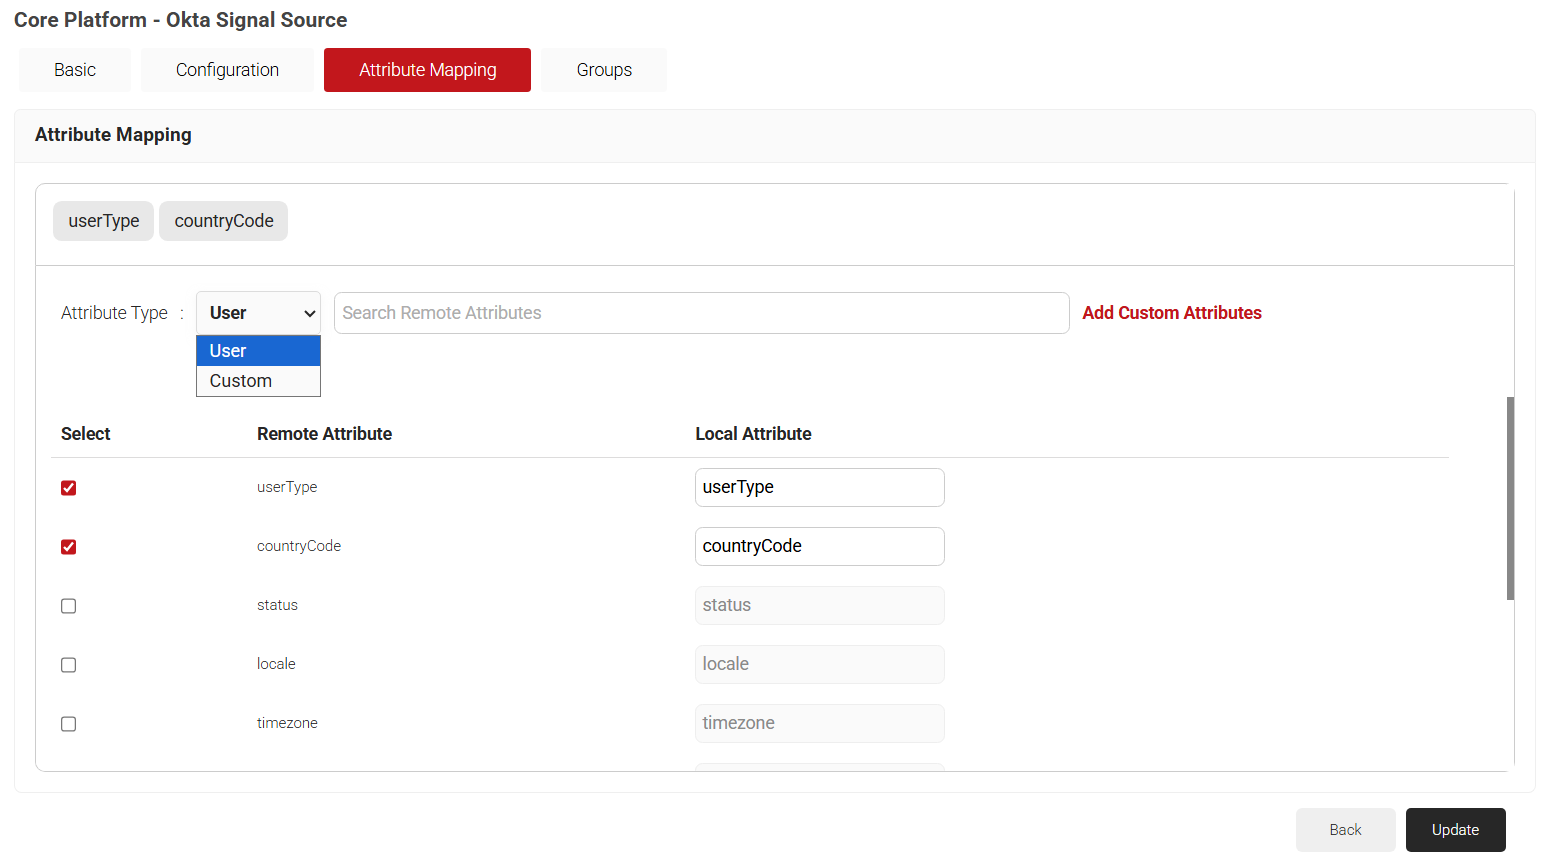
- Click the Attribute Mapping tab.
- From the Attribute Type drop-down, select the category to display the recommended attributes. The following are the attribute types offered by JoinNow for Okta Lookup:
- User
- Custom
- Click Update after selecting the required attributes.

Here is where we will map the group attributes we want to use in our network policies.
- Navigate to Integrations Hub > Core Platforms.
- Click the Edit link on the core provider created earlier (refer to the Configuring Account Lookup in JoinNow Management Portal section).
- Navigate to the Groups tab.

- Click Add.
- In the Local Group field, enter a name for the group. This group name can be used to configure the Network Policies.
- In the Remote Group field, enter the name of your group as it is configured in the Okta portal.

- Click Create.

NOTE: Repeat the process as required for the groups you wish to create network policies around.
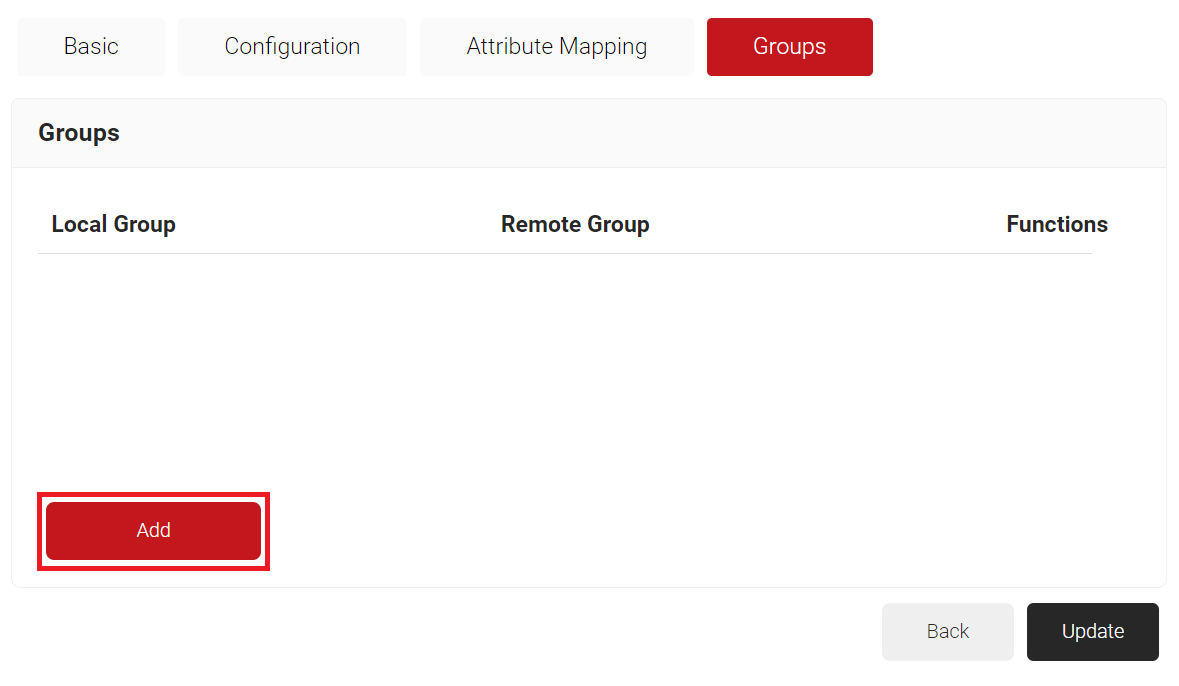
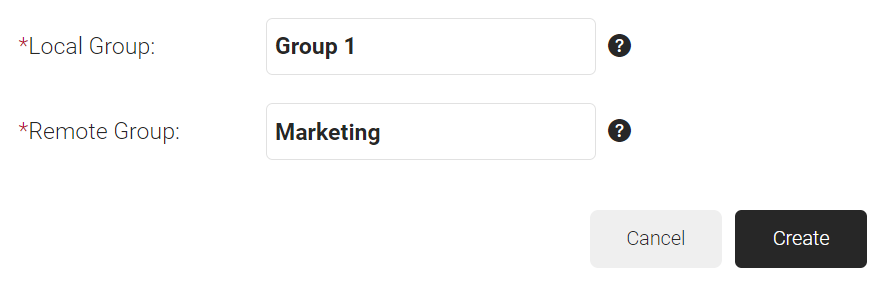
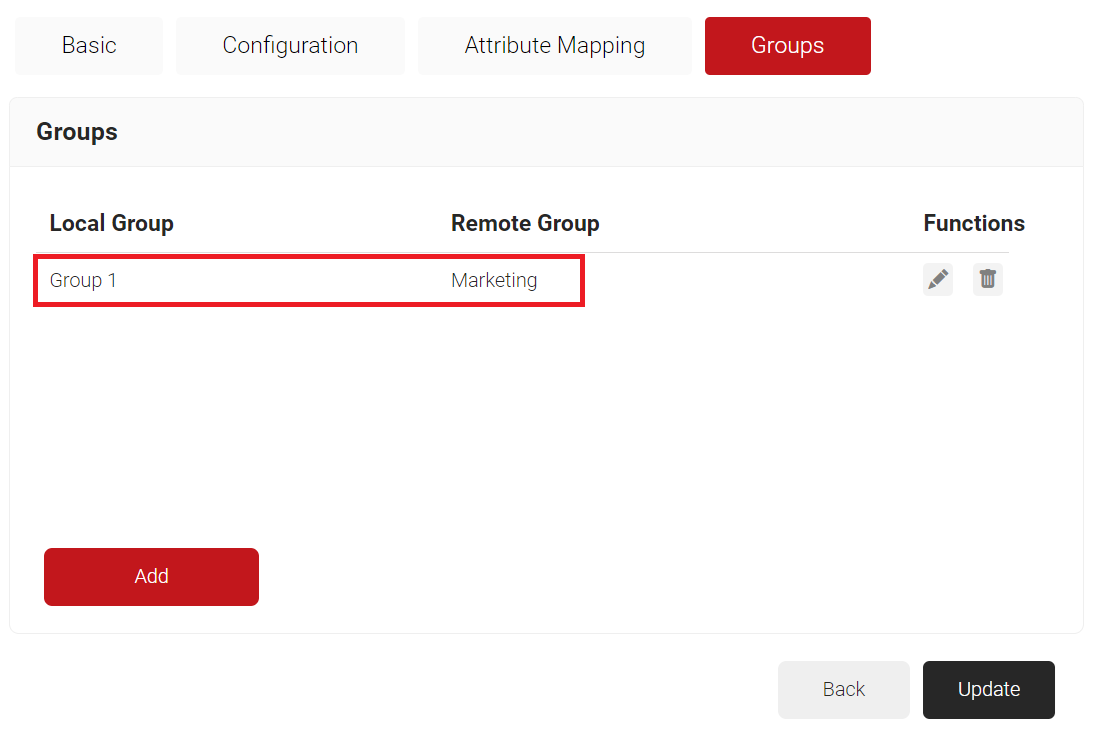
Lookup Policies tie our new core provider to domains. Here, we will create a condition that ties our domain to the new core provider we created in the previous section (see the Creating a Core Platform section).
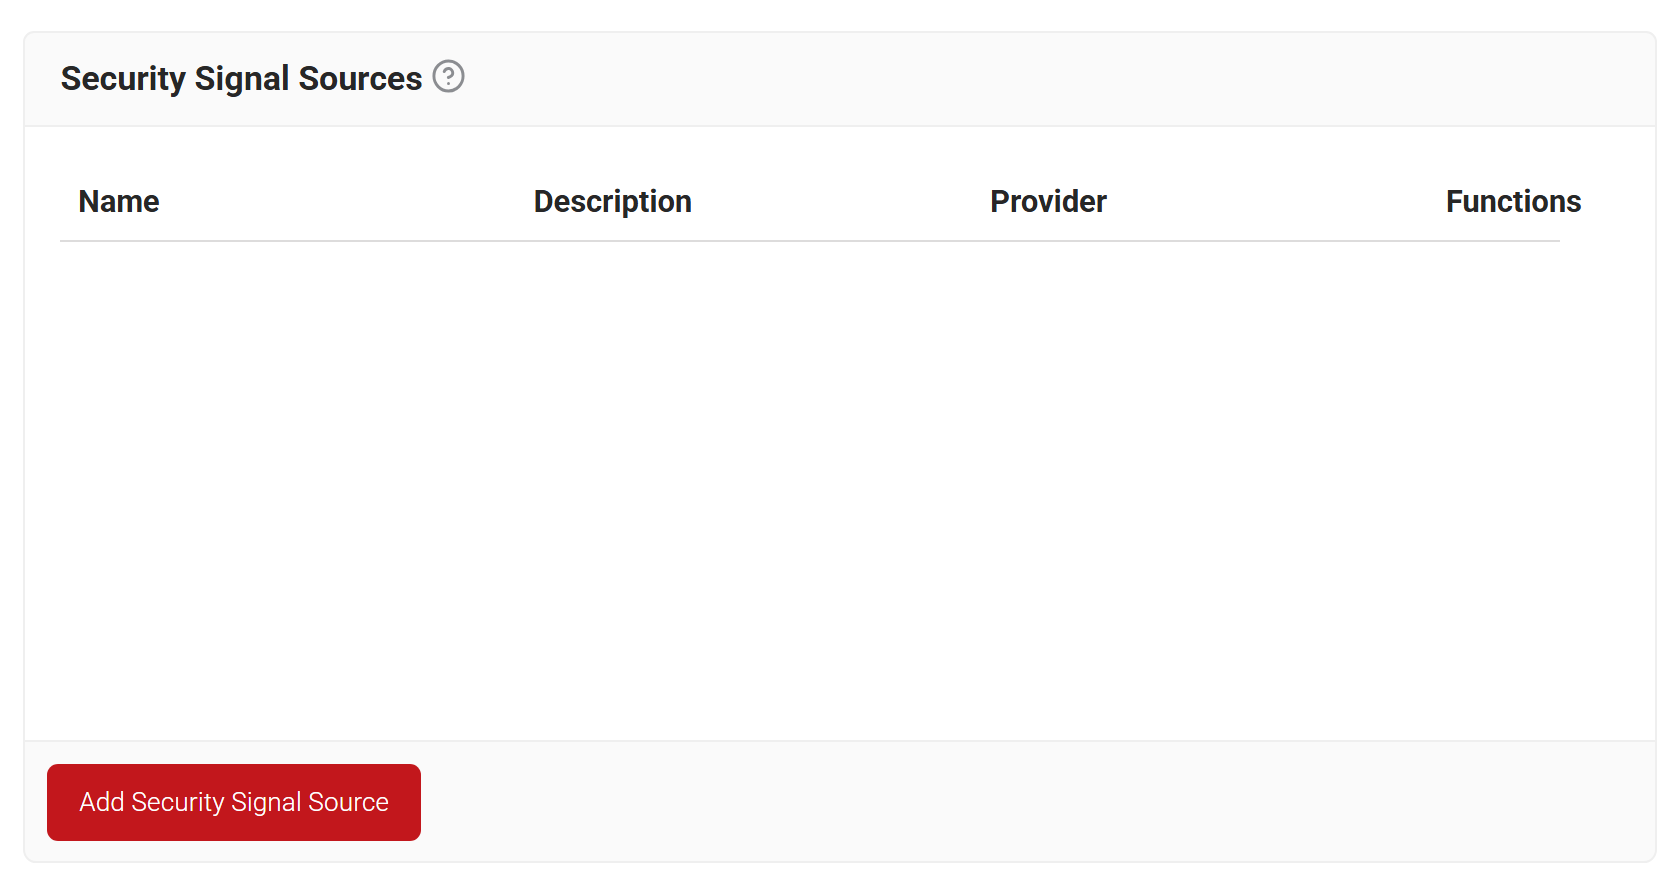
- Navigate to Policy Management > Security Signal Sources.
- Click Add Security Signal Source.

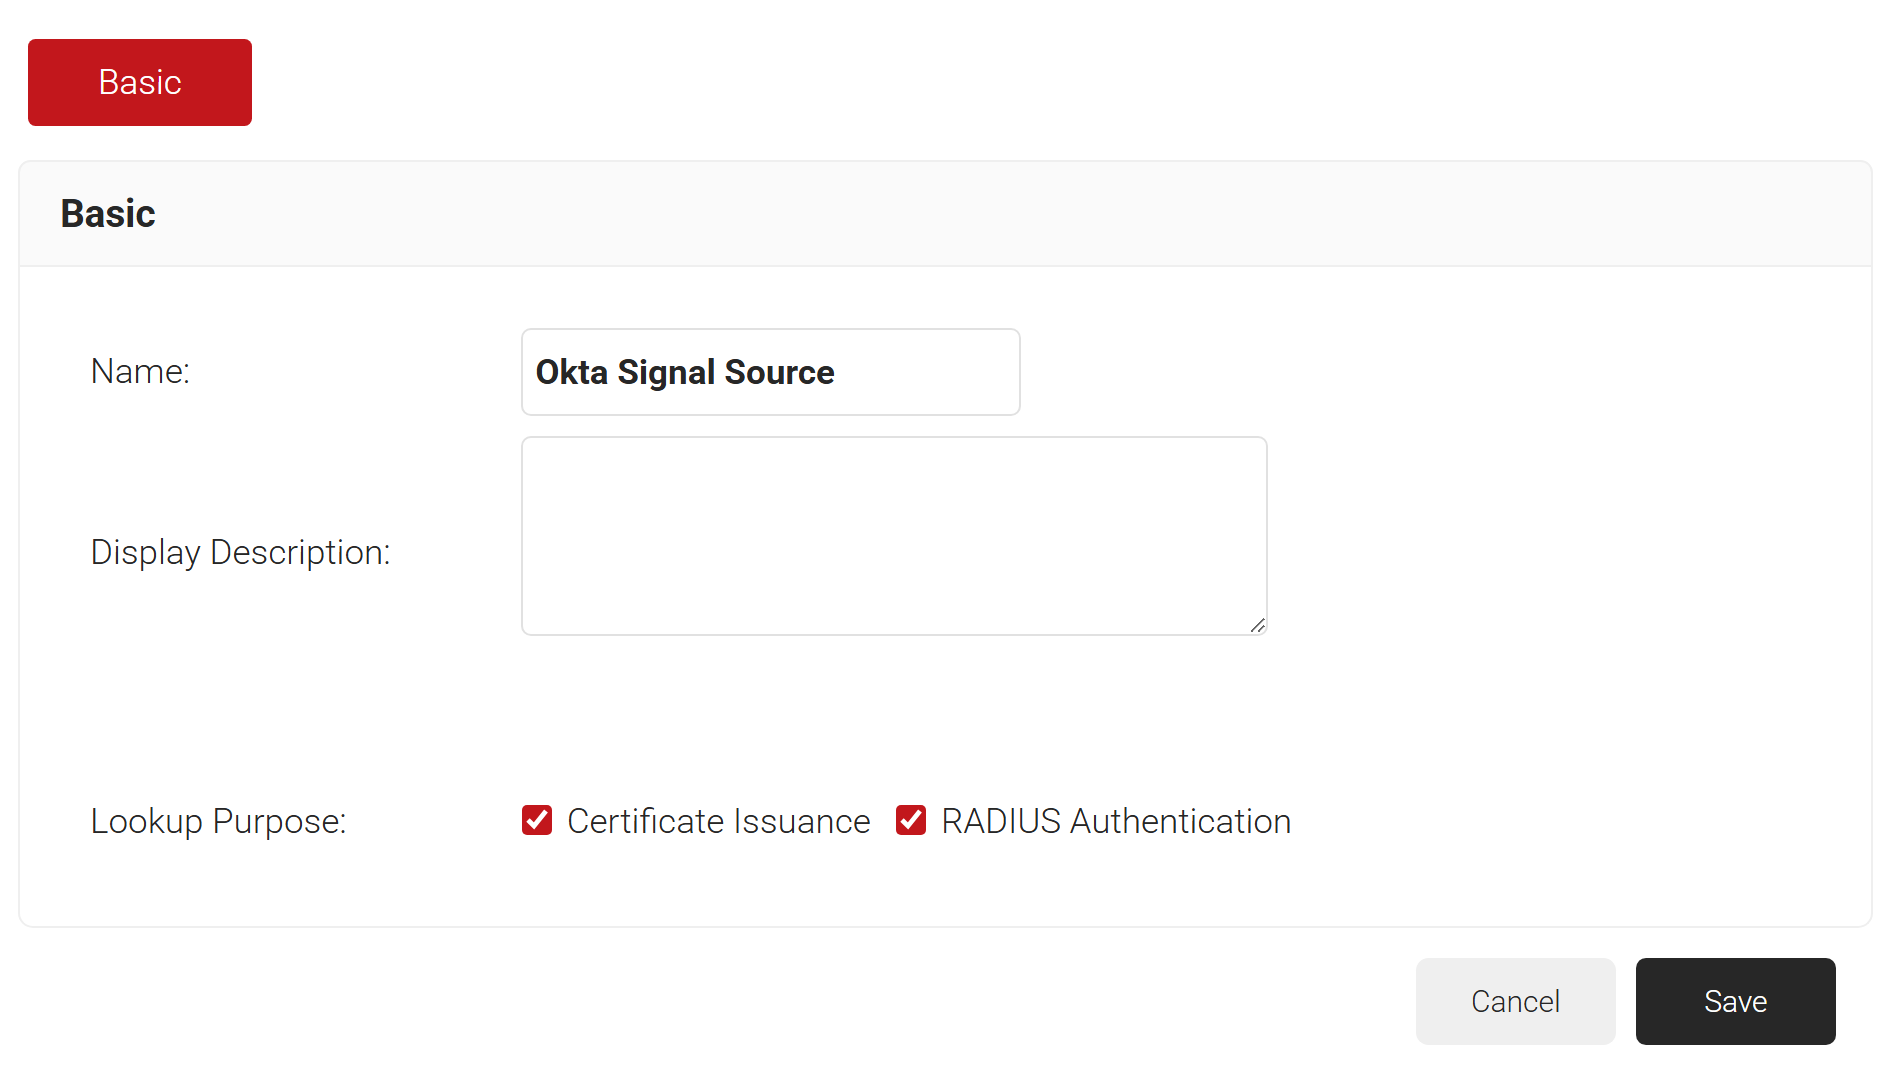
- In the Basic section, enter the name of the security signal source in the Name field.
- In the Display Description field, enter a suitable description for the security signal source.
- In the Lookup Purpose field, select the RADIUS Authentication checkbox to add the policy to the RADIUS Authentication workflow.

- Click Save.
- The page refreshes and displays the Conditions and Settings tabs.
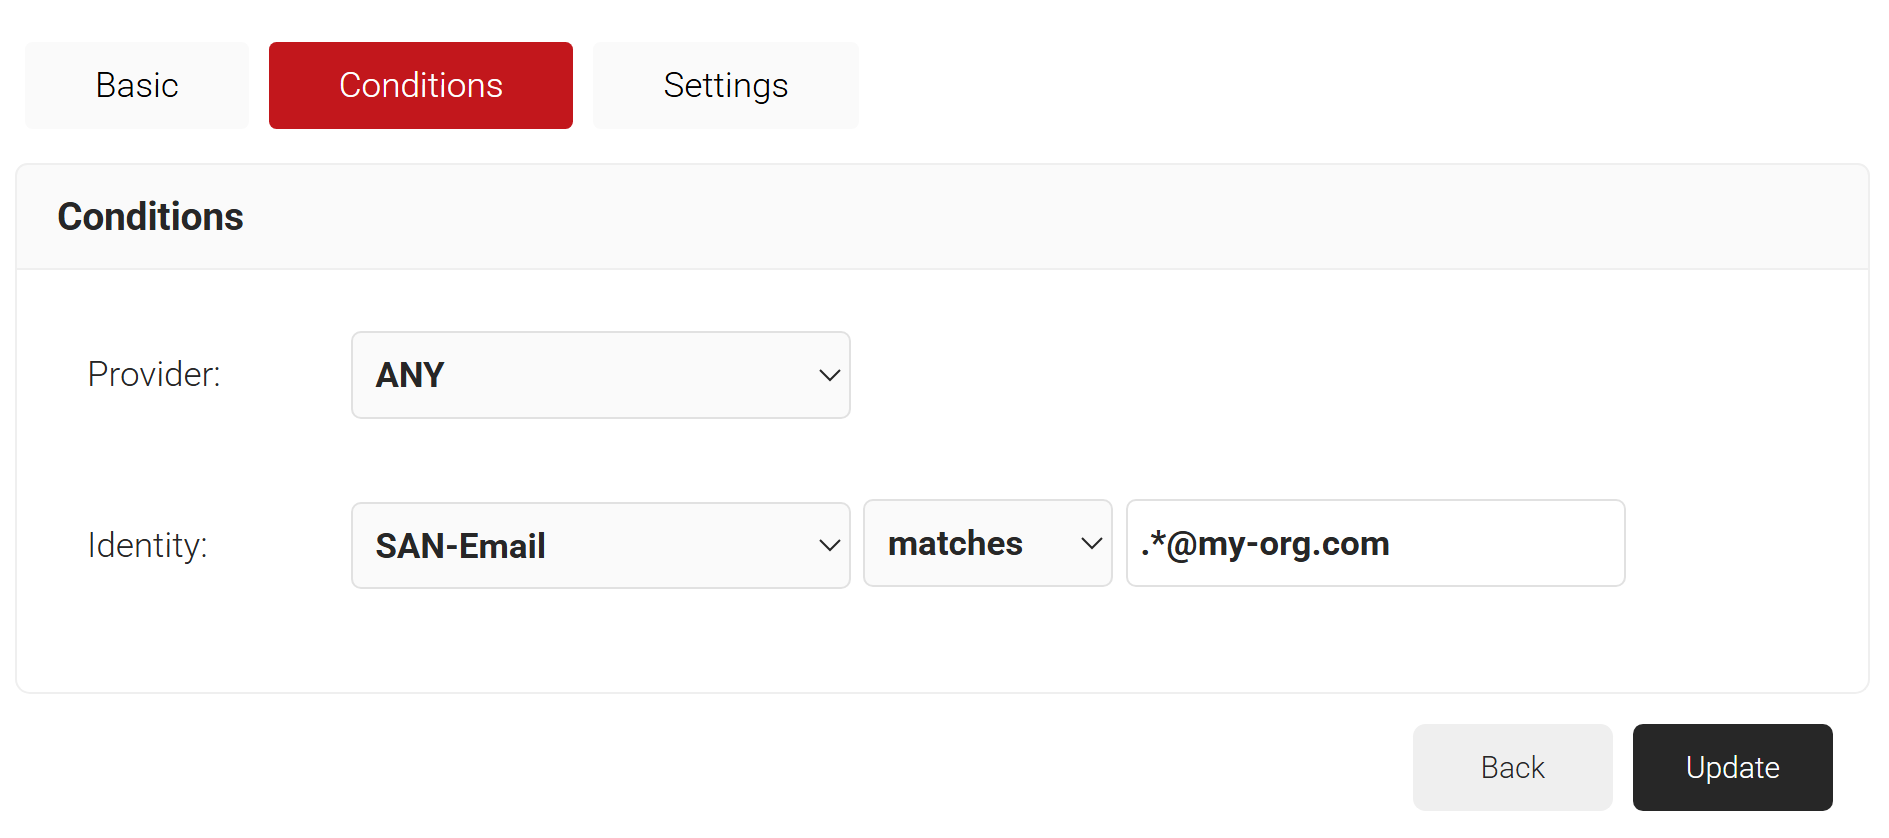
- Select the Conditions tab.
- Under the Conditions section, select the appropriate value from the Identity drop-down list.
- Configure Regex to match the values of your devices configured in the Identity field.

- Click Update.
- Select the Settings tab.
- Under the Settings section, from the Provider drop-down list, select the core provider created in the previous section (see the Configuring Account Lookup in JoinNow Management Portal section).
- From the Lookup Type drop-down list, select the lookup type:
- Auto: The system automatically uses identity as the Lookup attribute.
- Device: The Identity drop-down list is displayed. Select a device identity for lookup.
- User: The Identity drop-down list is displayed. Select a user identity for lookup.
- Select the Revoke On Failure checkbox to automatically revoke a certificate if an account lookup fails, if necessary.
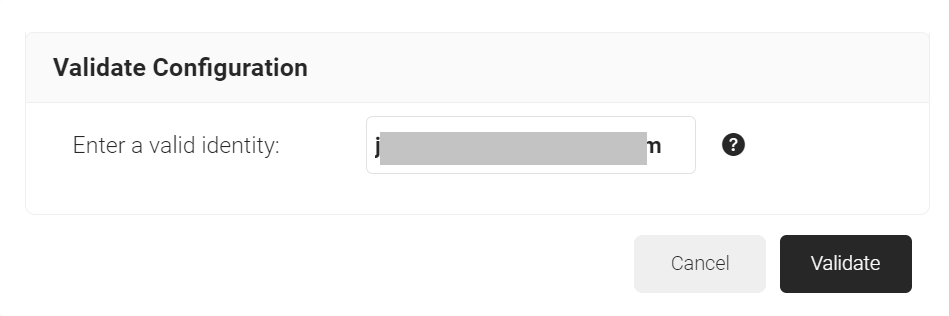
- Click the Validate Configuration button to check if the lookup is valid.
- On the Validate Configuration pop-up window, in the Enter a valid identity field, enter the identity (user/device) to validate the lookup, and click Validate.

- After successful validation, the associated attributes and groups of the core provider are displayed on the Lookup Details prompt. The admin can use this information to configure the network policies and verify the user’s validity.
NOTE: When the Admin enters an invalid identity on the Validate Configuration pop-up window, the following error message is displayed: “Account lookup failed.”
- Click Update.
First, create a role policy for network authentication. This policy will be used by CloudRADIUS Dynamic Policy Workflow to lookup user status at the moment of authentication. Then, CloudRADIUS can dynamically apply Network policies, which you will configure next.
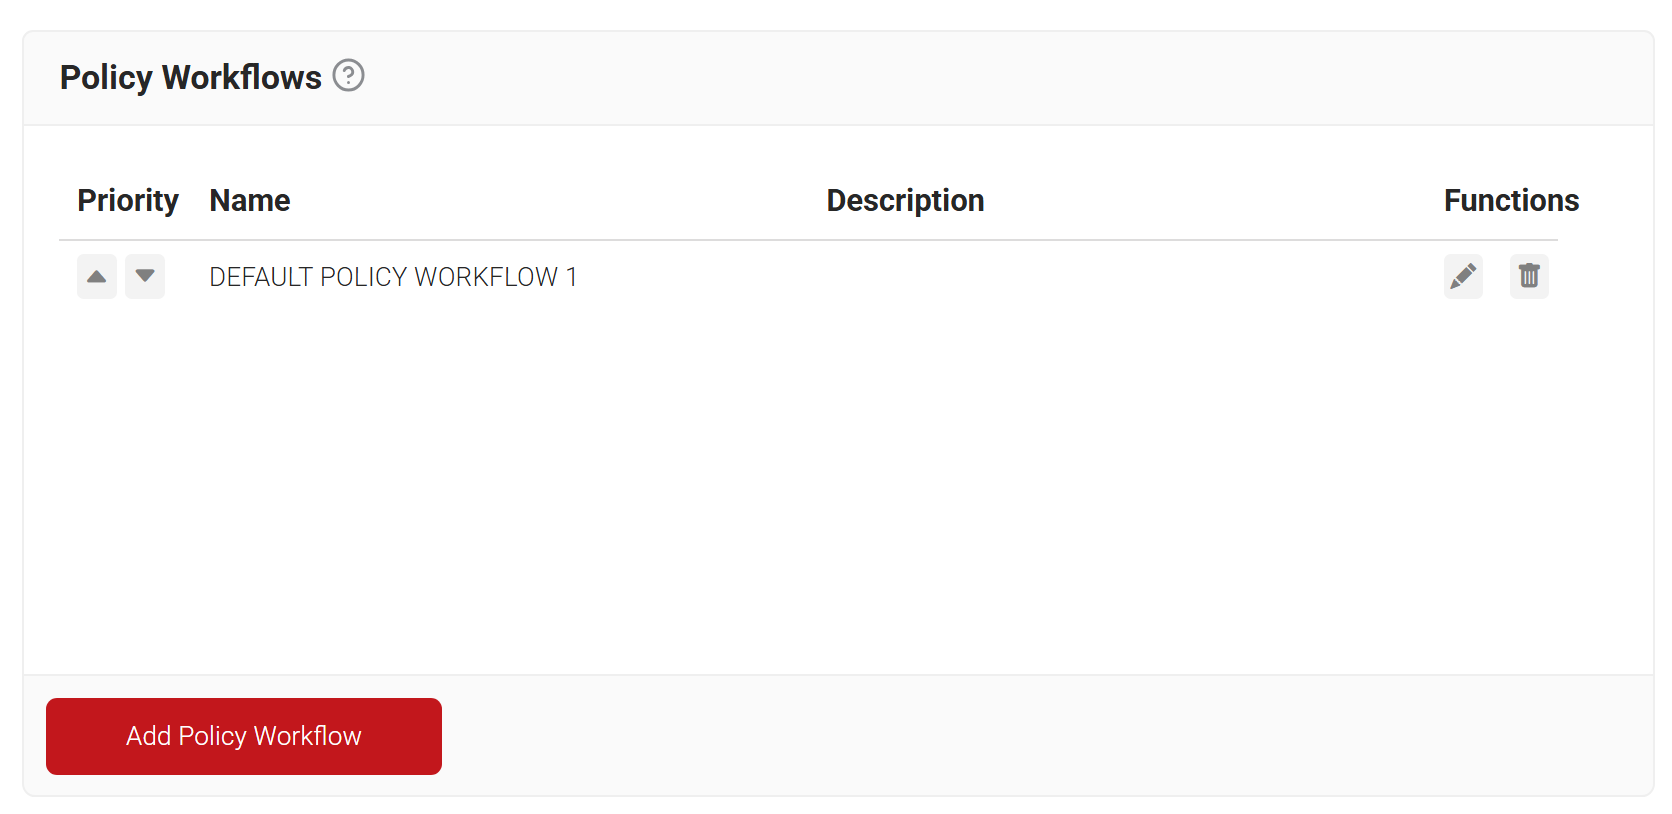
- Navigate to Policy Management > Policy Workflows.
- Click Add Policy Workflow.

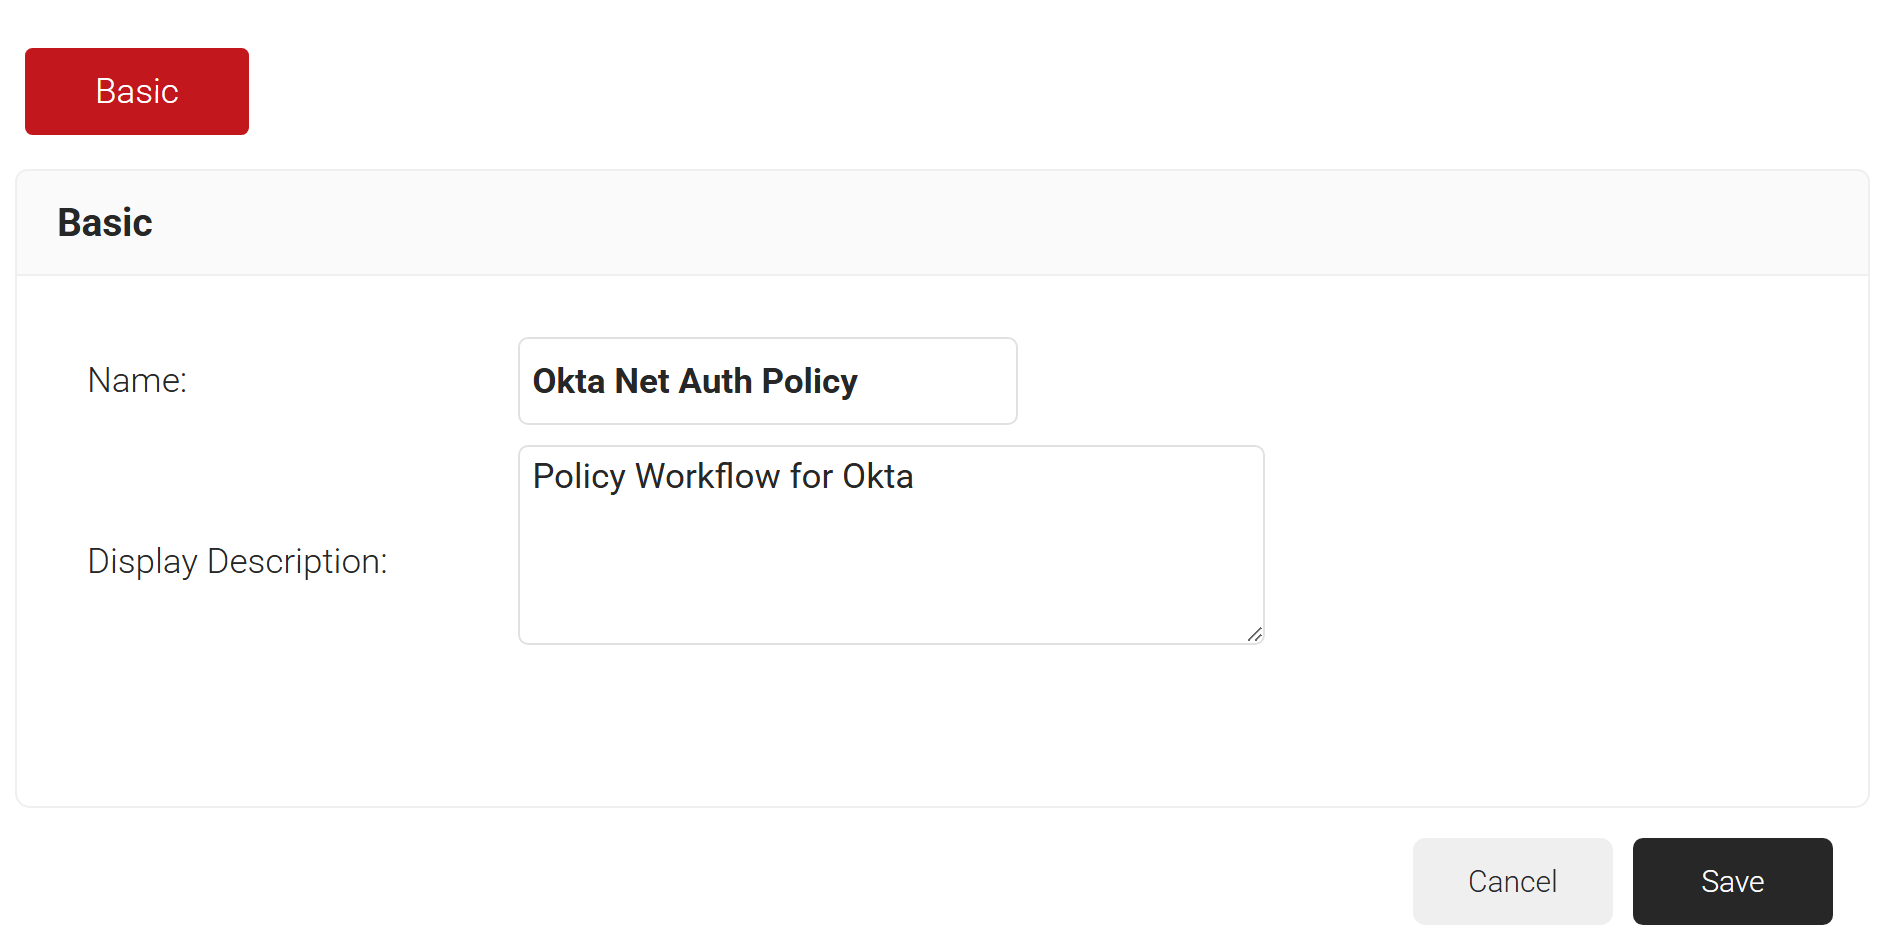
- In the Name field, enter the name of the policy workflow.
- In the Display Description field, enter a suitable description for the policy workflow.
NOTE: Ensure that you create a separate policy workflow for authentication.
- Click Save.
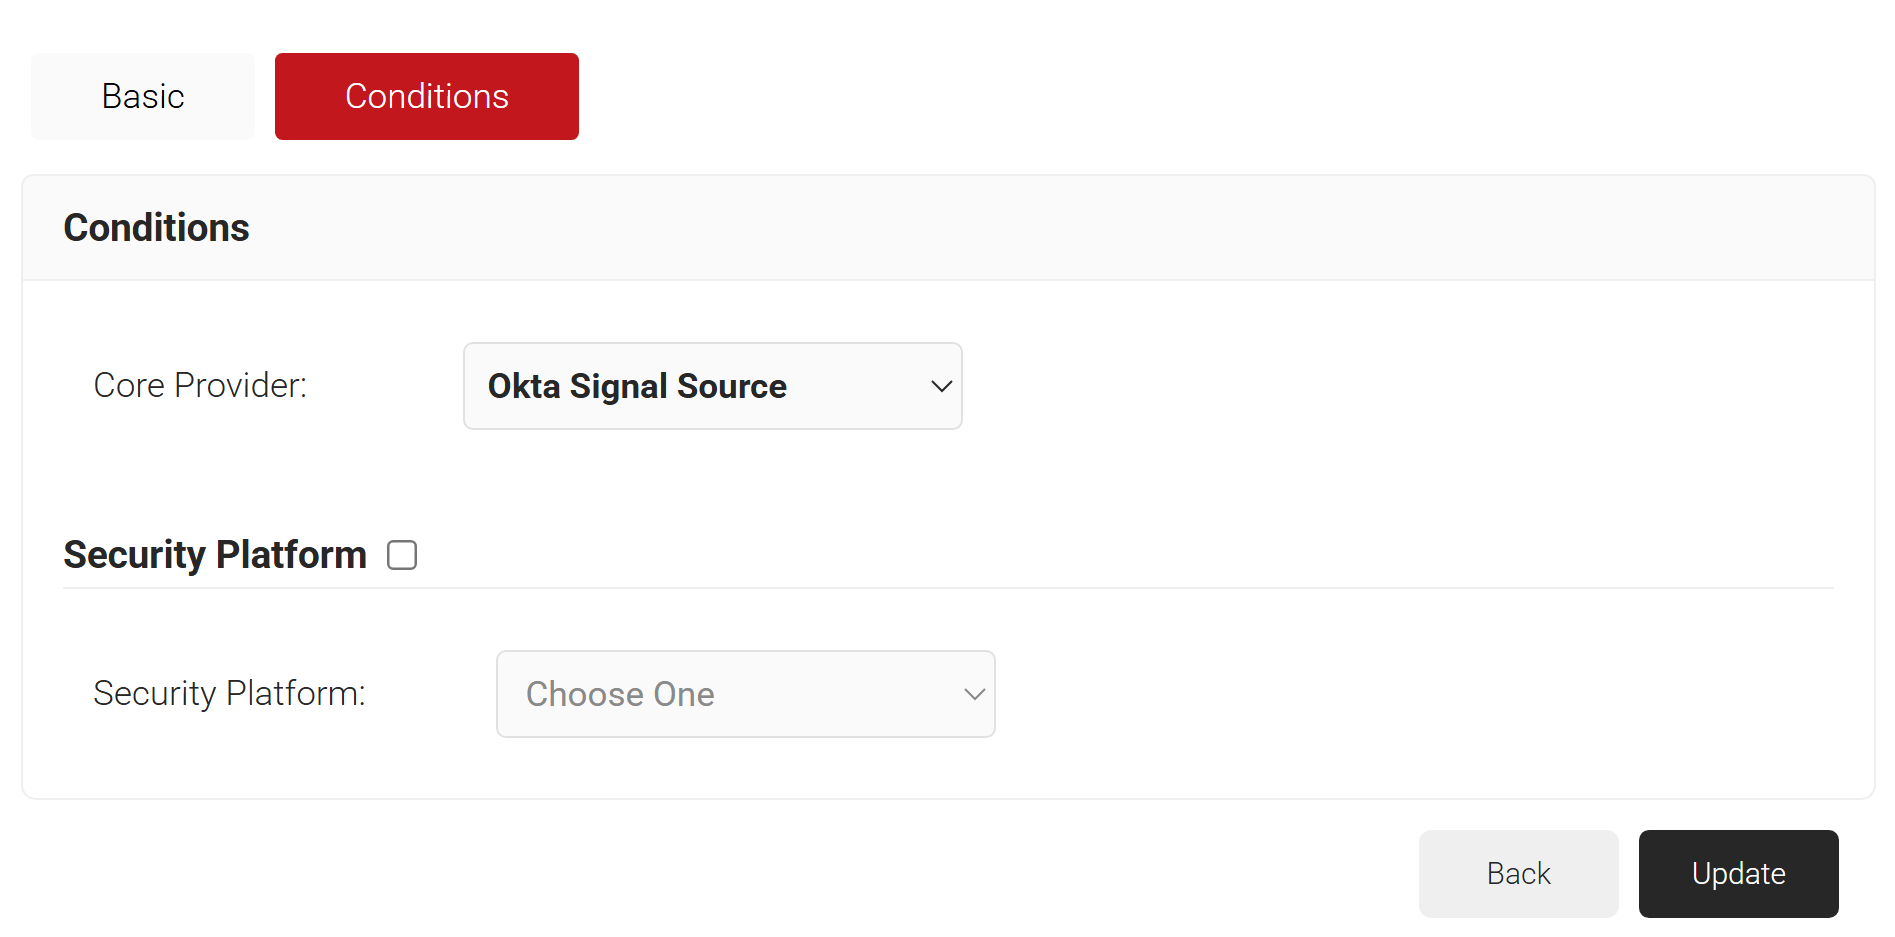
- The page refreshes and displays the Conditions tab.
- Select the Conditions tab.
- From the Core Provider drop-down list, select the Okta Core Provider created in the previous section (see the Configuring Account Lookup in JoinNow Management Portal section).

- Click Update.
A network Policy specifies how CloudRADIUS will authorize access to a particular Policy Workflow.
A typical Network Policy would say something like the following: “If User Role = Staff, authorize access and assign them to VLAN 2.”
You can configure any RADIUS Attribute to be sent to the wireless controller. If you leave the attribute section blank, it will just send an Access Accept message.
To create and configure the Network Policy, follow the steps below:
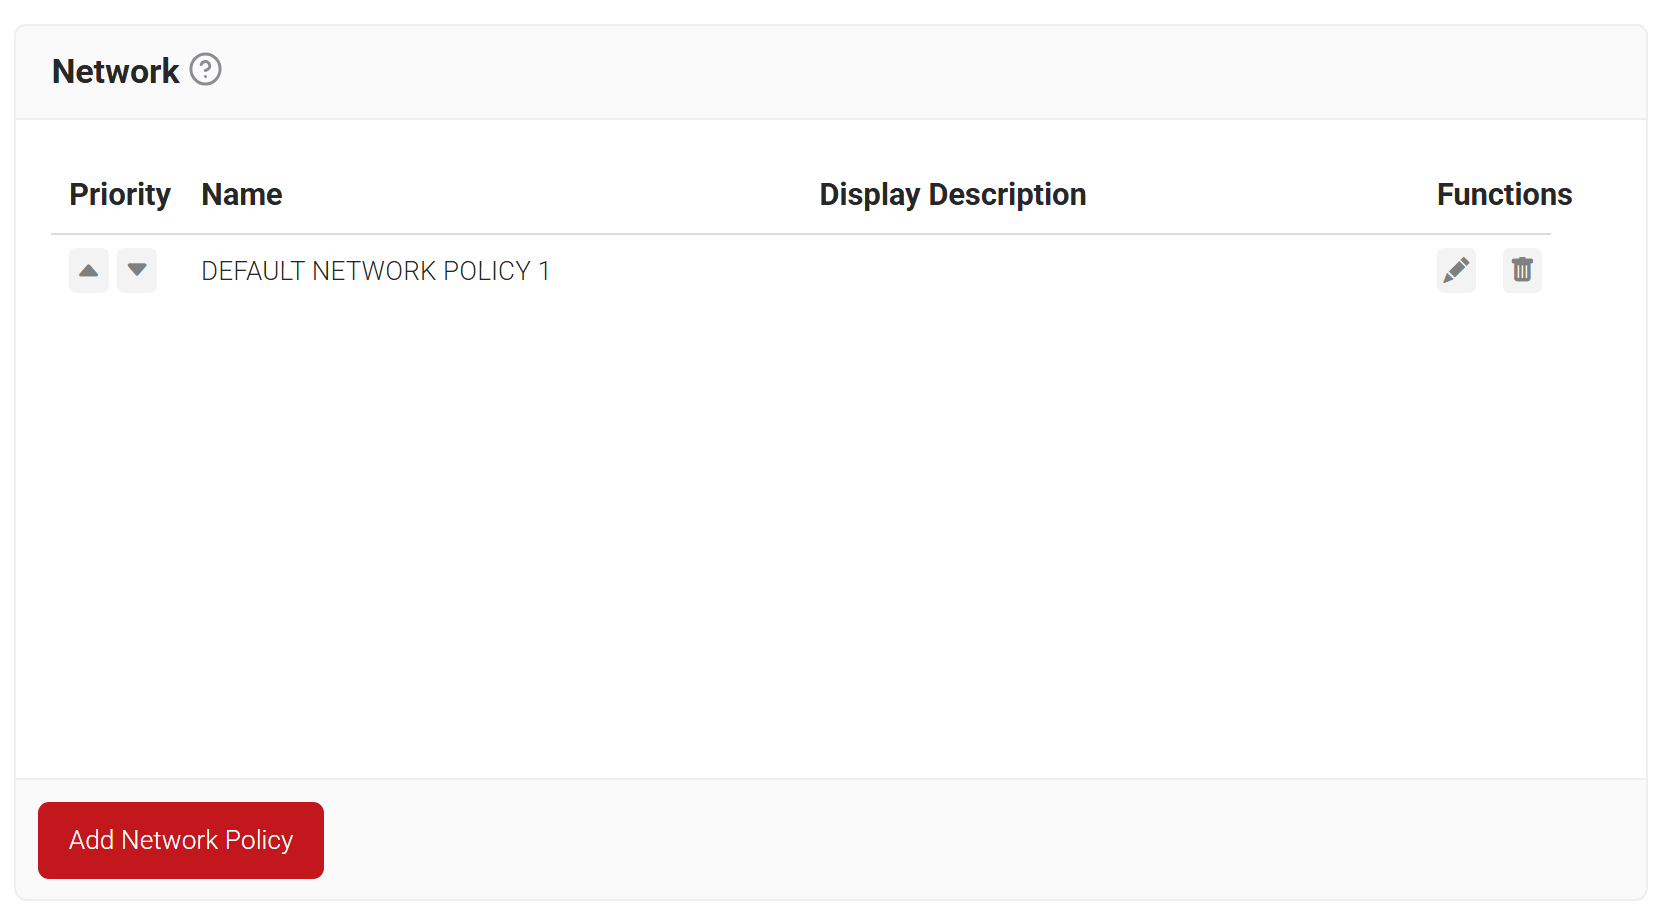
- Navigate to Policy Management > Network.
- Click Add Network Policy.

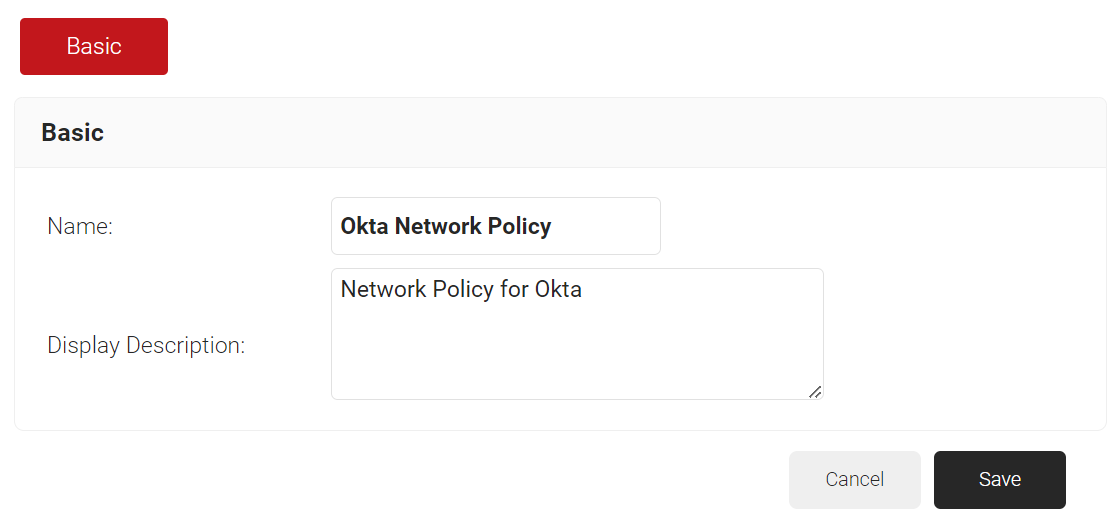
- In the Basic section, in the Name field, enter the name of the network policy.
- In the Display Description field, enter a suitable description for the network policy.

- Click Save.
- The page refreshes and displays the Conditions and Settings tabs.
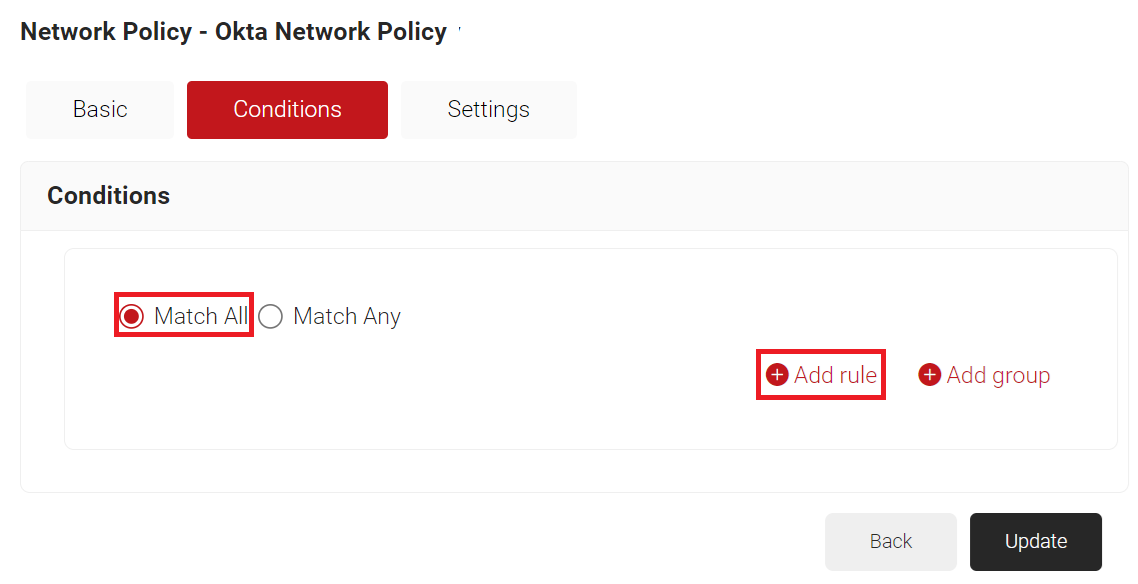
- Select the Conditions tab.
- Select Match All or Match Any based on your requirement to set authentication criteria. In the case explained here, we are selecting Match All.
- Click Add rule.

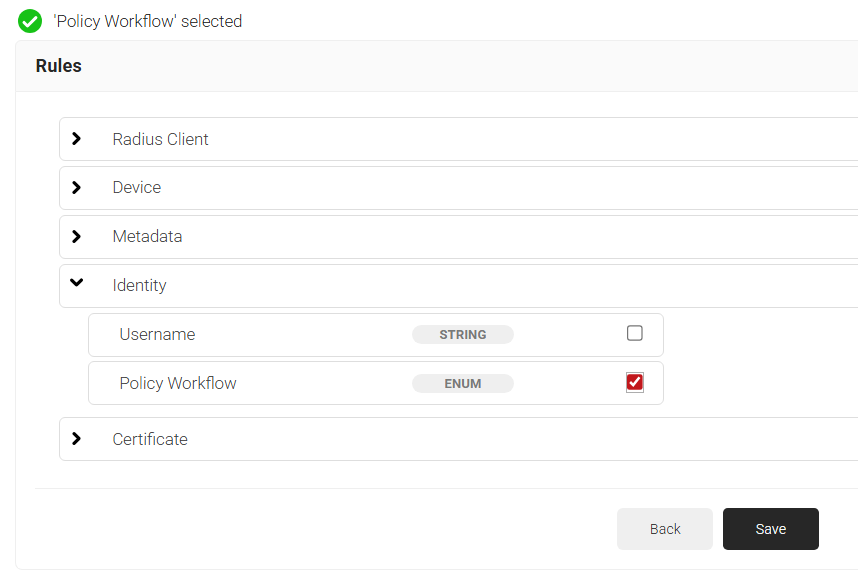
- Expand Device and select the Device Role option.
- Expand Identity and select the Policy Workflow option.

- Click Save.
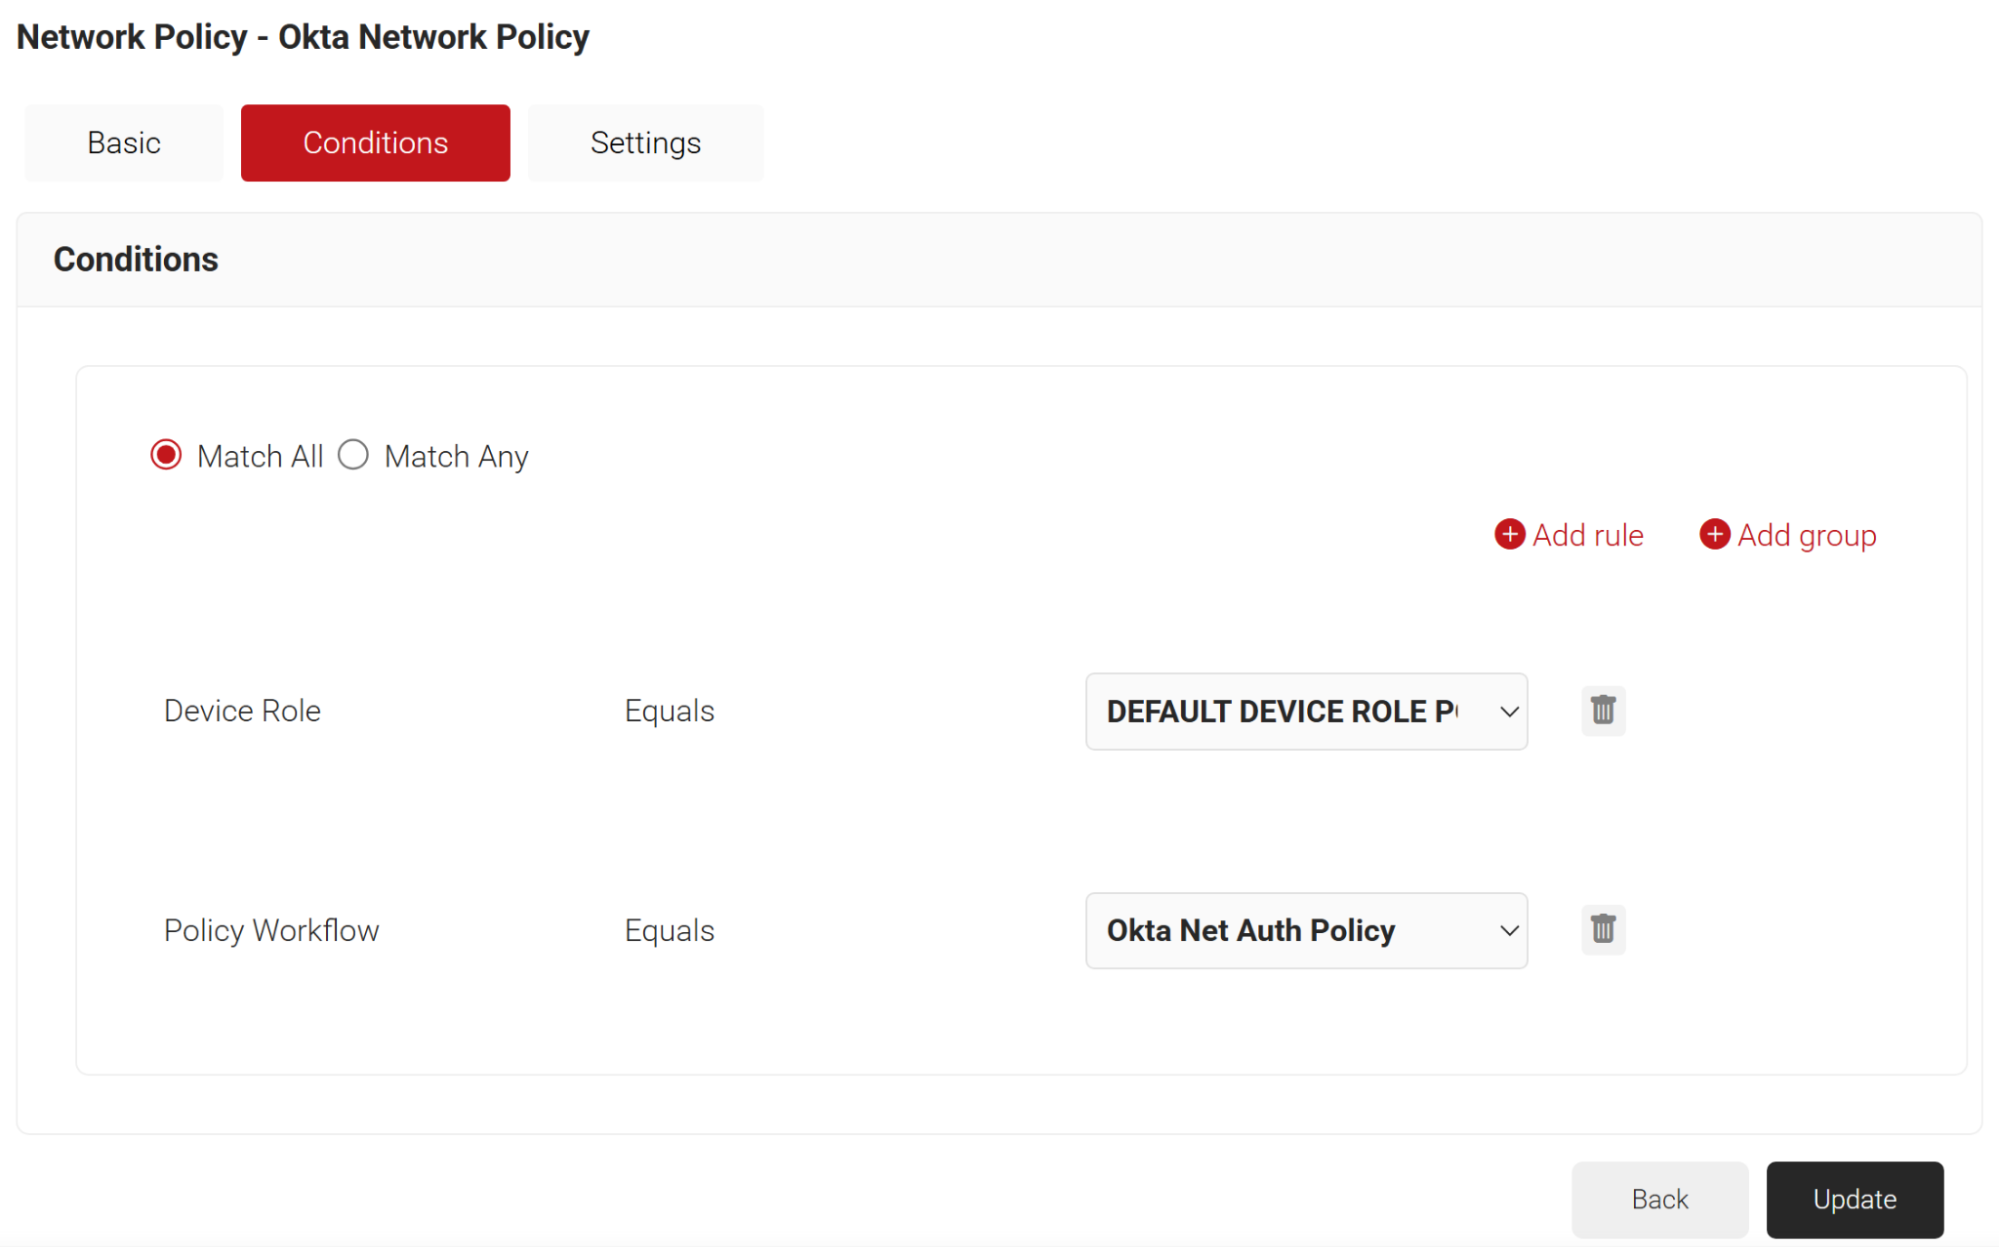
- The Device Role and Policy Workflow options appear under the Conditions tab.
- From the Device Role drop-down list, select the default device role policy.
- From the Policy Workflow Equals drop-down list, select the Policy Workflow you created earlier (refer to the Policy Workflow for Network Authentication section). You can select multiple Policy Workflows to assign to a Network Policy.

NOTE: You can assign a network policy to multiple user roles. - Select the Settings tab.

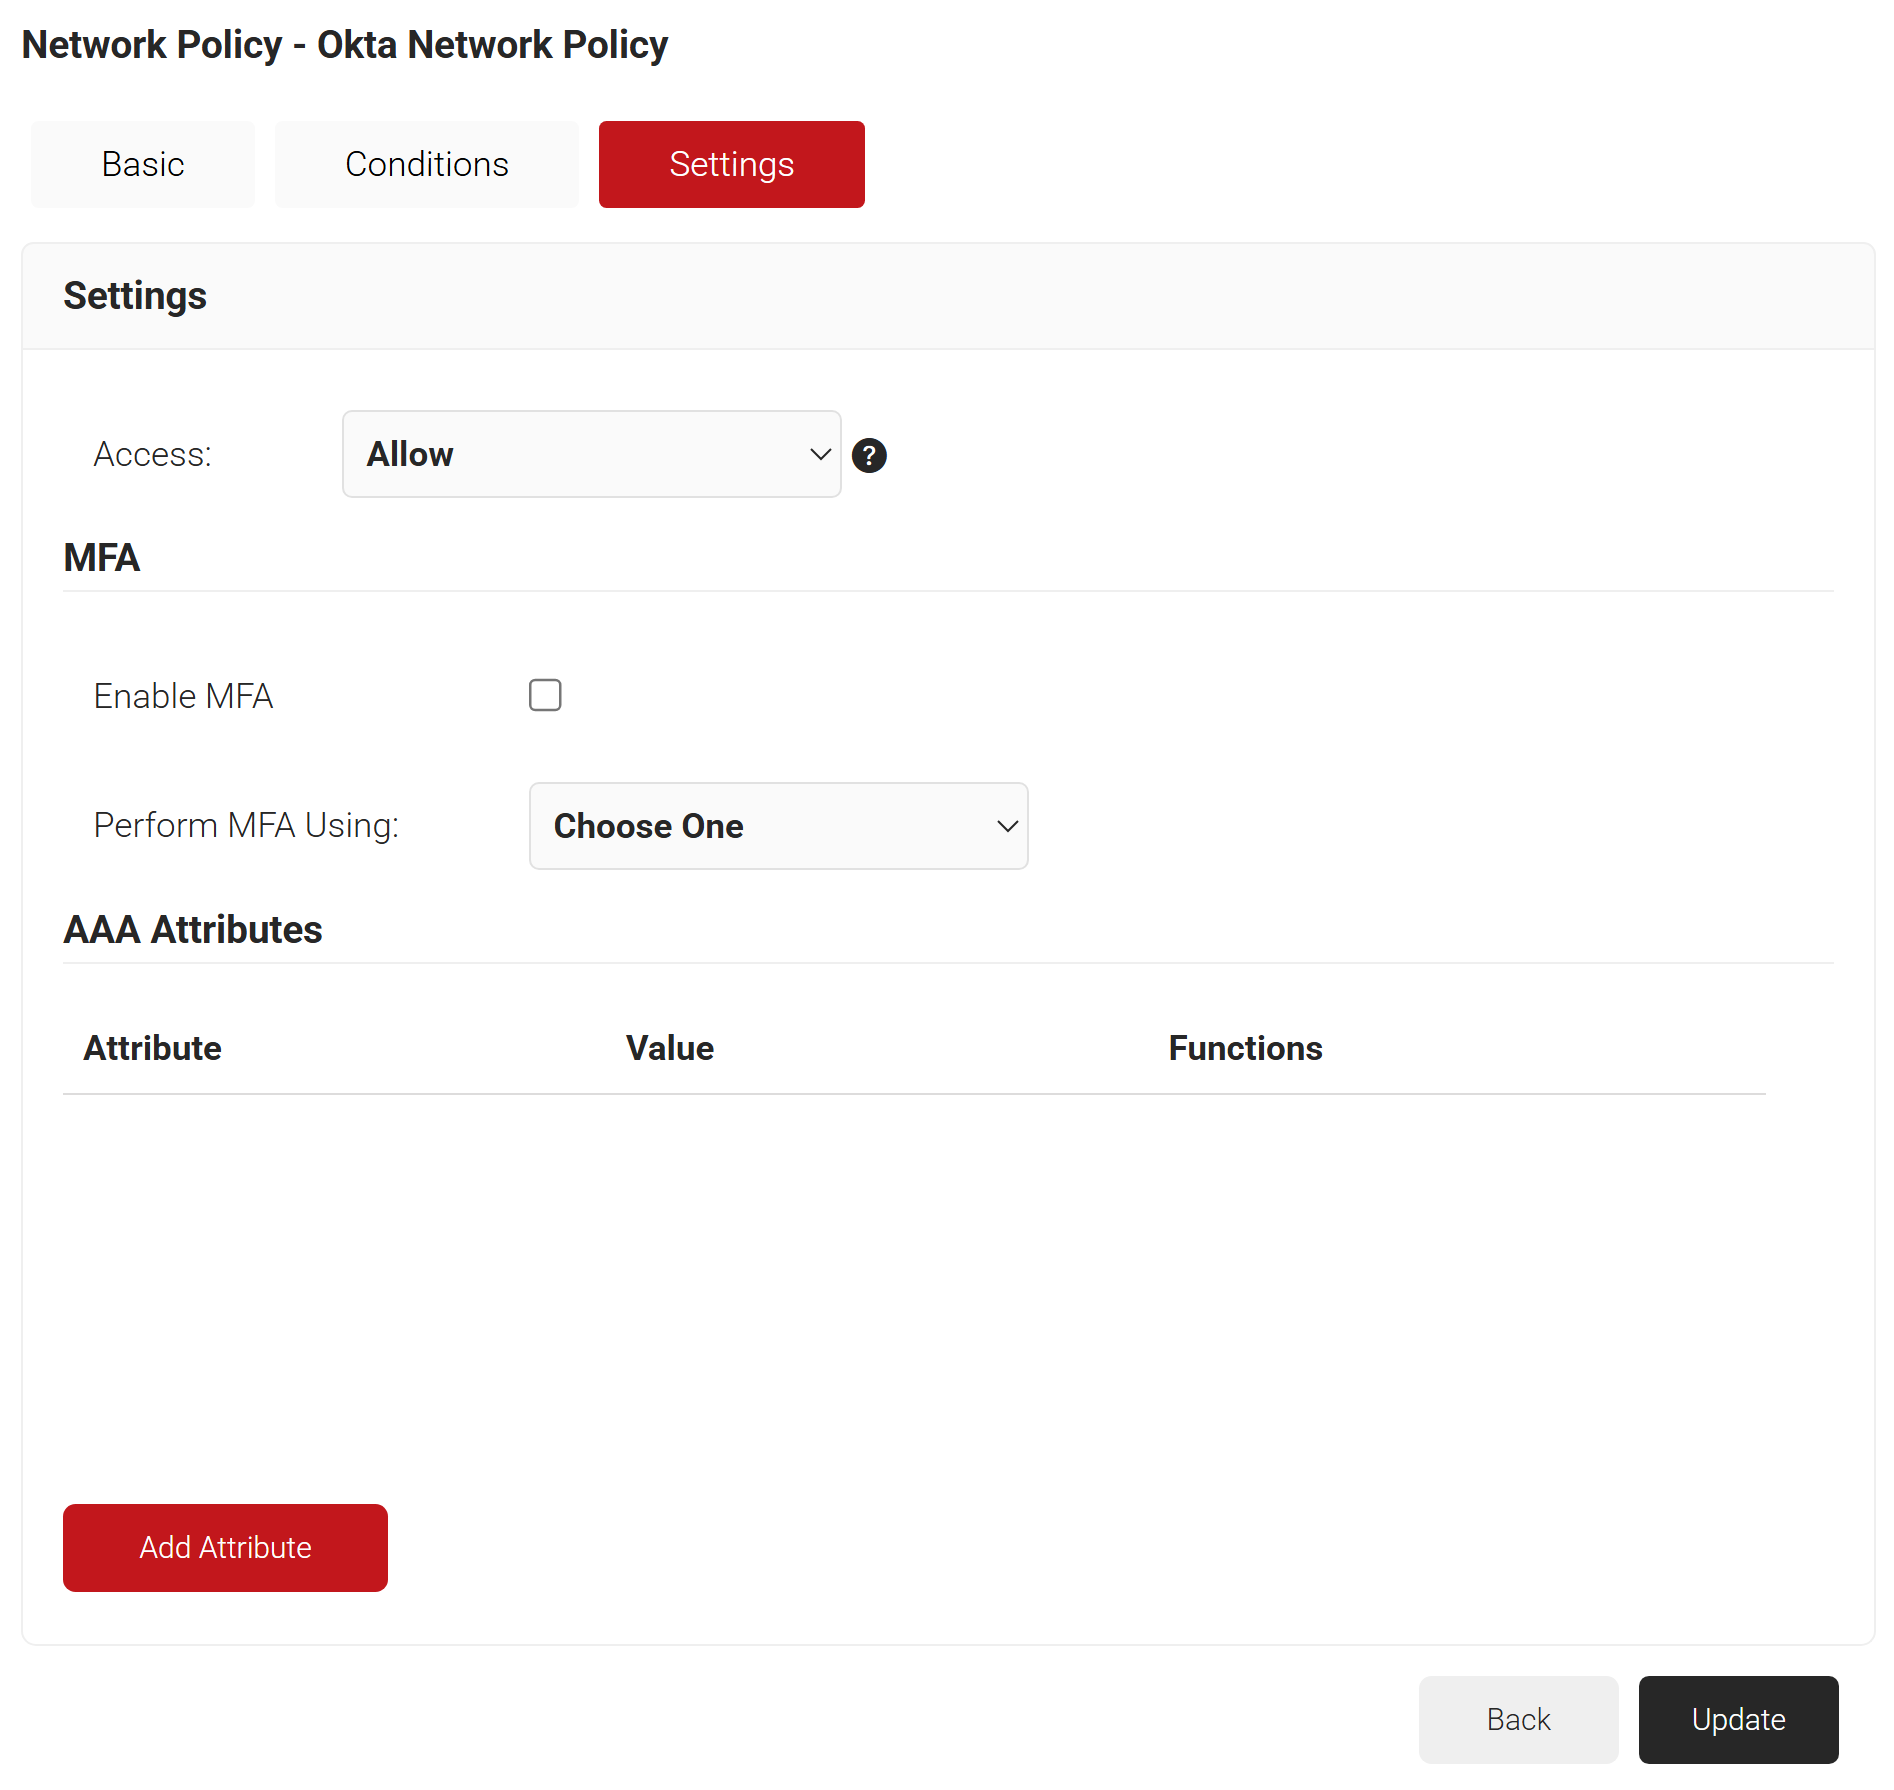
- Click Add Attribute.
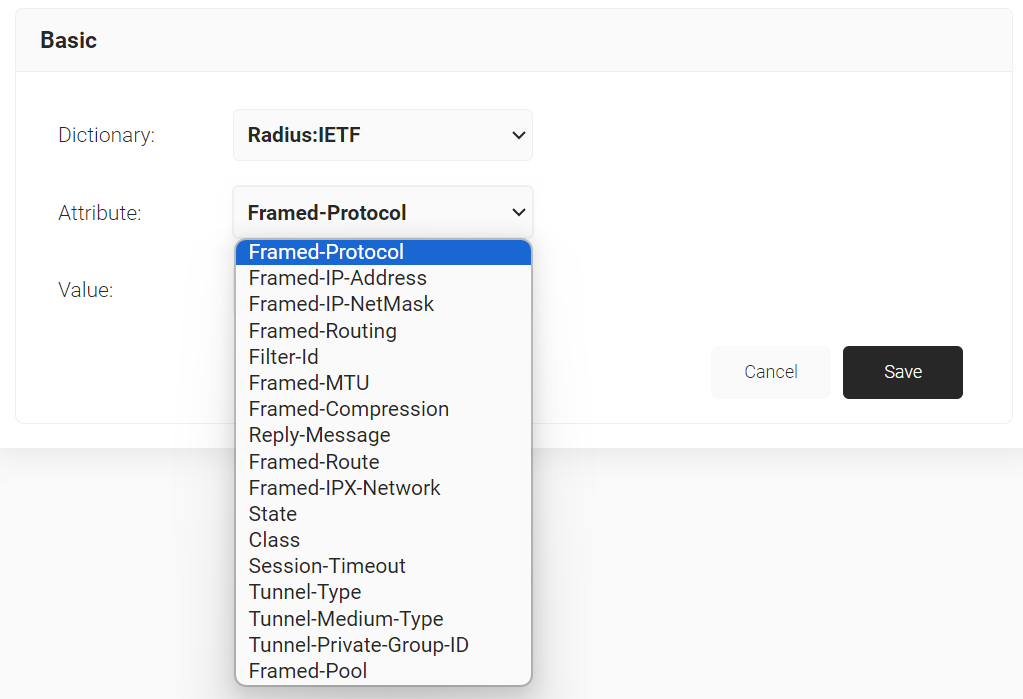
- From the Dictionary drop-down list, select an option: Radius: IETF or Custom.
- From the Attribute drop-down list, select an option.
- In the Value field, enter the appropriate value for the attribute.

- Click Save.
- Click Update.
NOTE: Repeat the process for all the attributes you want to send to the Policy Workflow.