This integration connects Fleet MDM with SecureW2 managed PKI to automate certificate-based security across managed devices. SecureW2 acts as the certificate authority—issuing, renewing, and revoking digital certificates without manual intervention.
When a device is enrolled in Fleet, it can automatically receive a SecureW2-issued certificate, enabling passwordless authentication to Wi-Fi, VPN, and other network resources. This eliminates reliance on shared credentials, strengthens security through strong certificate-based authentication, and gives IT teams a single, automated workflow for provisioning and lifecycle management of device identities.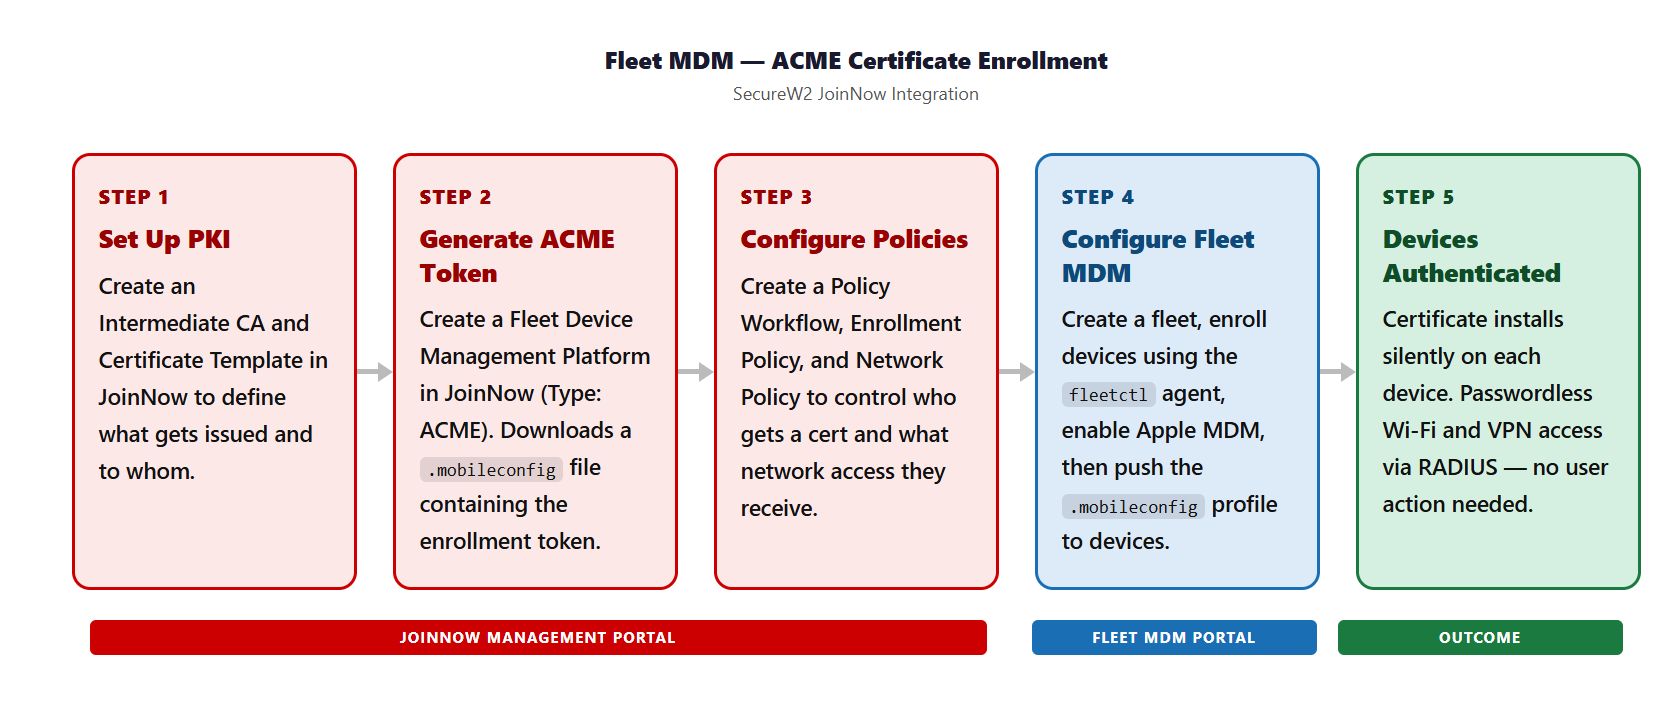 The following guide provides the steps required to configure Fleet MDM with SecureW2 PKI.
To create a new intermediate CA:
- Log in to the JoinNow Management Portal.
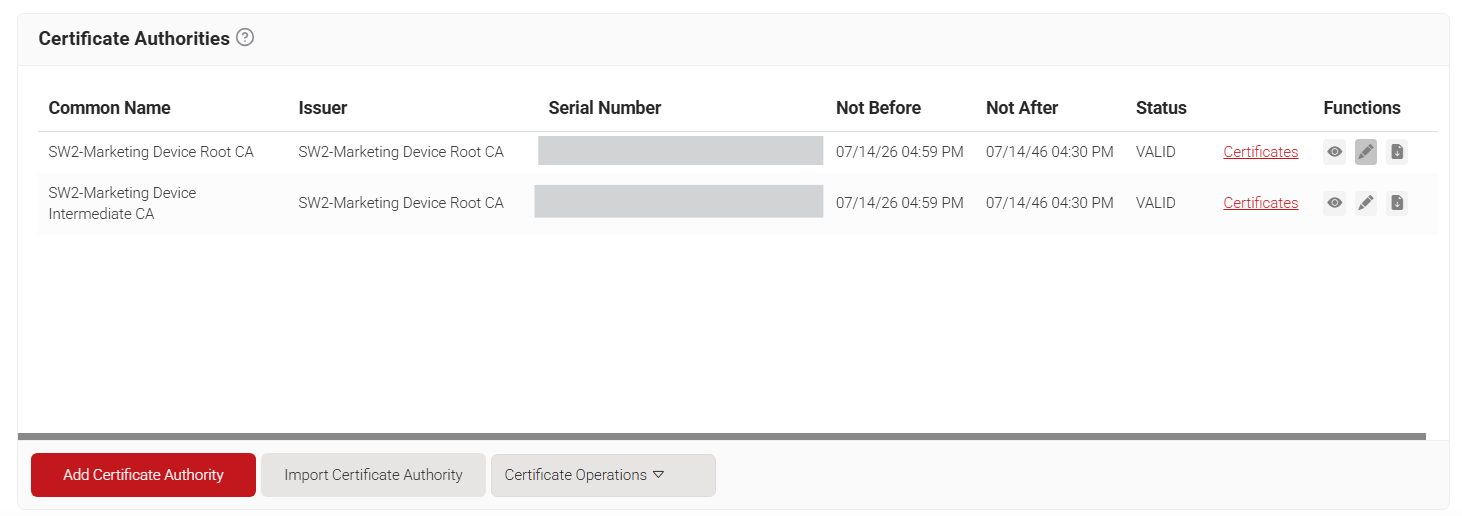
- Navigate to Dynamic PKI > Certificate Authorities.
- Click Add Certificate Authority.

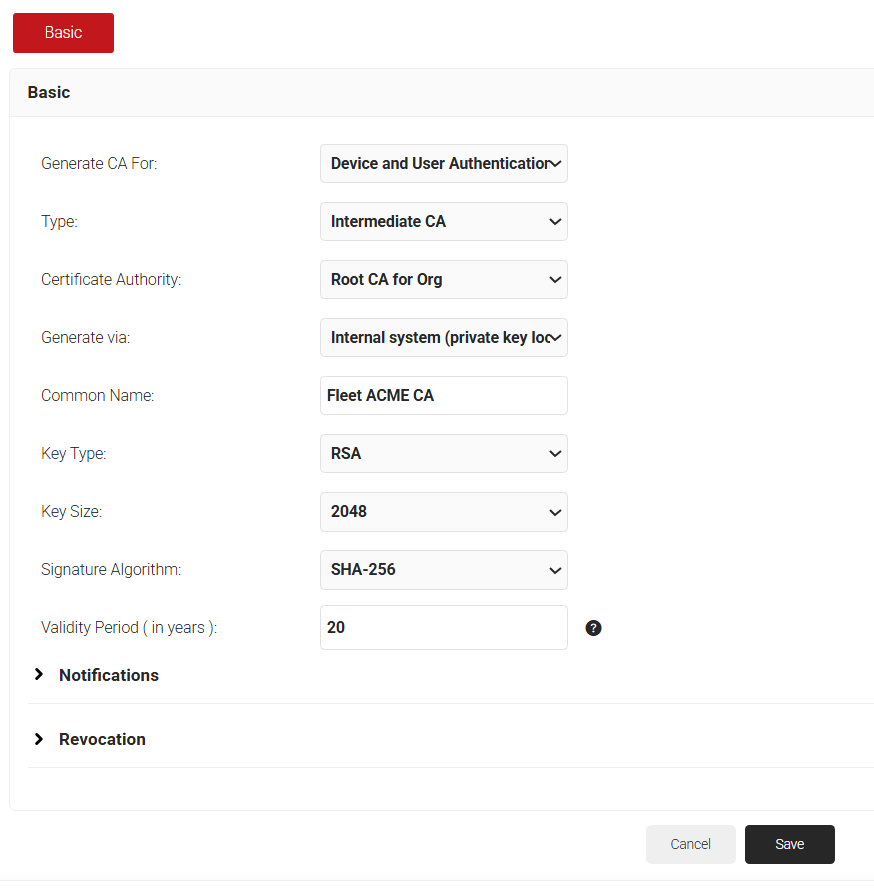
- In the Basic section, from the Generate CA For drop-down list, select the Device and User Authentication option to authenticate devices and users.
- From the Type drop-down list, select Intermediate CA.
- From the Certificate Authority drop-down list, select the default Root CA that comes with your organization.
- In the Common Name field, enter a common name for the CA certificate. SecureW2 recommends a name that includes “SCEP.”
- From the Key Size drop-down list, select 2048 for the CA certificate key pair.
- From the Signature Algorithm drop-down list, select the signature algorithm for the certificate signing request. The option available is SHA-256.
- In the Validity Period (in years) field, enter the validity period of the CA certificate.

- Click Save. The new intermediate CA is generated.
To create a Certificate Template for Fleet MDM:
- Navigate to Dynamic PKI > Certificate Authorities.
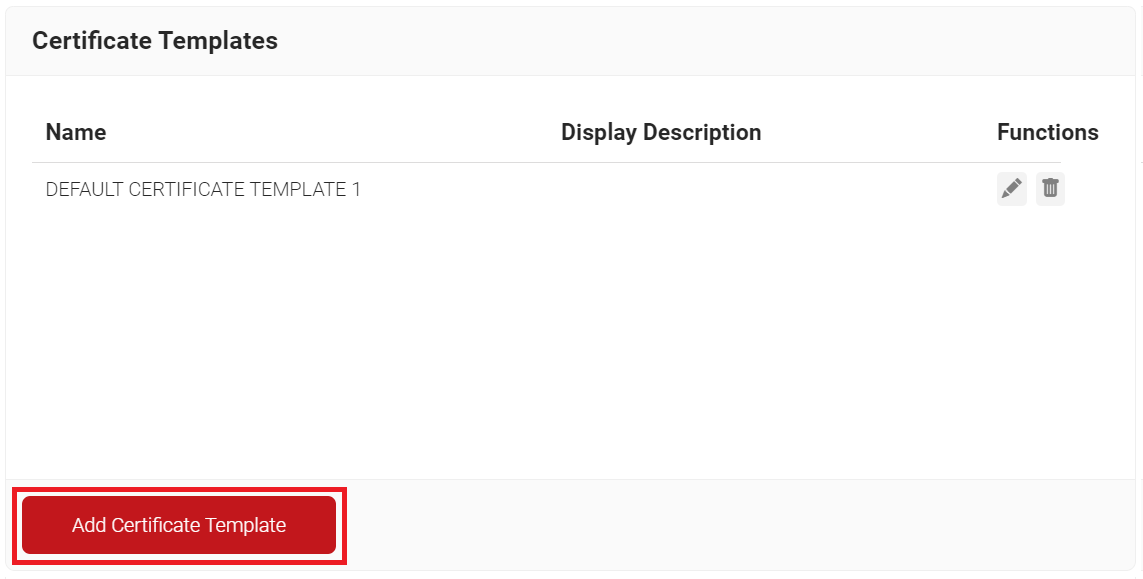
- Scroll to the Certificate Templates section and click Add Certificate Template.

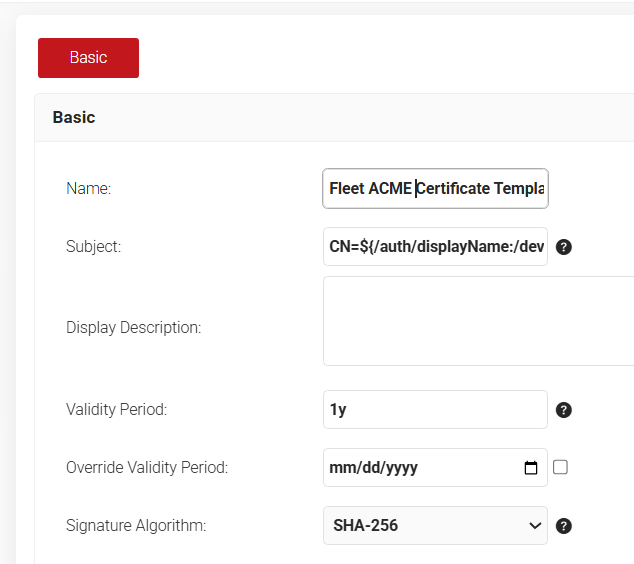
- In the Basic section, for the Name field, enter the name of the certificate template.
- In the Subject field, retain the default values provided.
- In the Display Description field, enter a suitable description for the certificate template.
- In the Validity Period field, type the validity period of the certificate (based on the requirement).
- From the Signature Algorithm drop-down list, select the signature algorithm for the certificate signing request. The option available is SHA-256.

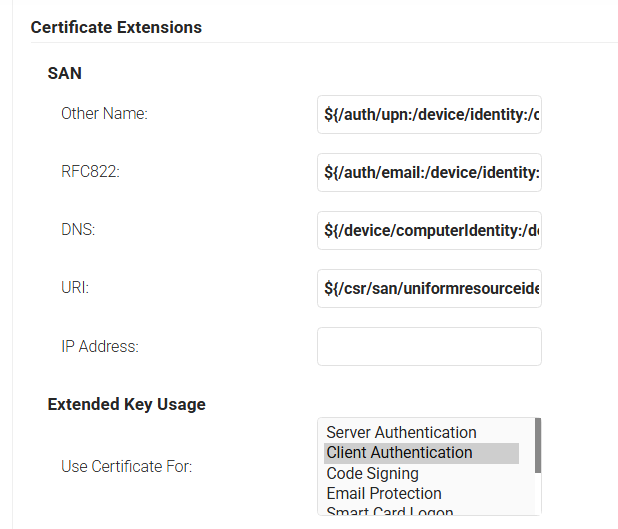
- In the SAN section, retain the default values provided.

- In the Extended Key Usage section, from the Use Certificate For list, select Client Authentication.
- Check the Notify admin on certificate expiry option and select the checkbox to send certificate expiry email notifications to all Admins.
- Click Save.
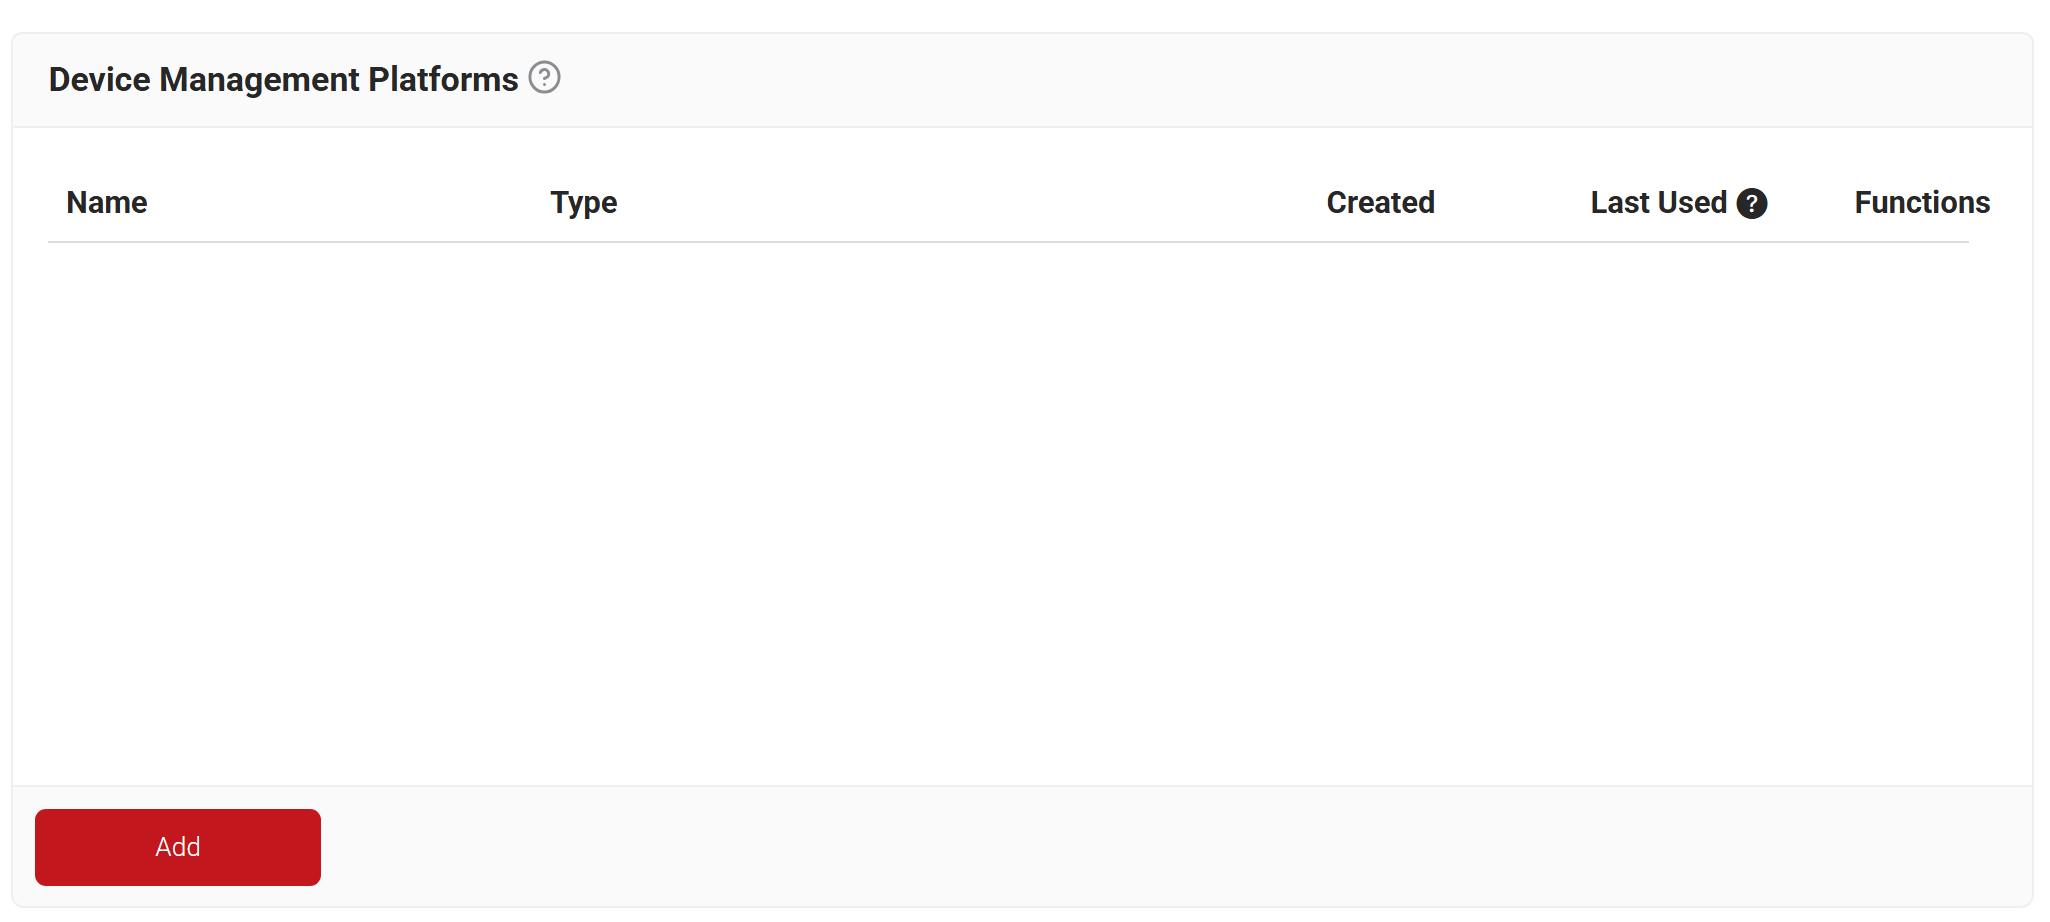
Creating a Device Management Platform generates an API secret and SCEP URL that are further used in configuring the payload in Fleet MDM. Follow the steps below to create the device platform:
- Go to Integrations Hub > Device Management Platforms.
- Click Add.

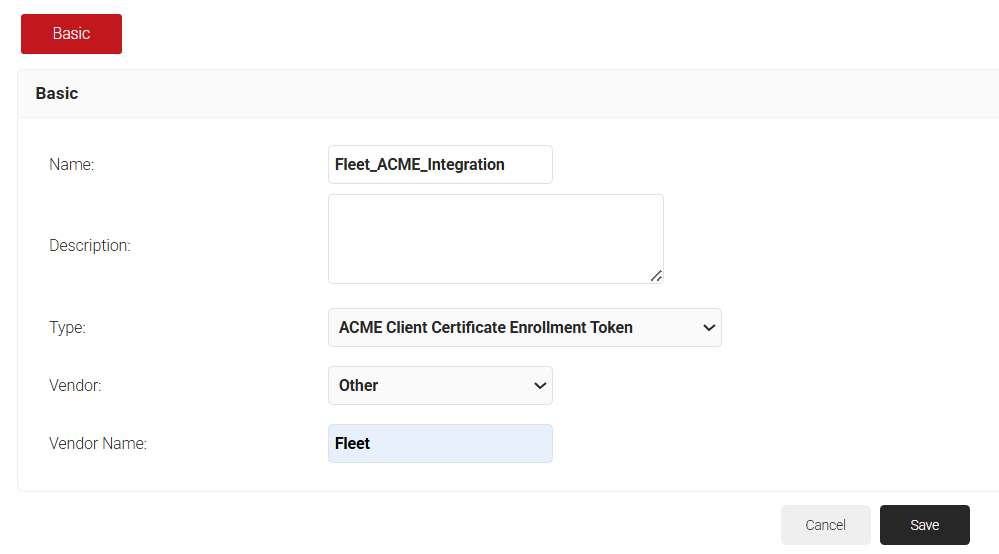
- In the Basic section, enter the name of the IDP in the Name field.
- In the Description field, enter a suitable description for the IDP.
- From the Type drop-down list, select ACME Client Certificate Enrollment Token
- From the Vendor drop-down list, select Other.
- In the Vendor Name field, enter the name as “Fleet”.

- Click Save. A .mobileconfig file is downloaded to your device.
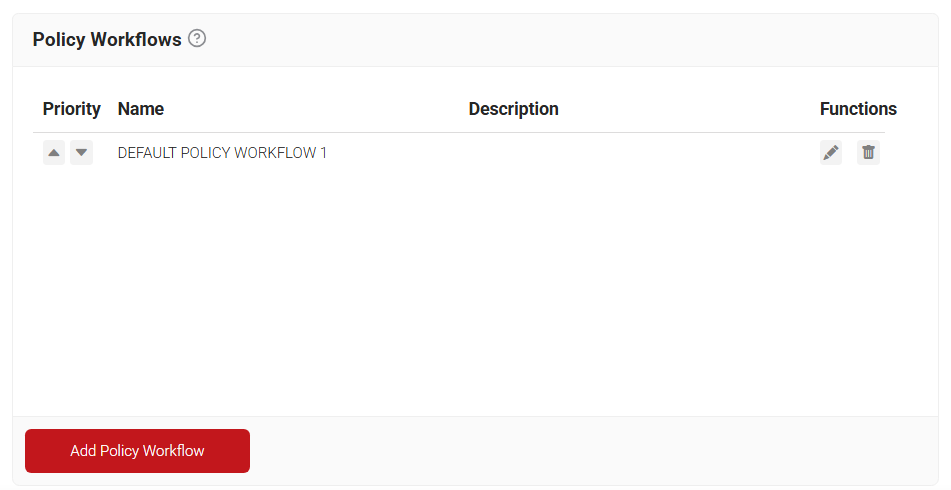
The Policy Workflow facilitates the segmentation of users and devices based on predefined criteria, associated attributes, and groups, with each segment identified as a distinct Policy Workflow. For example, the admin can create one Policy Workflow for each department, such as Marketing, Engineering, Sales, and so on. This allows admins to configure the issuance of specific certificate types or formats for each Policy Workflow through an Enrollment Policy.
Similarly, tailored network privileges can be assigned to an individual Policy Workflow by creating a specific Network Policy, enabling precise and granular control over device network access.
To configure a Policy Workflow:
- Navigate to Policy Management > Policy Workflows.
- Click Add Policy Workflow.

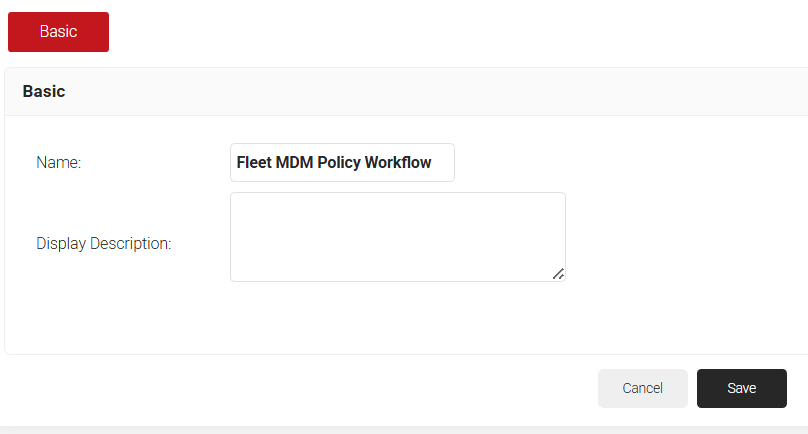
- In the Basic section, enter the name of the policy workflow in the Name field.
- In the Display Description field, enter a suitable description for the policy workflow.

- Click Save.
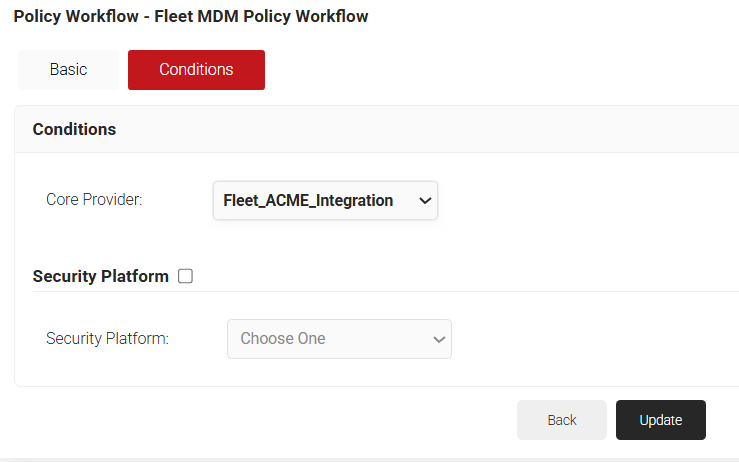
- The page refreshes, and the Conditions tab is displayed.
- Select the Conditions tab.
- In the Conditions section, from the Core Provider drop-down list, select the device management platform created for Fleet earlier (see the Creating a Device Management Platform for Fleet Integration section).

- Click Update.
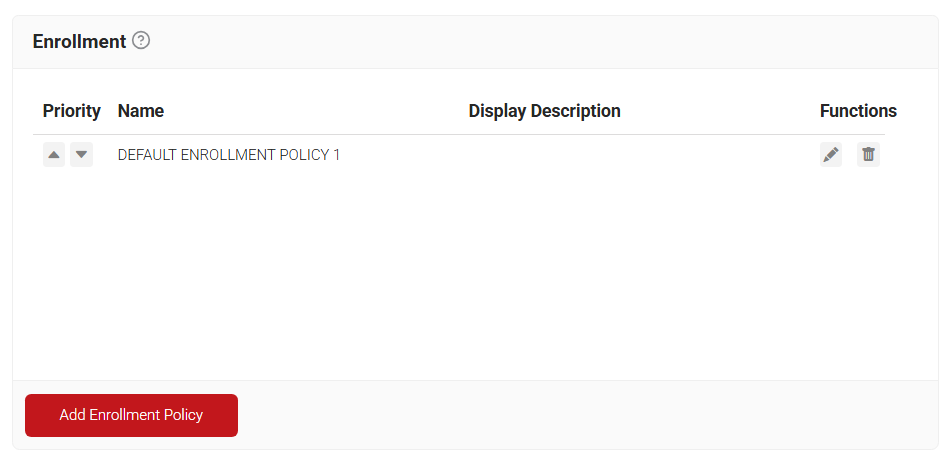
An Enrollment Policy is used to configure the type of client certificate template and the Certificate Issuer for each Policy Workflow. This mapping leverages the segmentation made in the Policy Workflow to issue an appropriate client certificate template for each Policy Workflow. For example, an admin can create one Enrollment Policy for each department, such as Finance, Marketing, or Sales, as identified in the Policy Workflow, and assign a specific certificate type as per the business requirements.
To configure an enrollment policy:
- Navigate to Policy Management > Enrollment.
- Click Add Enrollment Policy.

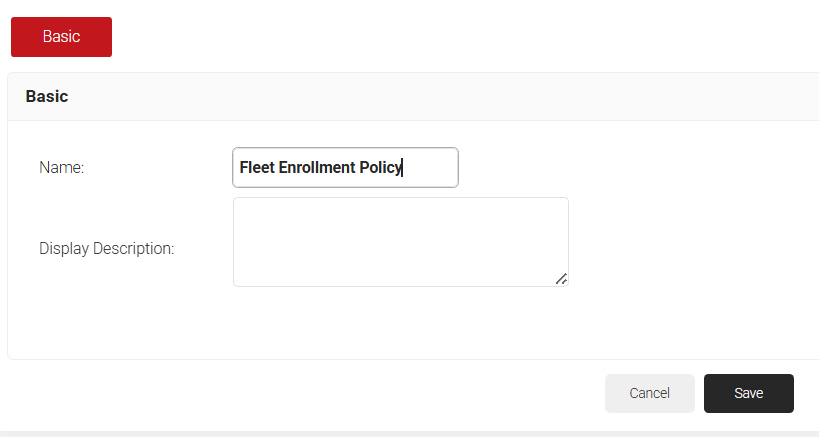
- In the Basic section, enter the name of the enrollment policy in the Name field.
- In the Display Description field, enter a suitable description for the enrollment policy.
NOTE: You must select a User Role and Device Role for enrollment. You can use a Fallback Device policy to allow enrollment based on the Role policy.
- Click Save.
- The page refreshes, and the Conditions and Settings tabs are displayed.
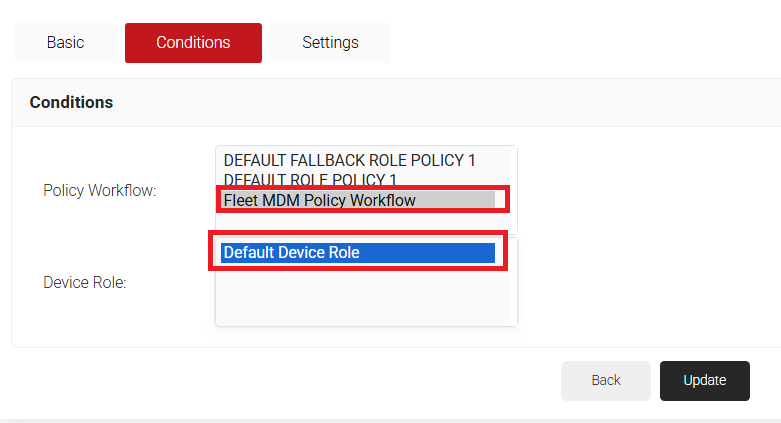
- Select the Conditions tab.
- In the Conditions section, from the Role drop-down list, select the policy workflow you created earlier (see the Configuring a Policy Workflow section).
- From the Device Role drop-down list, select DEFAULT DEVICE ROLE.

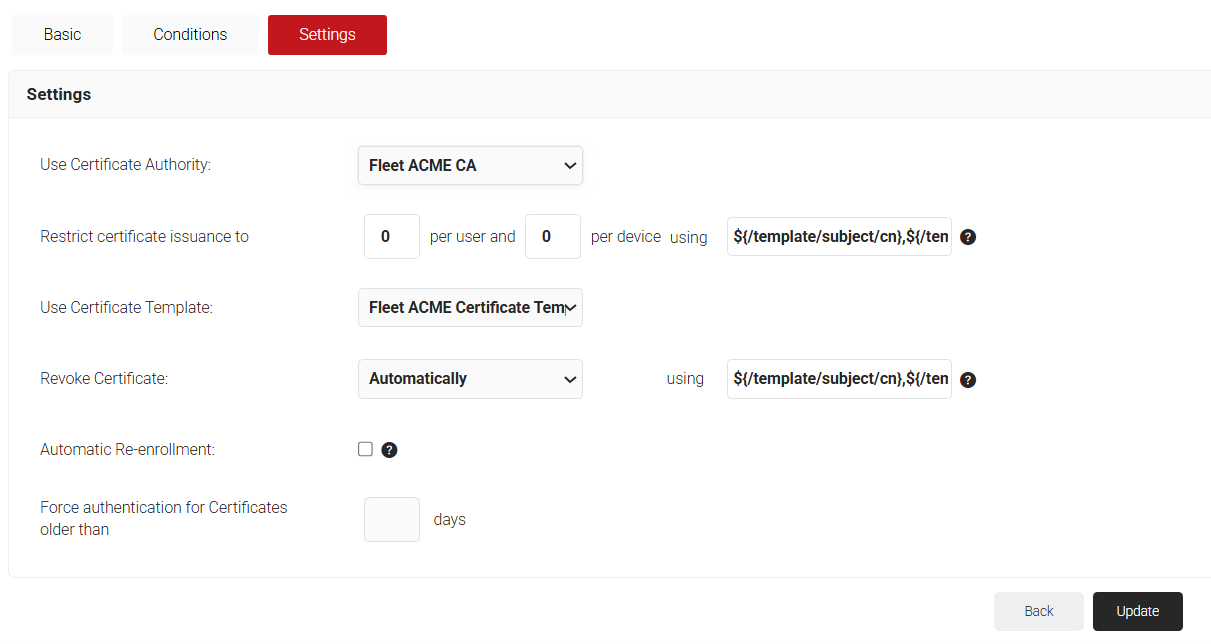
- Select the Settings tab.
- In the Settings section, from the Use Certificate Authority drop-down list, select the intermediate CA you created earlier (see the Creating an Intermediate CA section).
- From the Use Certificate Template drop-down list, select the template you created earlier (see the Creating a Certificate Template section).
- In the other settings, retain the default values.

- Click Update.
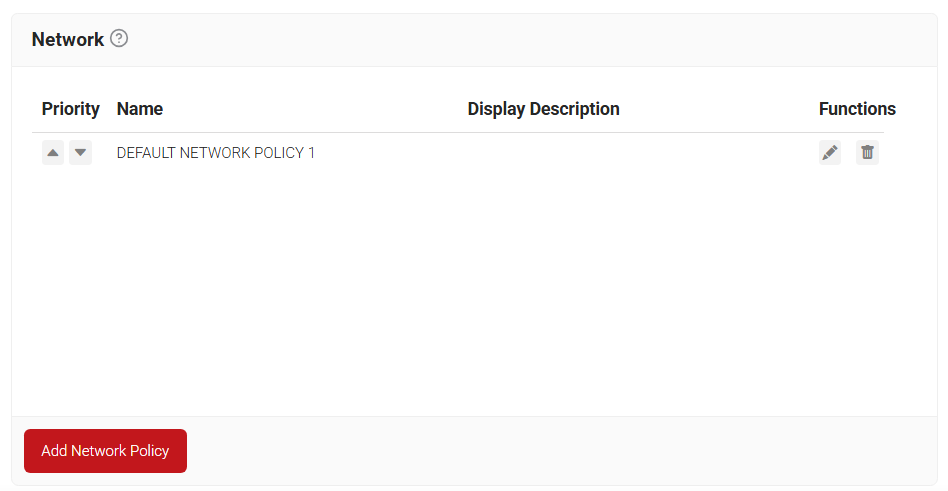
A Network Policy is used to define network privileges for devices requesting access, with configurations based on the Policy Workflow that identifies the device. Network Policies enable the assignment of various RADIUS return attributes supported by standard WiFi controllers. For example, a Network Policy can specify that devices from the Marketing team requesting access be authorized and assigned to VLAN 2.
Alternatively, administrators may choose not to send any RADIUS return attributes; in such cases, only an Access-Accept response is returned to the authenticating WiFi controller, provided the certificate is successfully validated.
To configure network policy:
- Go to Policy Management > Network.
- Click Add Network Policy.

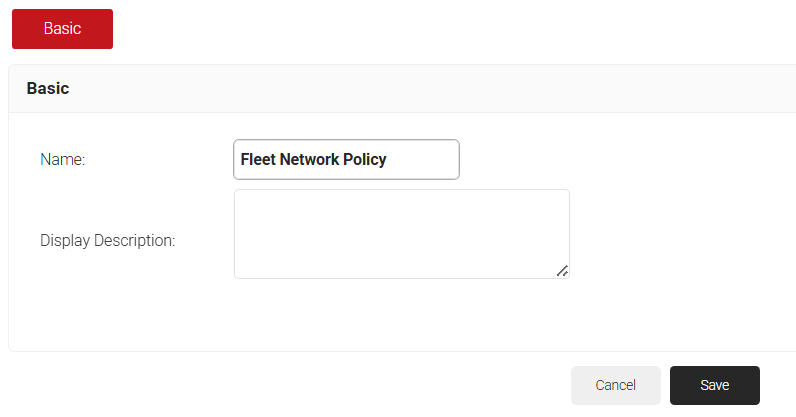
- In the Basic section, enter the name of the network policy in the Name field.
- In the Display Description field, enter a suitable description for the network policy.

- Click Save.
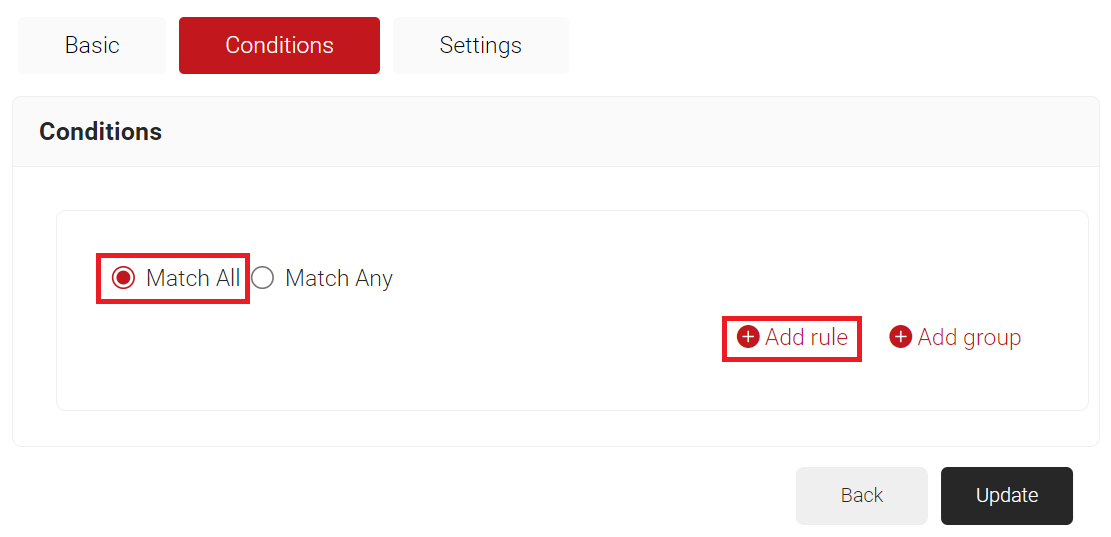
- Select the Conditions tab.
- Select Match All or Match Any based on your requirements to set authentication criteria.
- Click Add rule.

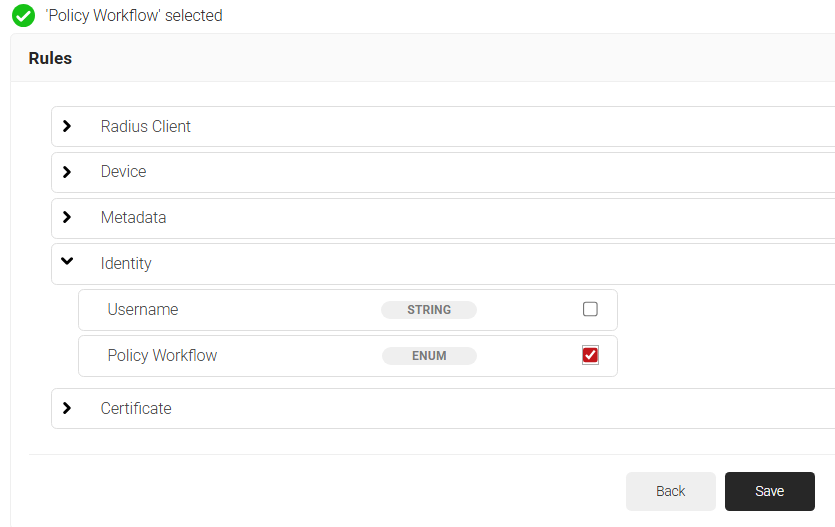
- Expand Identity and click Select adjacent to the Policy Workflow option.

- Click Save.
- The Policy Workflow option appears under the Conditions tab.
- From the Policy Workflow Equals drop-down list, select the policy workflow you created earlier (see the Configuring a Policy Workflow section).
- Select the Settings tab.

- From the Access drop-down list, select any one of the options to allow or deny authentication requests. The default value is “Allow”.
- To configure MFA, select the checkbox to enable MFA.
- From the Perform MFA Using drop-down list, select a Core Provider for MFA.
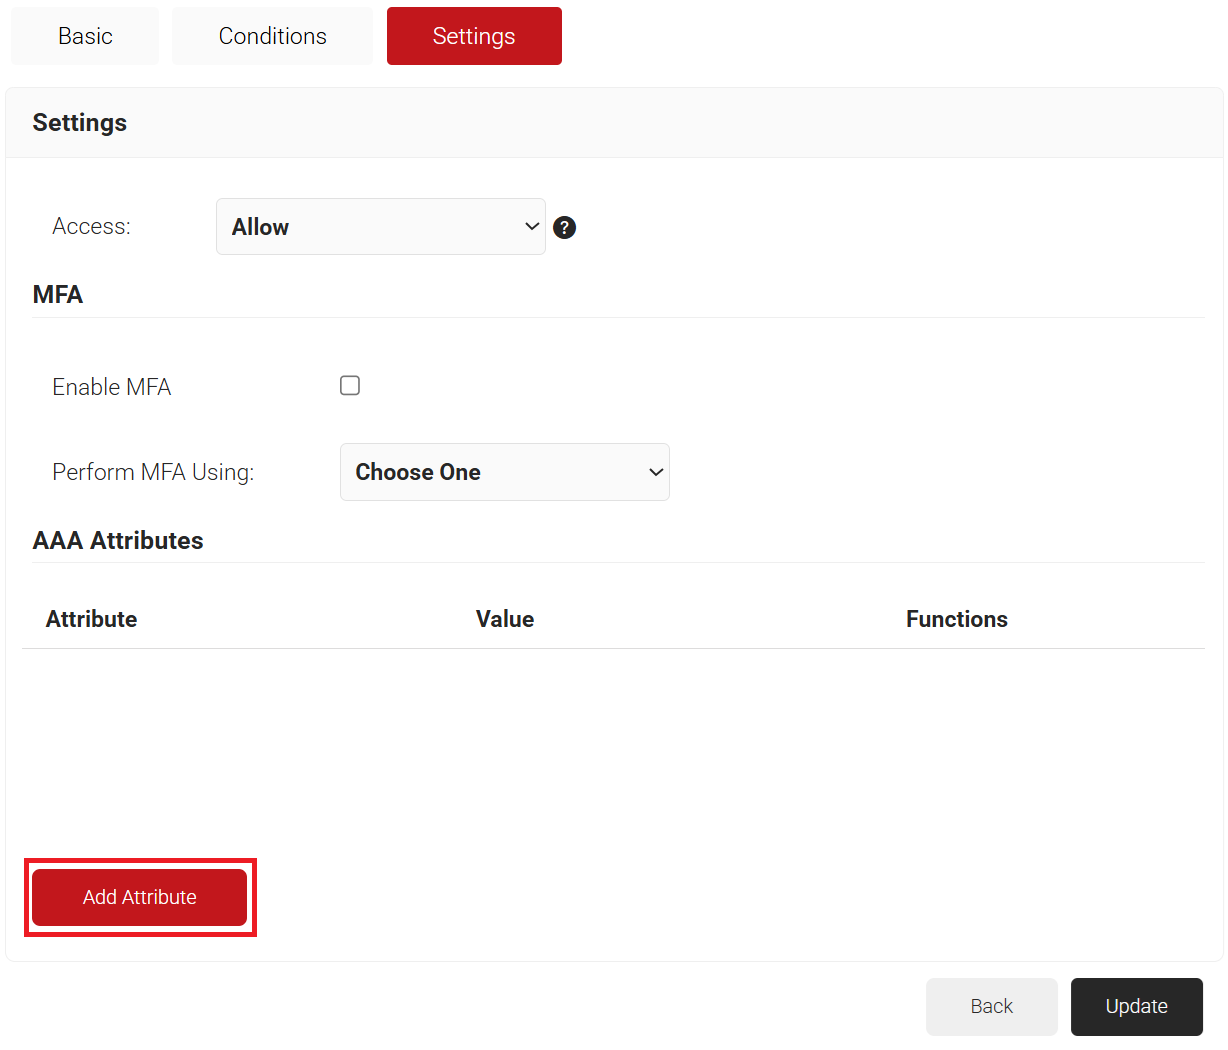
- Click Add Attribute.
- From the Dictionary drop-down list, select Radius:IETF or Custom.
- From the Attribute drop-down list, select an option.
- Framed-Protocol
- Framed-IP-Address
- Framed-IP-NetMask
- Framed-Routing
- Filter-Id
- Framed-MTU
- Framed-Compression
- Reply-Message
- Framed-Route
- Framed-IPX-Network
- State
- Class
- Session-Timeout
- Tunnel-Type
- Tunnel-Medium-Type
- Tunnel-Private-Group-ID
- Framed-Pool
- In the Value text box, enter a value for the attribute.
- Click Save.
- Log in to the Fleet portal.
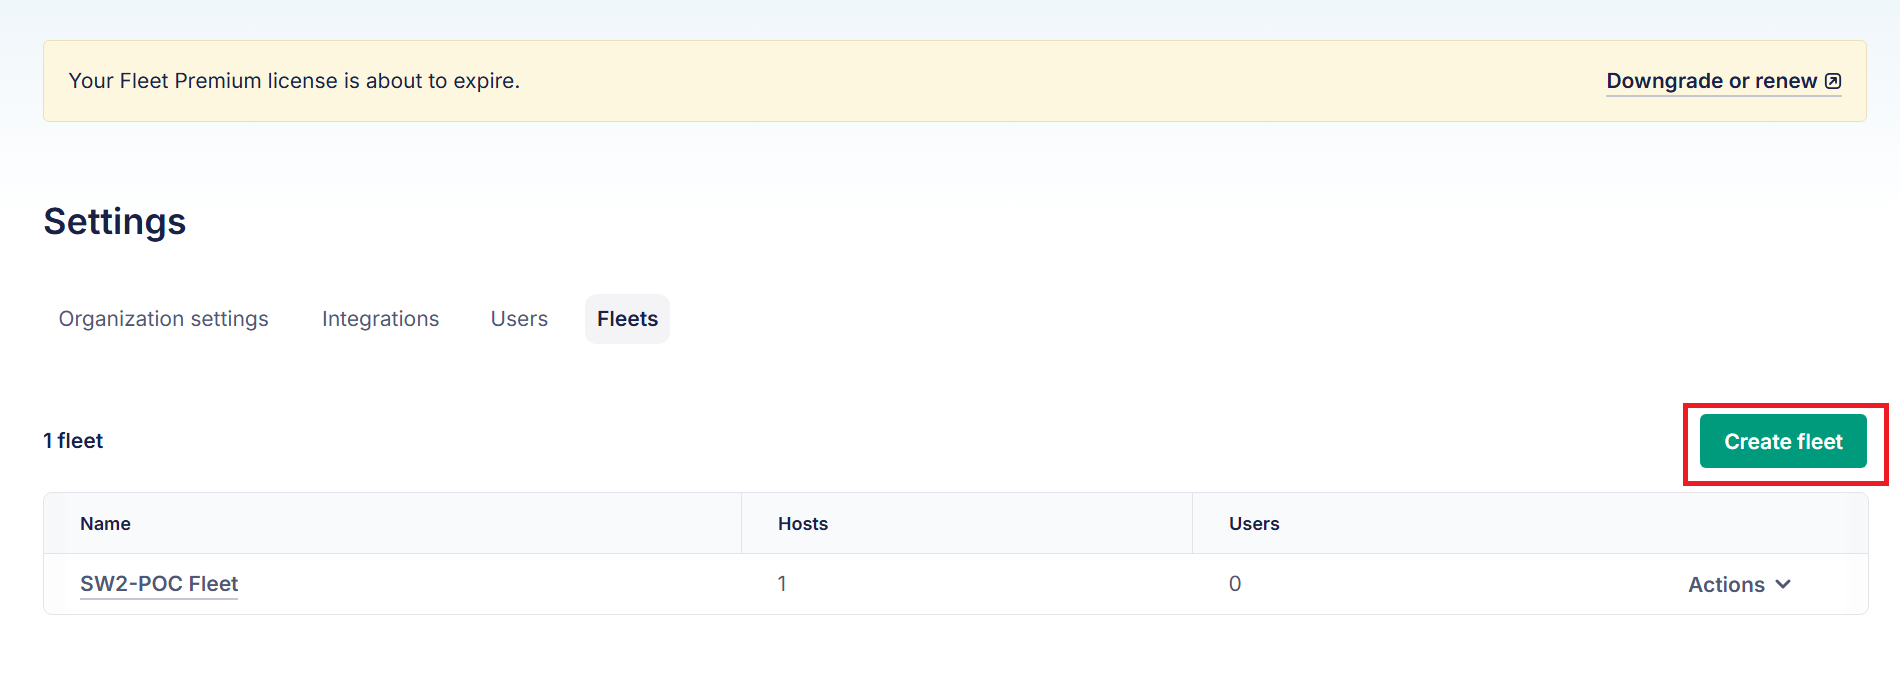
- Navigate to Settings > Fleets from the top right corner.
- Click Create Fleet.

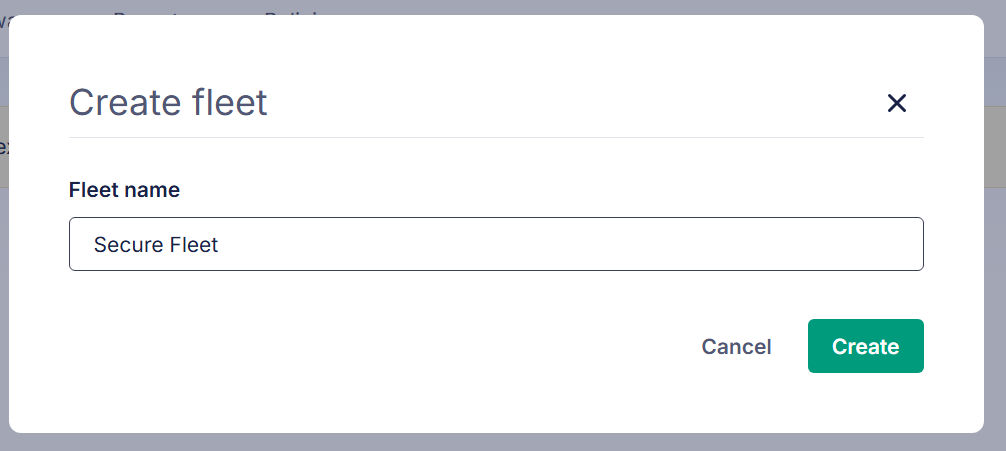
- In the Fleet name field, enter a name for your Fleet
- Click Create.

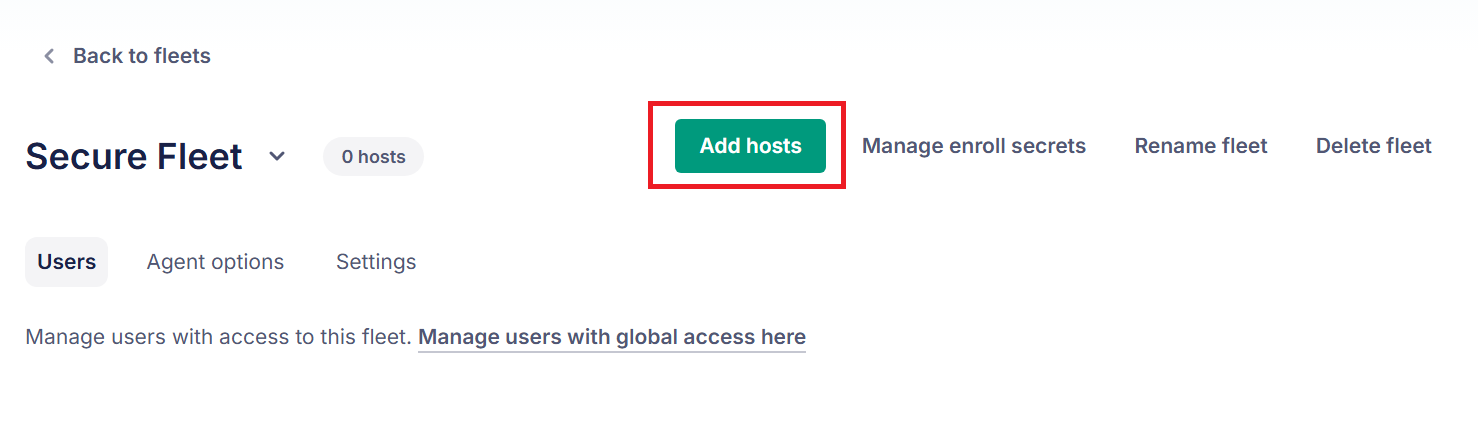
- Click on the created fleet.
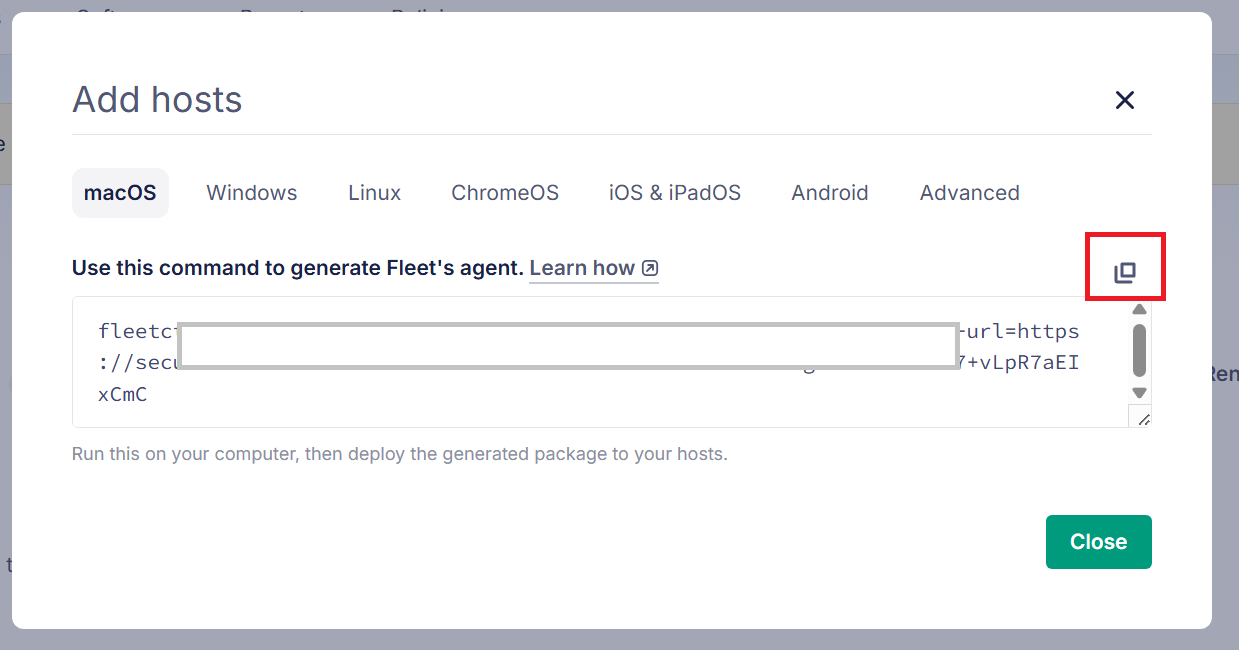
- Click on Add Hosts.

- From the pop-up, select the required OS and copy the command to generate the Fleet agent.

- Run the provided command in the end-user terminal as an Administrator. A Fleet agent will be installed post successful deployment. Once the device is added to the Fleet portal, add the device to the Fleet created earlier in the Creating a Fleet section.
- Click Settings available in the profile tab in the top right corner
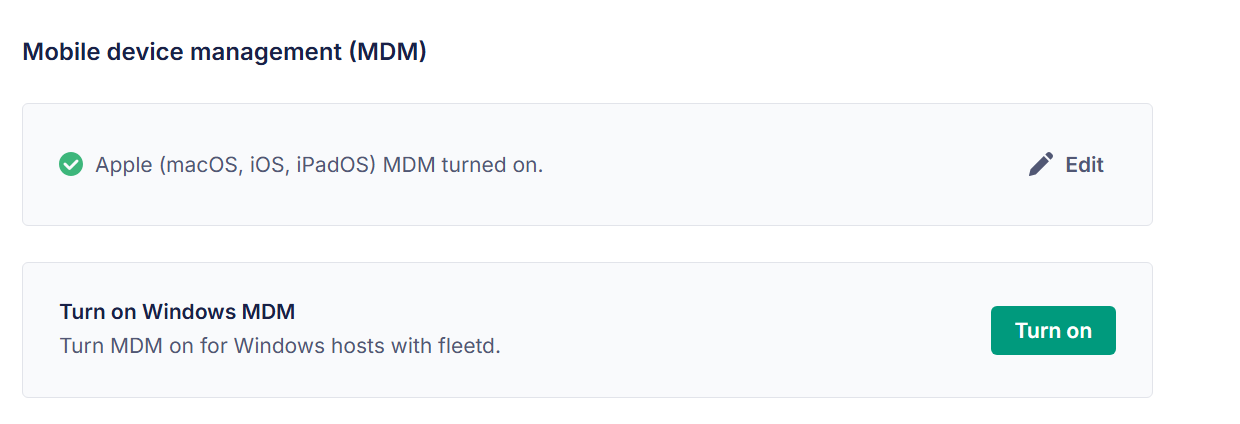
- Navigate to Integrations > MDM and click Turn On to turn on the Apple MDM configuration.

- Navigate to Controls > OS Settings > Configuration Profiles.

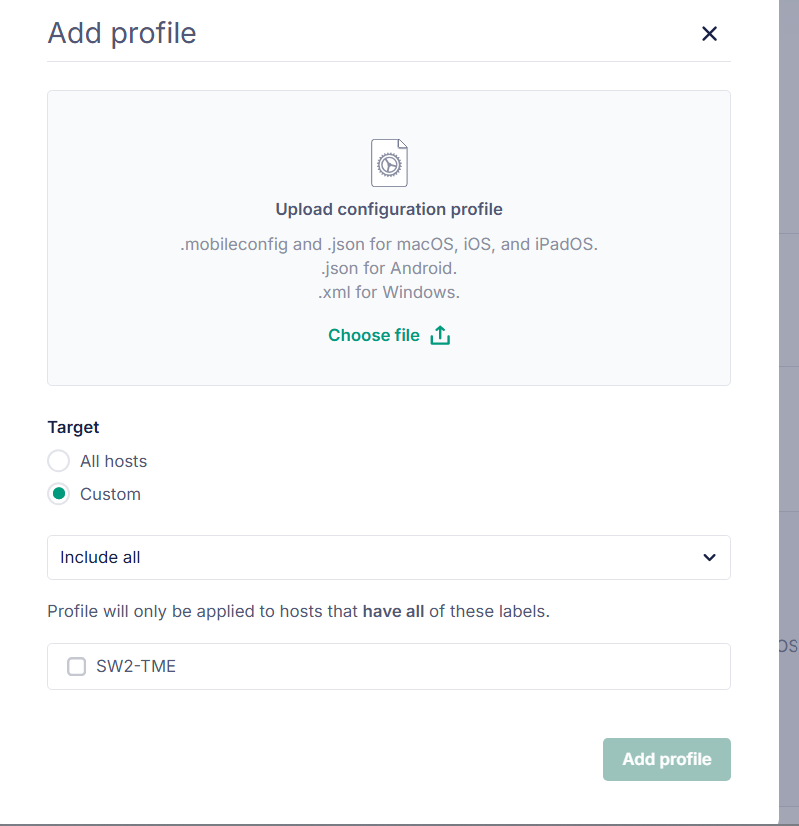
- Click Add profile to add the configuration profile downloaded from the JoinNow portal in the Creating a Device Management Platform for Fleet Integration section.
NOTE: Add the following Fleet attributes to the .mobileconfig file: - Replace <Wifi Name> within the profile below with the name of your SSID
- Add <String>$FLEET_VAR_CERTIFICATE_RENEWAL_ID</String> for auto-renewal of the certificate. Please find an example .mobileconfig file attached here:

- Click Choose file to add the saved .mobileconfig file.
- For Target, select All hosts or Custom based on your needs.
- Click Add profile. The configuration profiles are now pushed to the required devices.