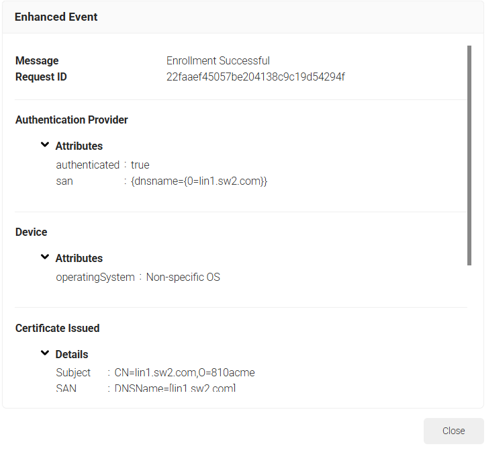
To create an ACME (Domain Validation) Server Certificate Enrollment Token, perform the following steps.
- Navigate to Integration Hub > Device Management Platforms.
- Click Add.

- In the Name and Description fields, enter the name and a suitable description for the device management platform.
- From the Type drop-down list, select ACME (Domain Validation) Server Certificate Enrollment Token to validate domain ownership and prevent misuse during server certificate enrollment. The Authorization Type is then displayed as Forwarder.

- Click Save. A .csv file containing the API secret is downloaded.

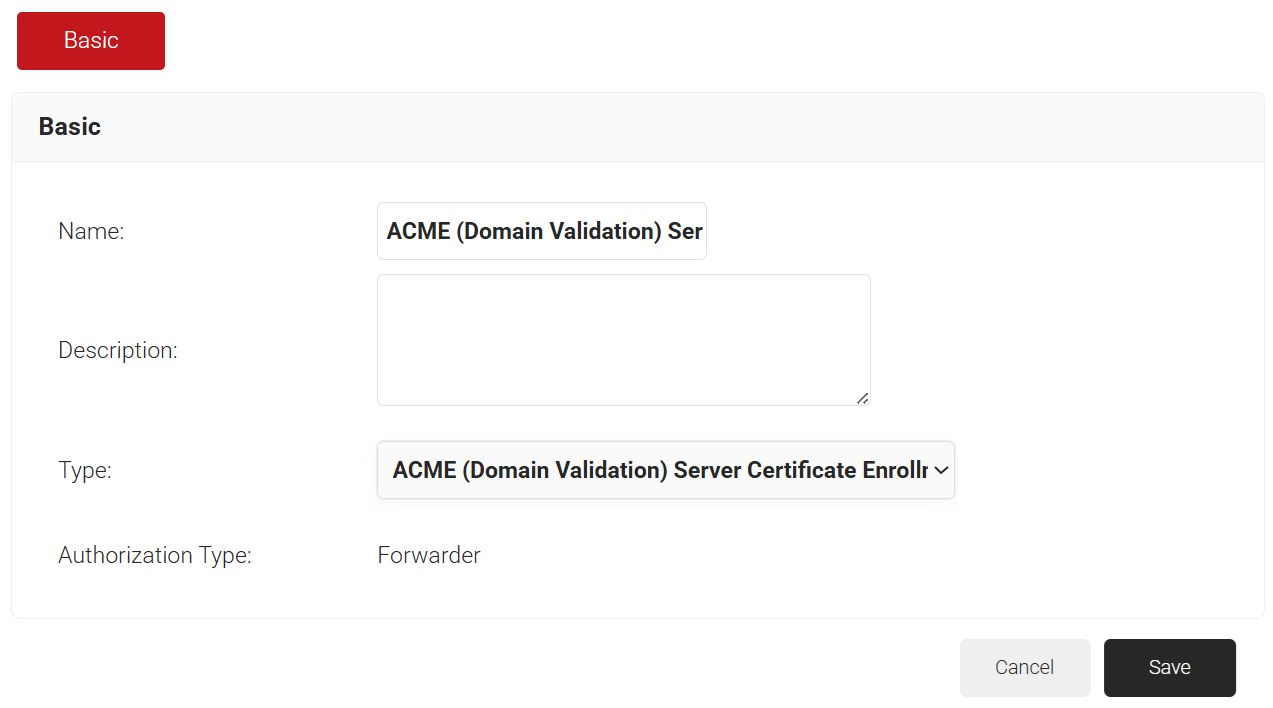
A certificate template defines a predefined set of parameters and rules that determine how digital certificates are generated and what information they contain. In automated certificate issuance systems, such as those using the ACME protocol, templates can include variables (for example, ${/auth/san/dnsname}) that are dynamically replaced with values obtained during the certificate request or enrollment process.
To create a certificate template, perform the following steps:
- Log in to the JoinNow Management Portal.
- Navigate to Dynamic PKI > Certificate Authorities.
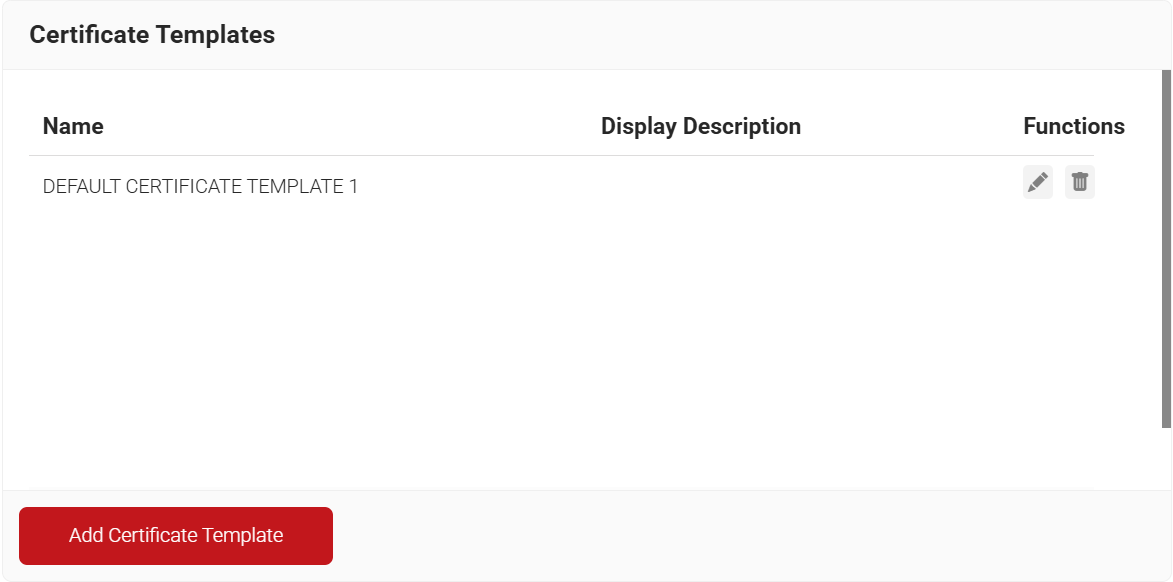
- Scroll to the Certificate Templates section and click Add Certificate Template.

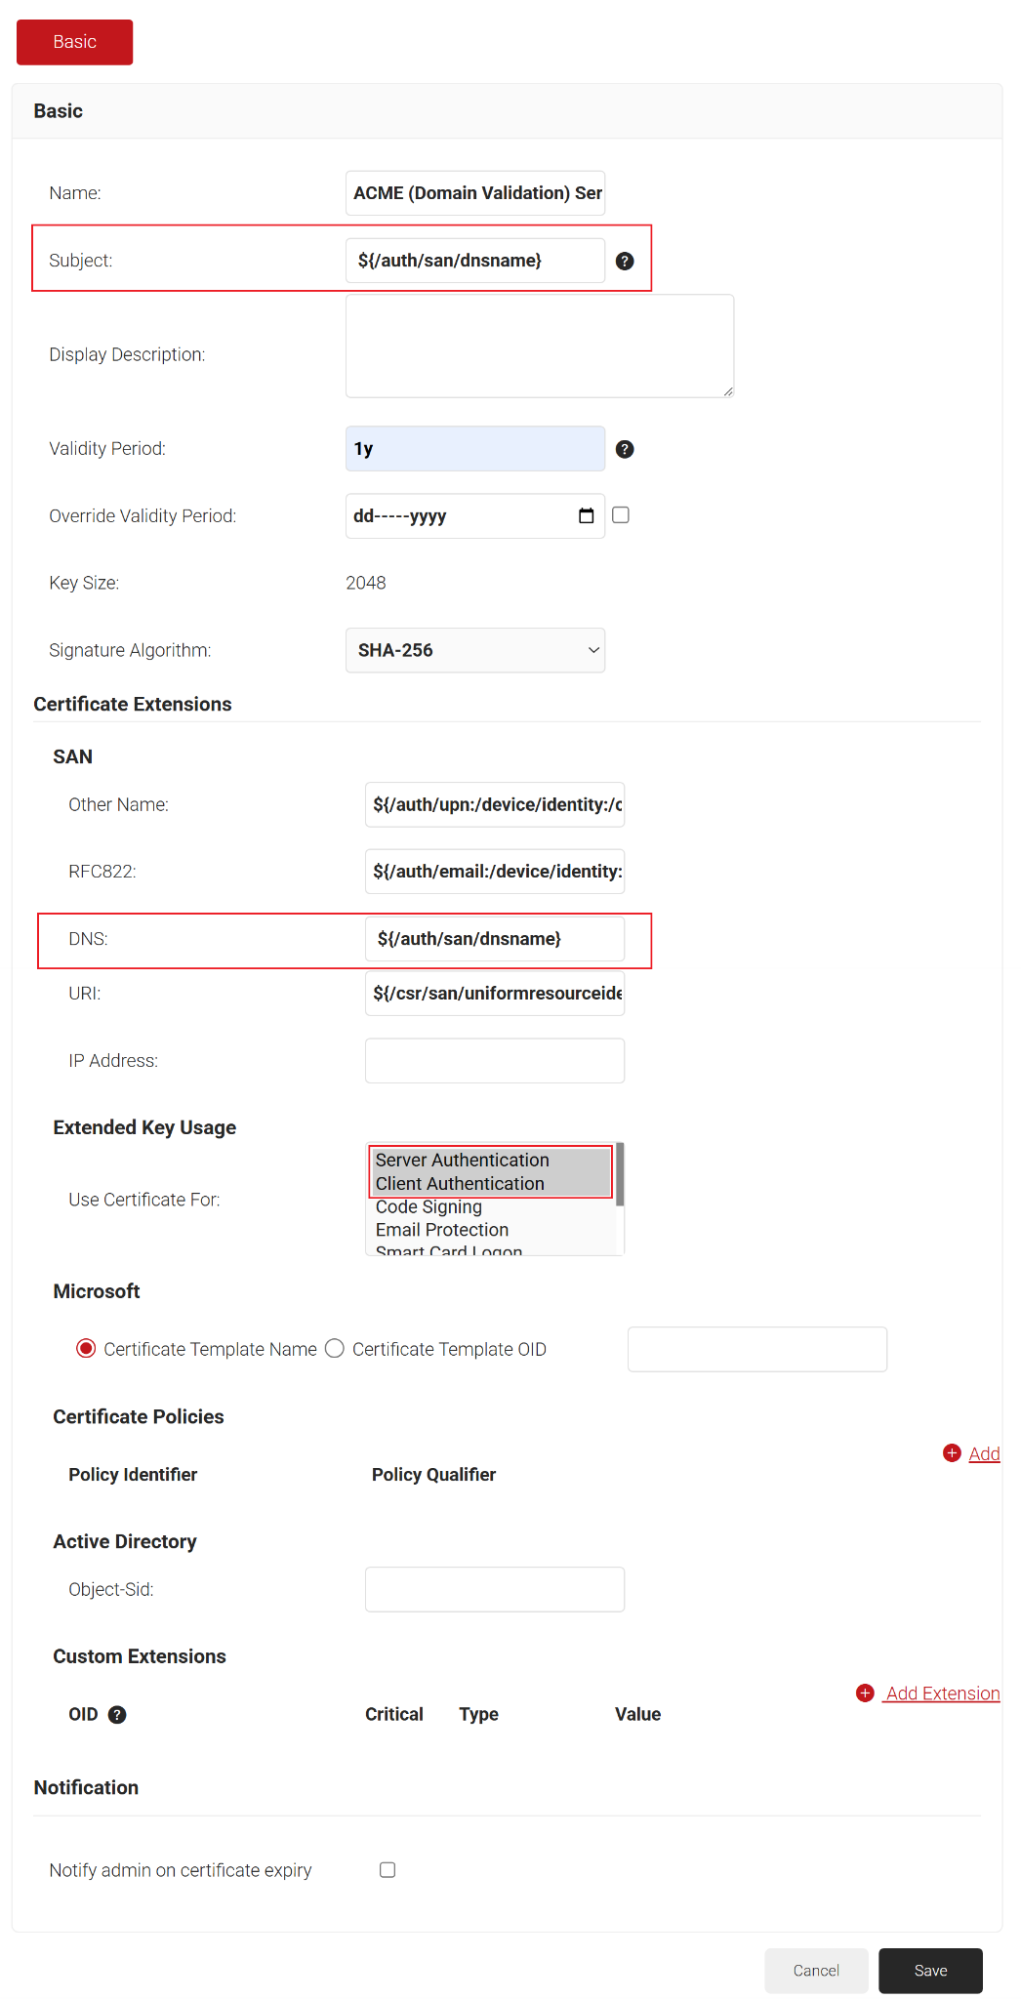
- In the Basic section, enter the name of the certificate template in the Name field.
- In the Subject and DNS fields, enter ${/auth/san/dnsname}
- In the Extended Key Usage section, under the Use Certificate For list, select Server Authentication.
- Retain the default values in the template.

- Click Save.
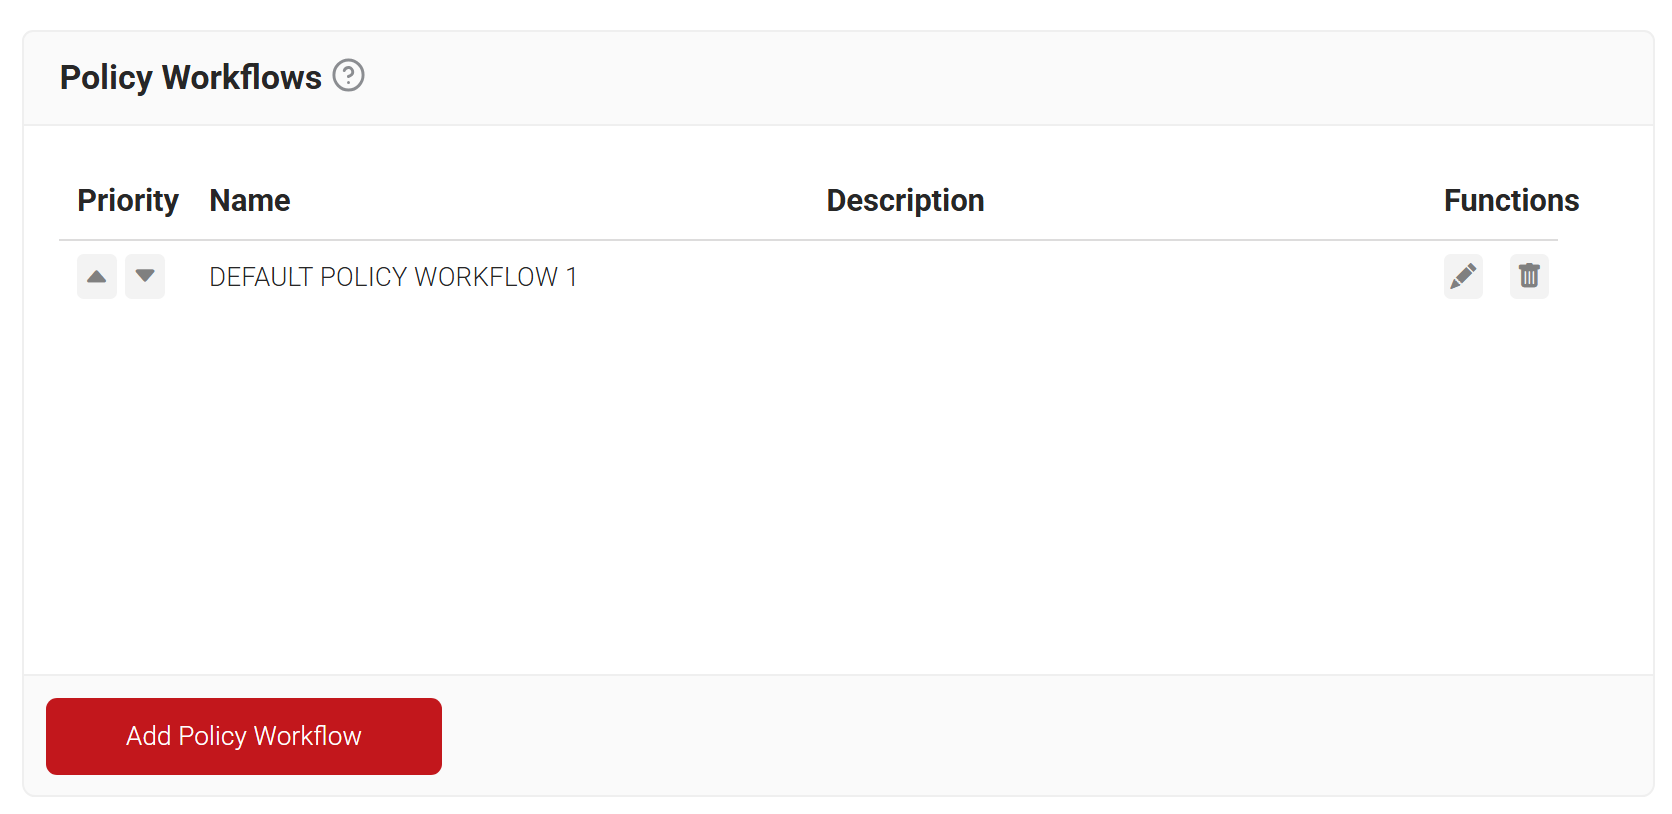
To configure a Policy Workflow, perform the following steps:
- Navigate to Policy Management > Policy Workflows.
- Click Add Policy Workflow.

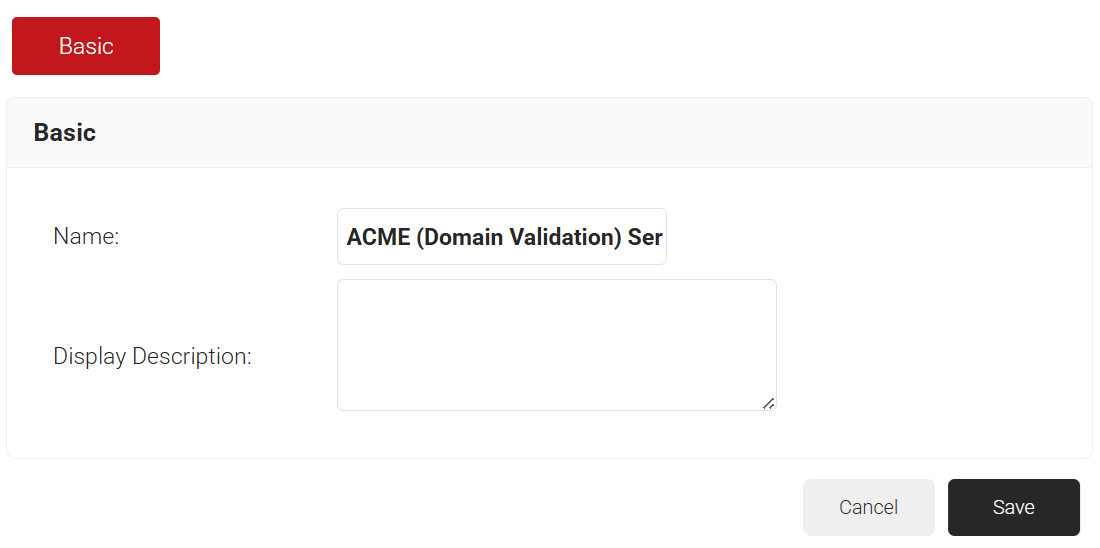
- In the Basic section, enter the name of the policy workflow in the Name field.
- In the Display Description field, enter a suitable description for the policy workflow.

- Click Save.
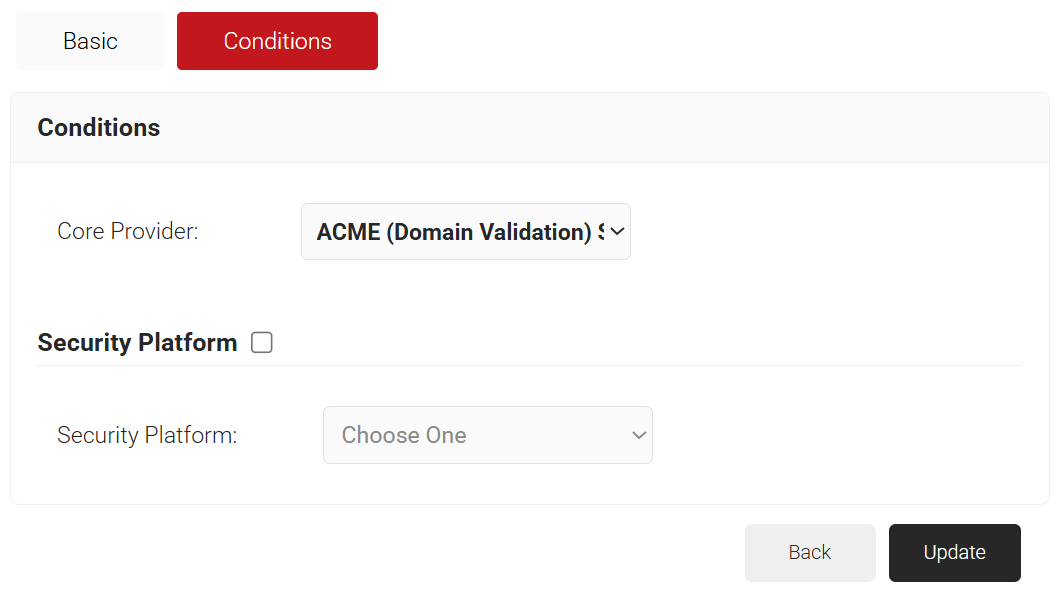
- The page refreshes, and the Conditions tab is displayed.
- Select the Conditions tab.
- From the Core Provider drop-down list, select the Device Managed Platform Token created earlier.

- Click Update.
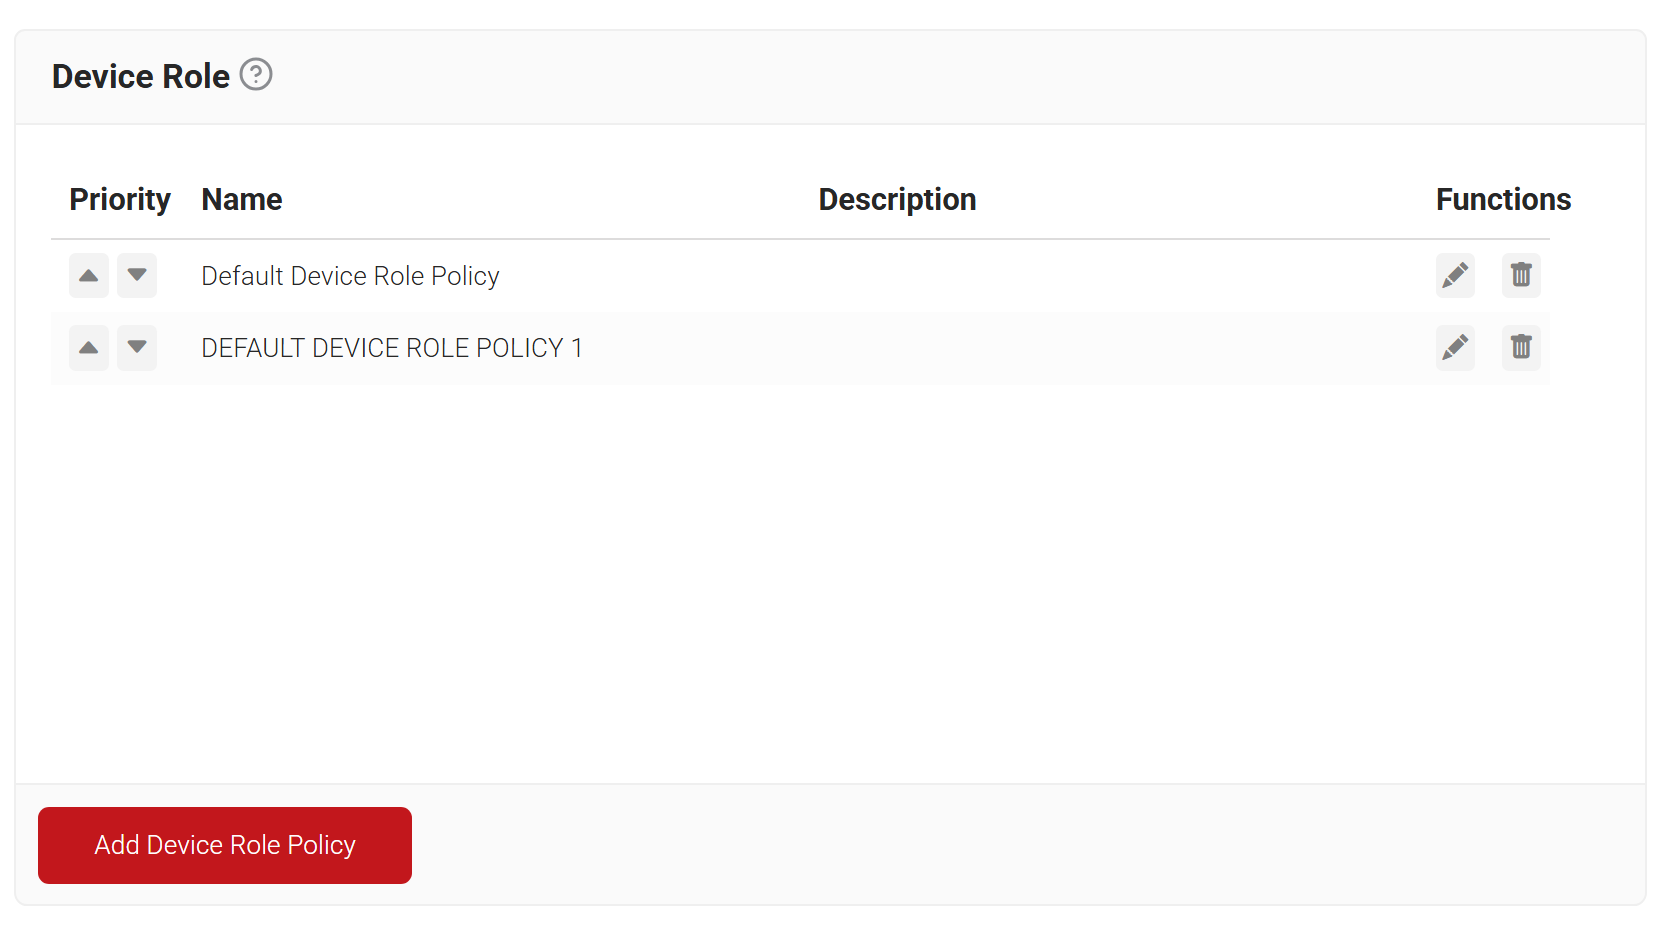
The Device Role Policy maps the device management platform in JoinNow to facilitate device attestation. To create a device role policy, follow these steps:
- Navigate to Policy Management > Device Role.
- Click Add Device Role Policy.

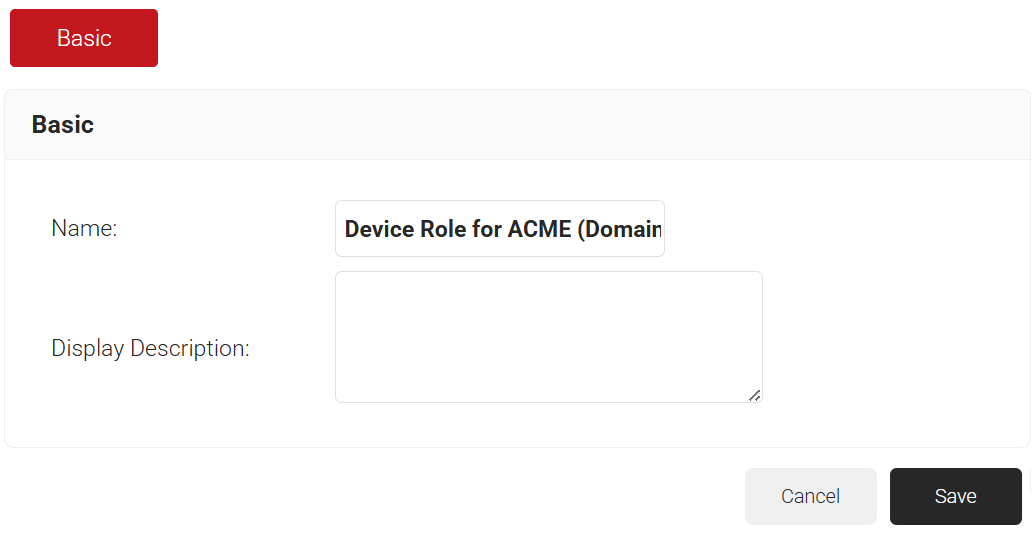
- In the Basic tab, enter a name and a suitable description for the device role policy in the Name and Description fields.

- Click Save. The page refreshes, and the Conditions tab opens.
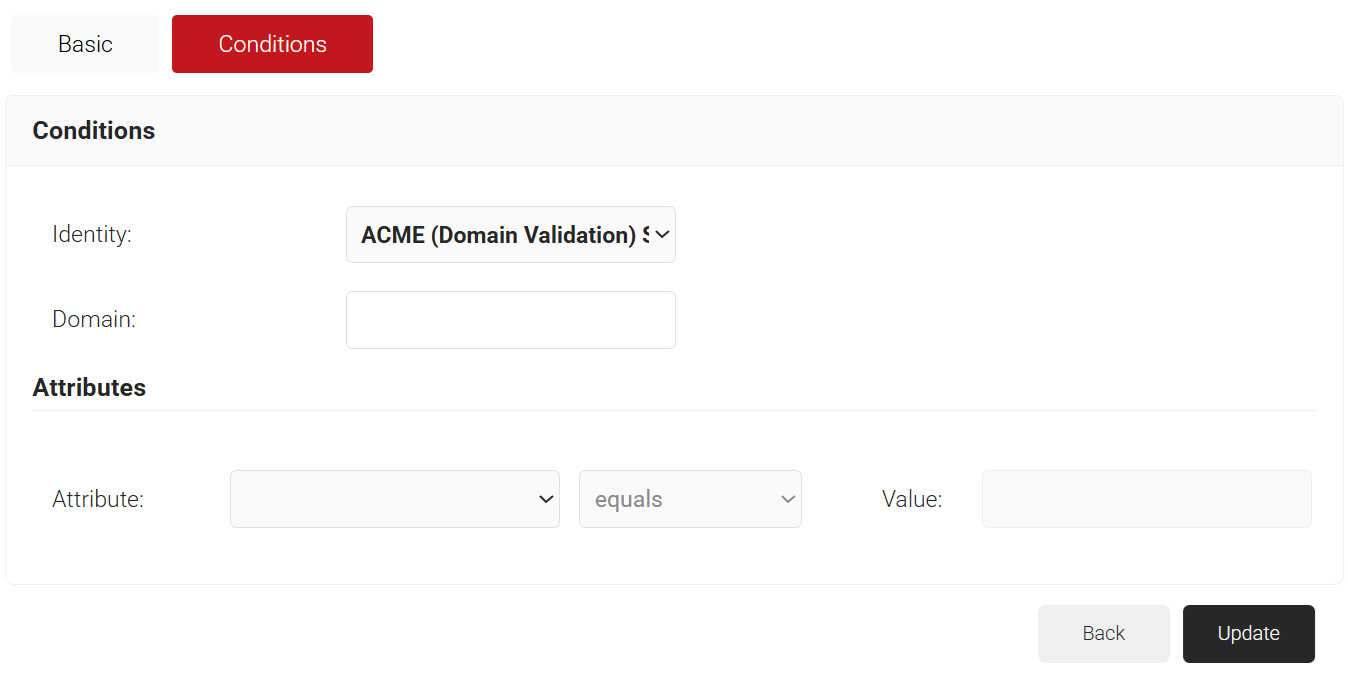
- Click the Conditions tab.
- From the Identity drop-down, select the ACME (Domain Validation) Server Certificate Enrollment Token created in the Creating a Device Management Platform section.

- Click Update.
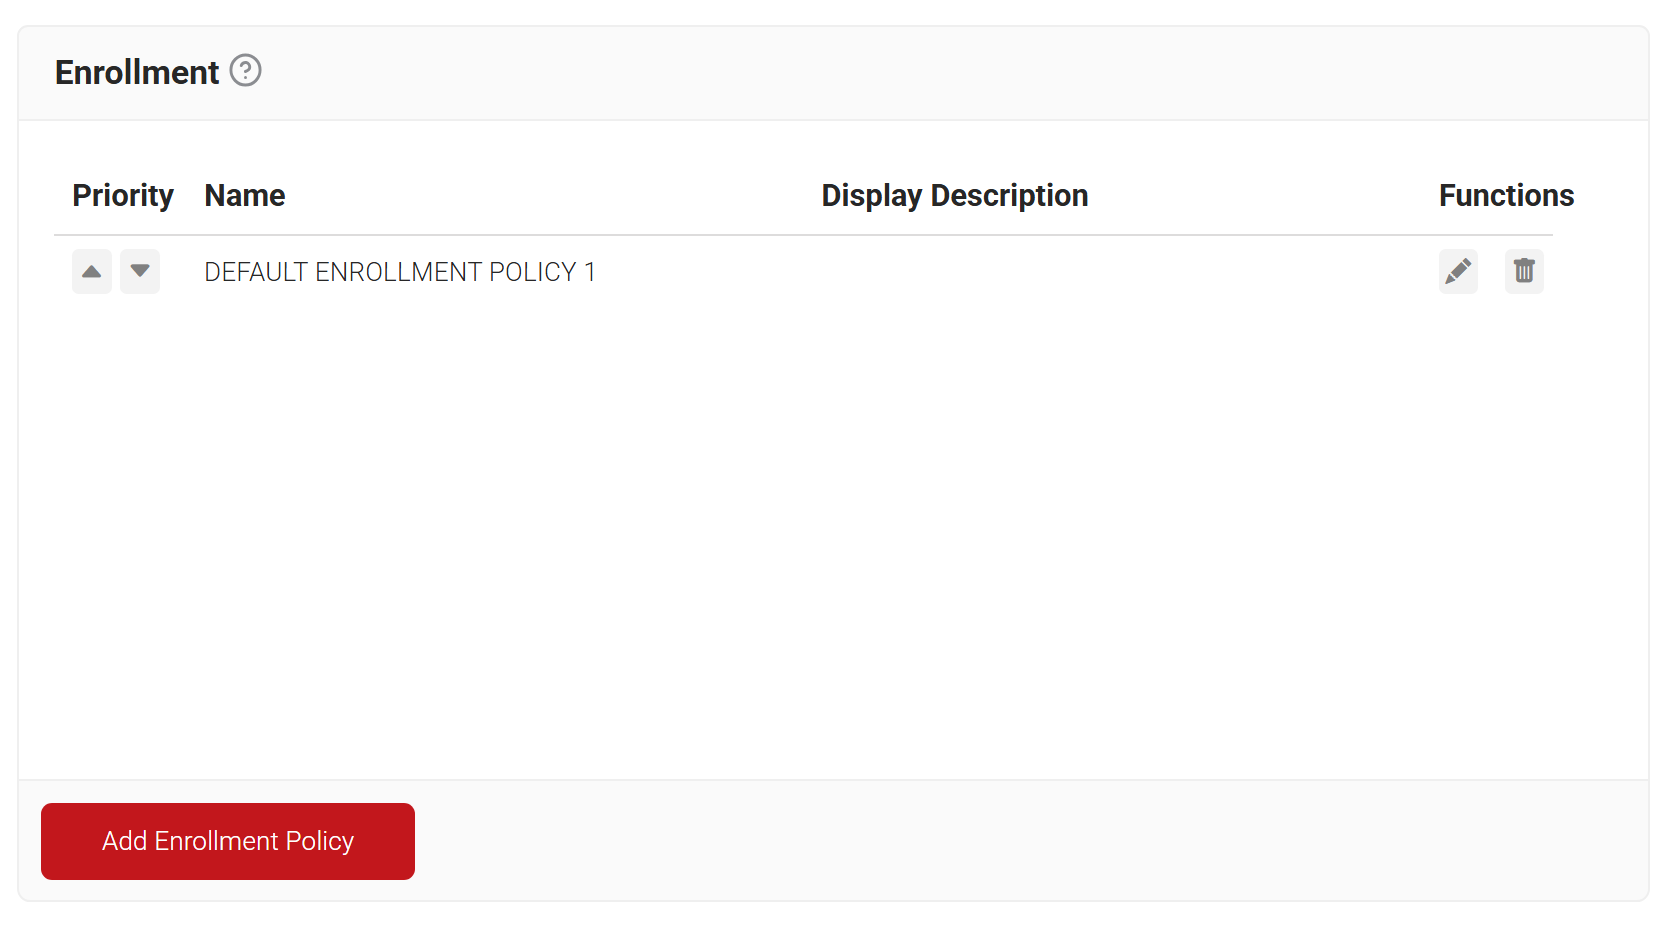
An Enrollment Policy defines the client certificate template and Certificate Issuer to be used for each Policy Workflow. It leverages the segmentation established in the policy workflow to ensure the appropriate client certificate template is issued for each workflow. For example, an administrator can create a separate enrollment policy for each department, such as Finance, Marketing, or Sales, based on the policy workflows, and assign a specific certificate type to each department based on business requirements.
To create an enrollment policy, follow these steps:
- Navigate to Policy Management > Enrollment.
- Click Add Enrollment Policy.

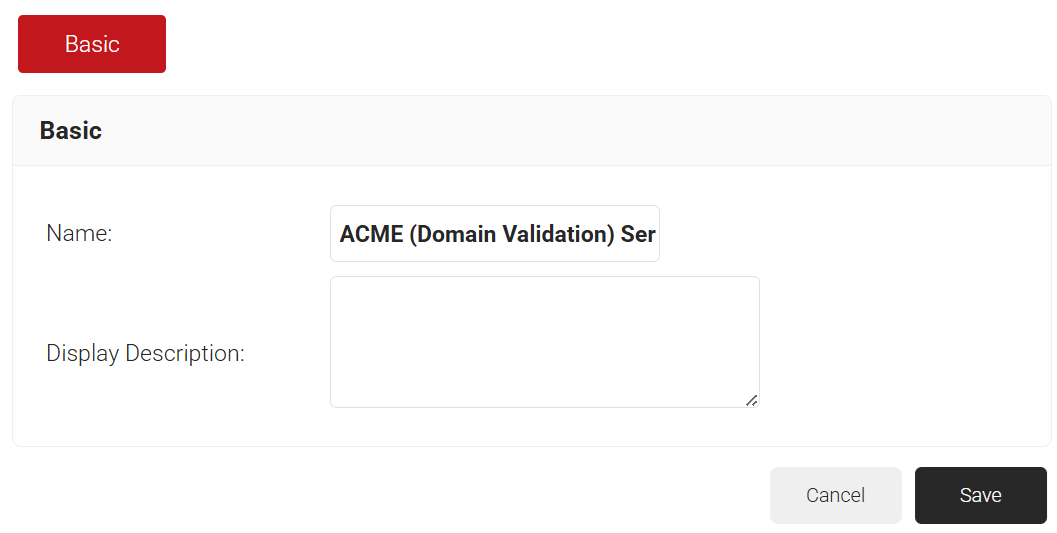
- In the Basic section, enter the name of the enrollment policy in the Name field.
- In the Display Description field, enter a suitable description for the enrollment policy.

- Click Save. The page refreshes, and the Conditions and Settings tabs are displayed.
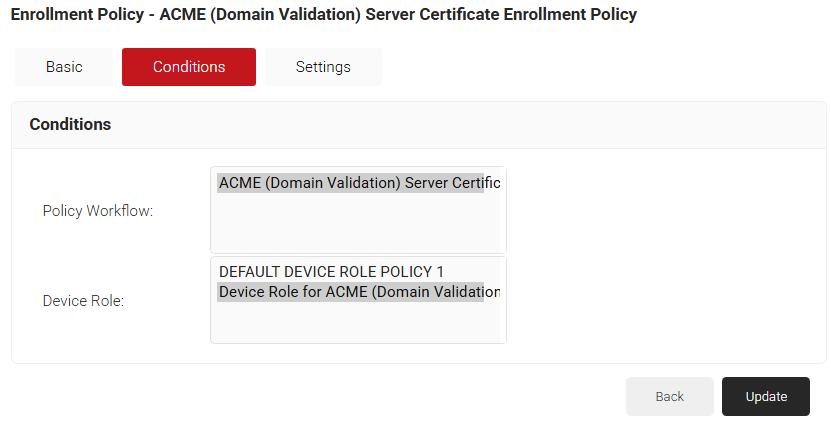
- Select the Conditions tab.
- From the Policy Workflow list, select the policy workflow you created earlier.
- From the Device Role drop-down list, select the device role created in the Device Role Policy section.

- Select the Settings tab.
- In the Settings section, from the Use Certificate Authority drop-down list, select the intermediate CA created for ACME.
- From the Use Certificate Template drop-down list, select the template you created earlier (see the Creating a Certificate Template section).
- From the Revoke Certificate drop-down list, select Automatically. In the adjacent Using field, enter ${/template/san/dns}.
- Click Update.
The ACME Proxy is available for download from the JoinNow Management Portal. It can be accessed by navigating to General > Downloads > Enrollment Gateway > ACME Proxy.zip.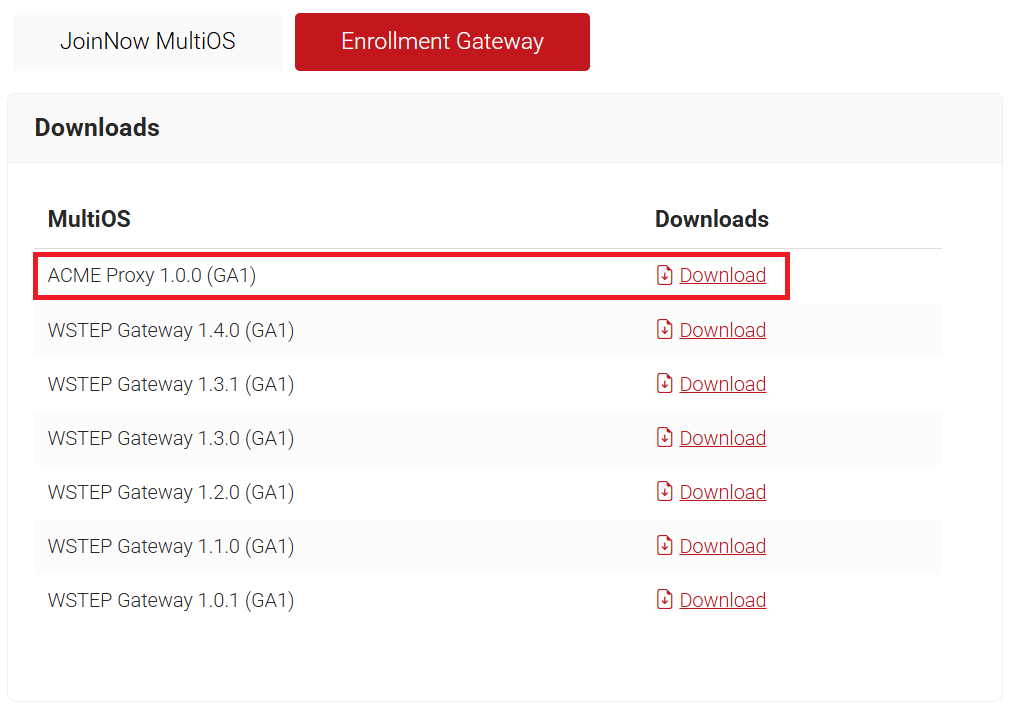
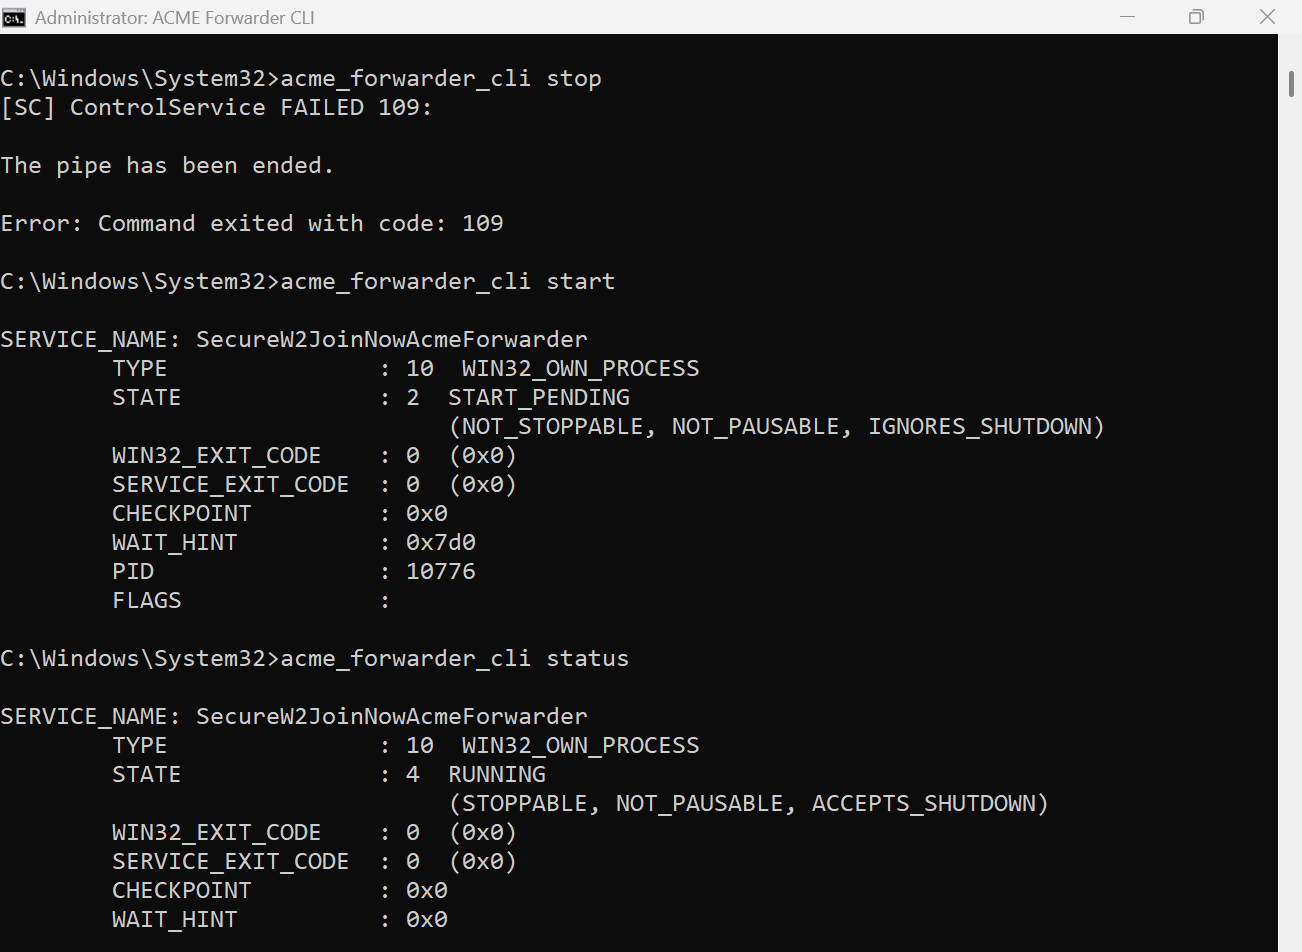
To set up JoinNow ACME Forwarder on Windows, follow these steps:
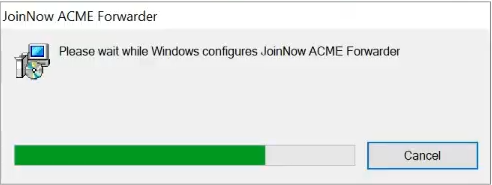
- Run the acme_forwarder-1.0.0-x86_64 Windows installer and wait for the installation to complete.

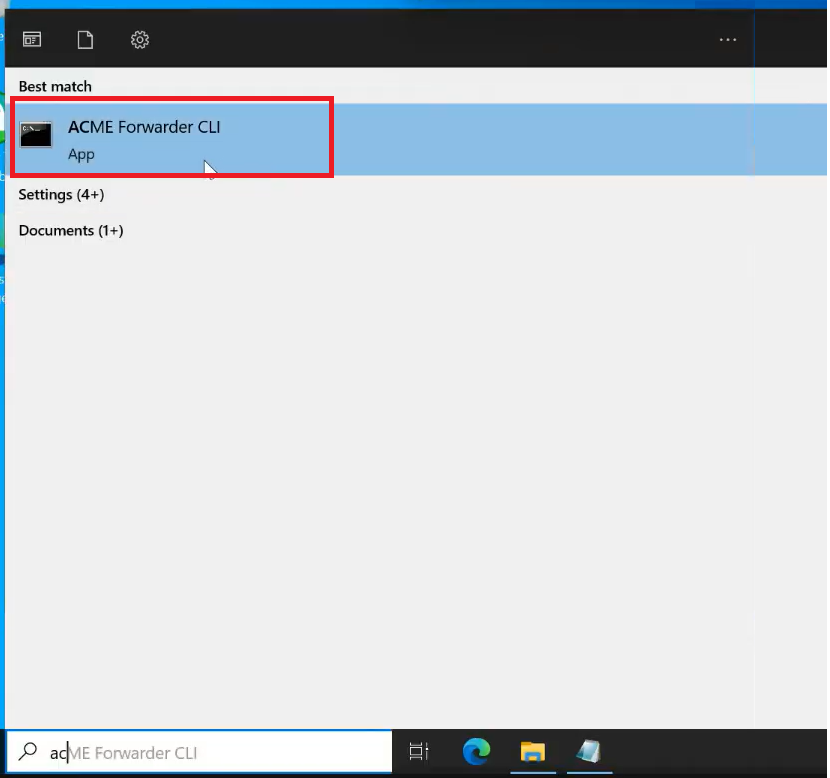
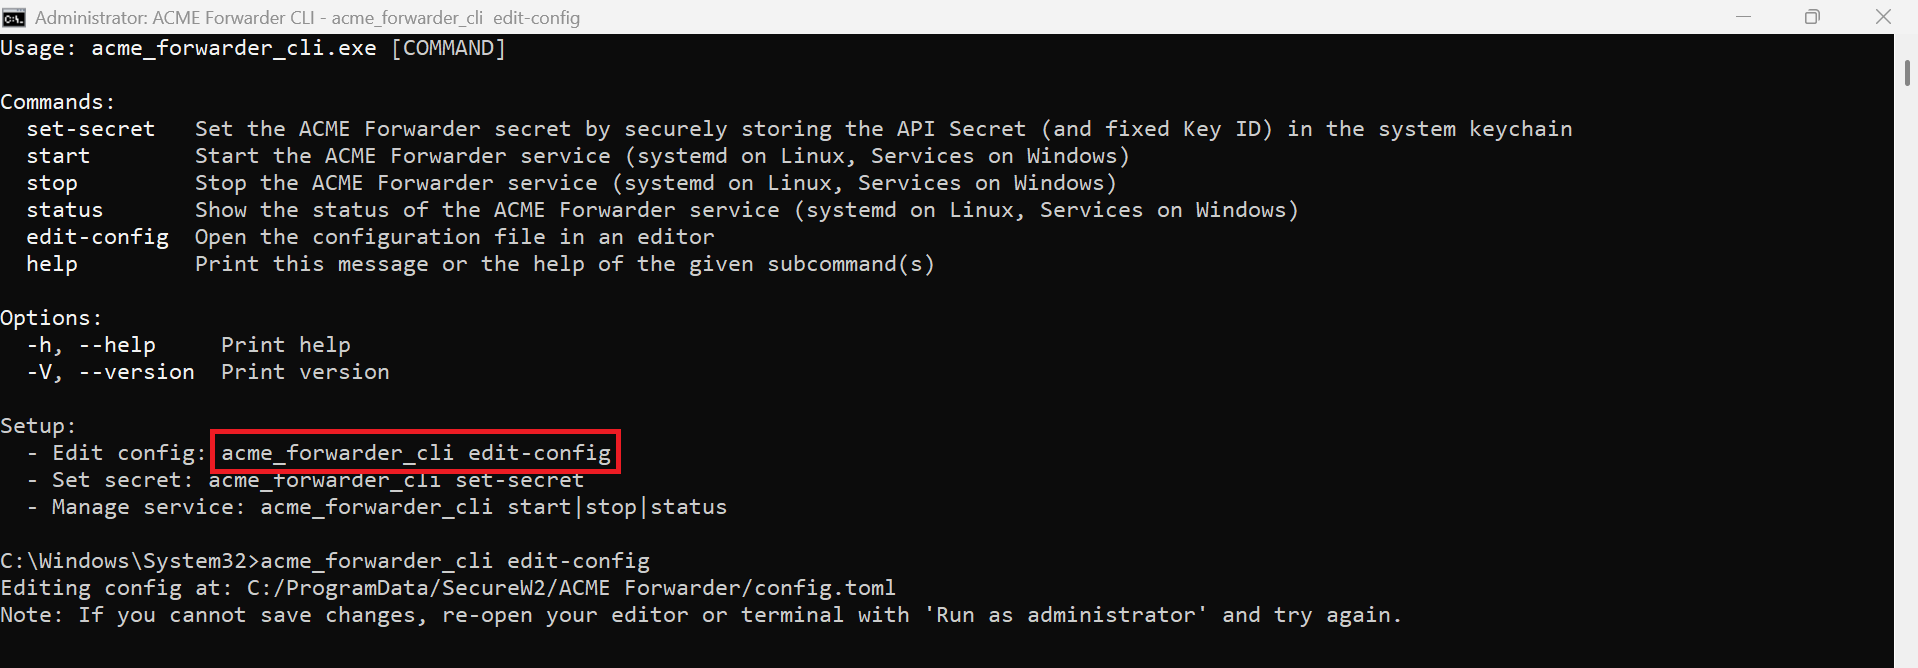
- In Windows, search for ACME Forwarder CLI and open it.

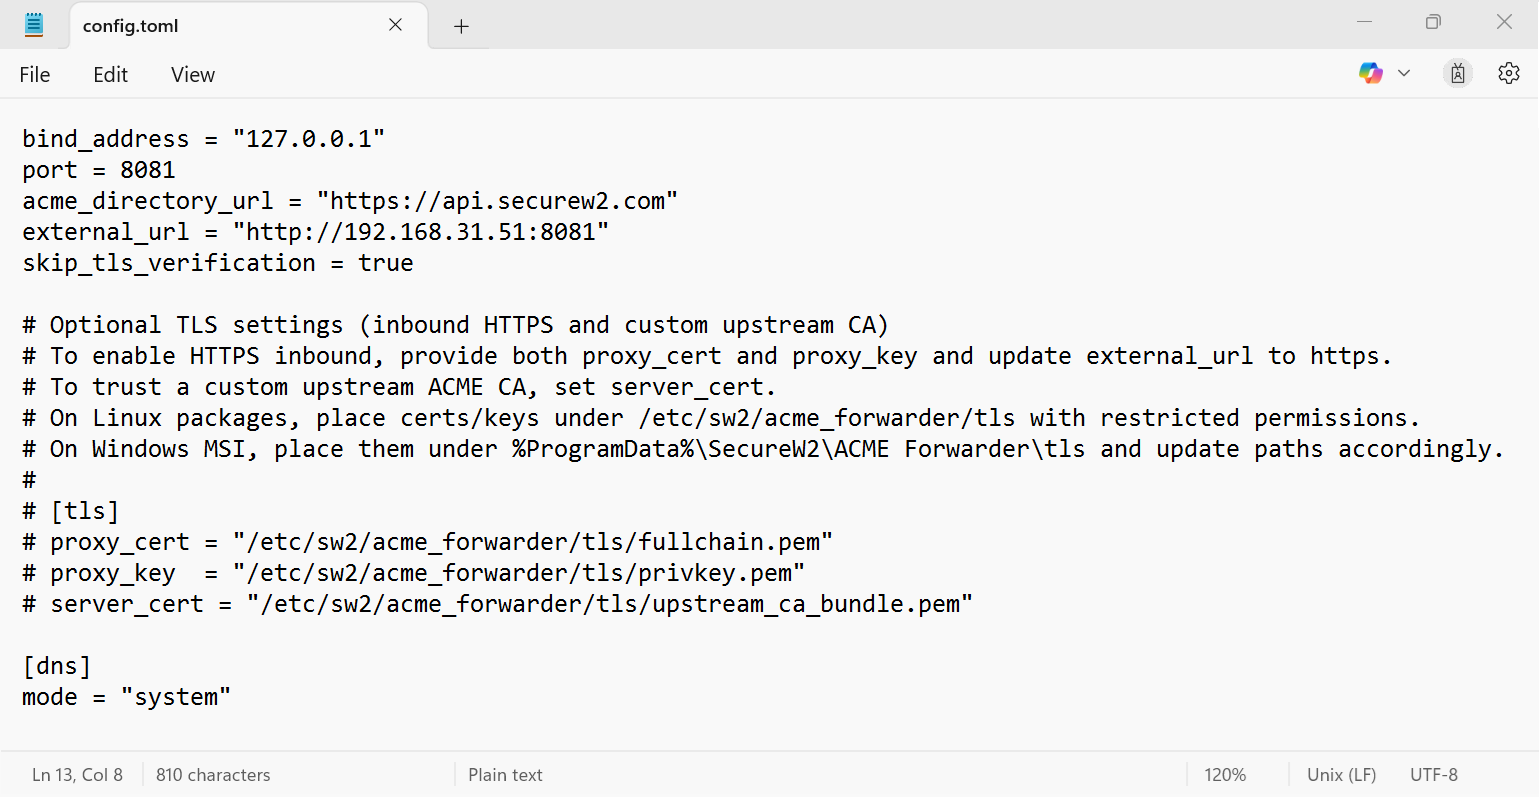
- To open and modify the configuration file for the ACME Forwarder tool, run the following command: acme_forwarder_cli edit-config

- The config.toml file opens, allowing you to configure the parameters according to your business requirements.

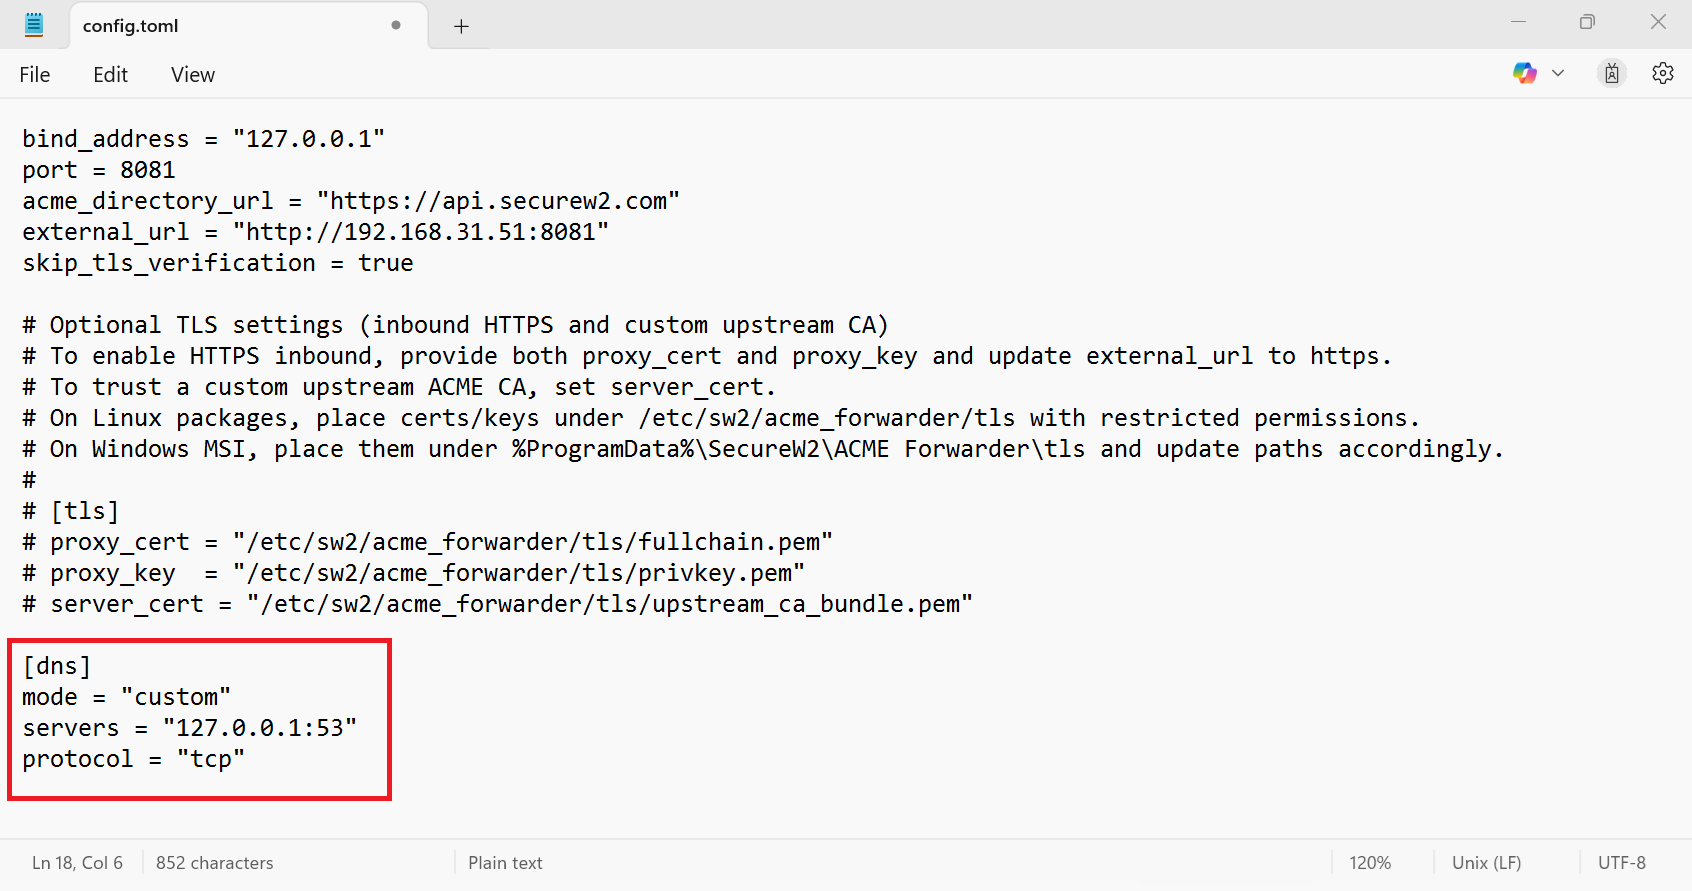
- For environments that use a local DNS server, set the DNS mode to custom. For example:

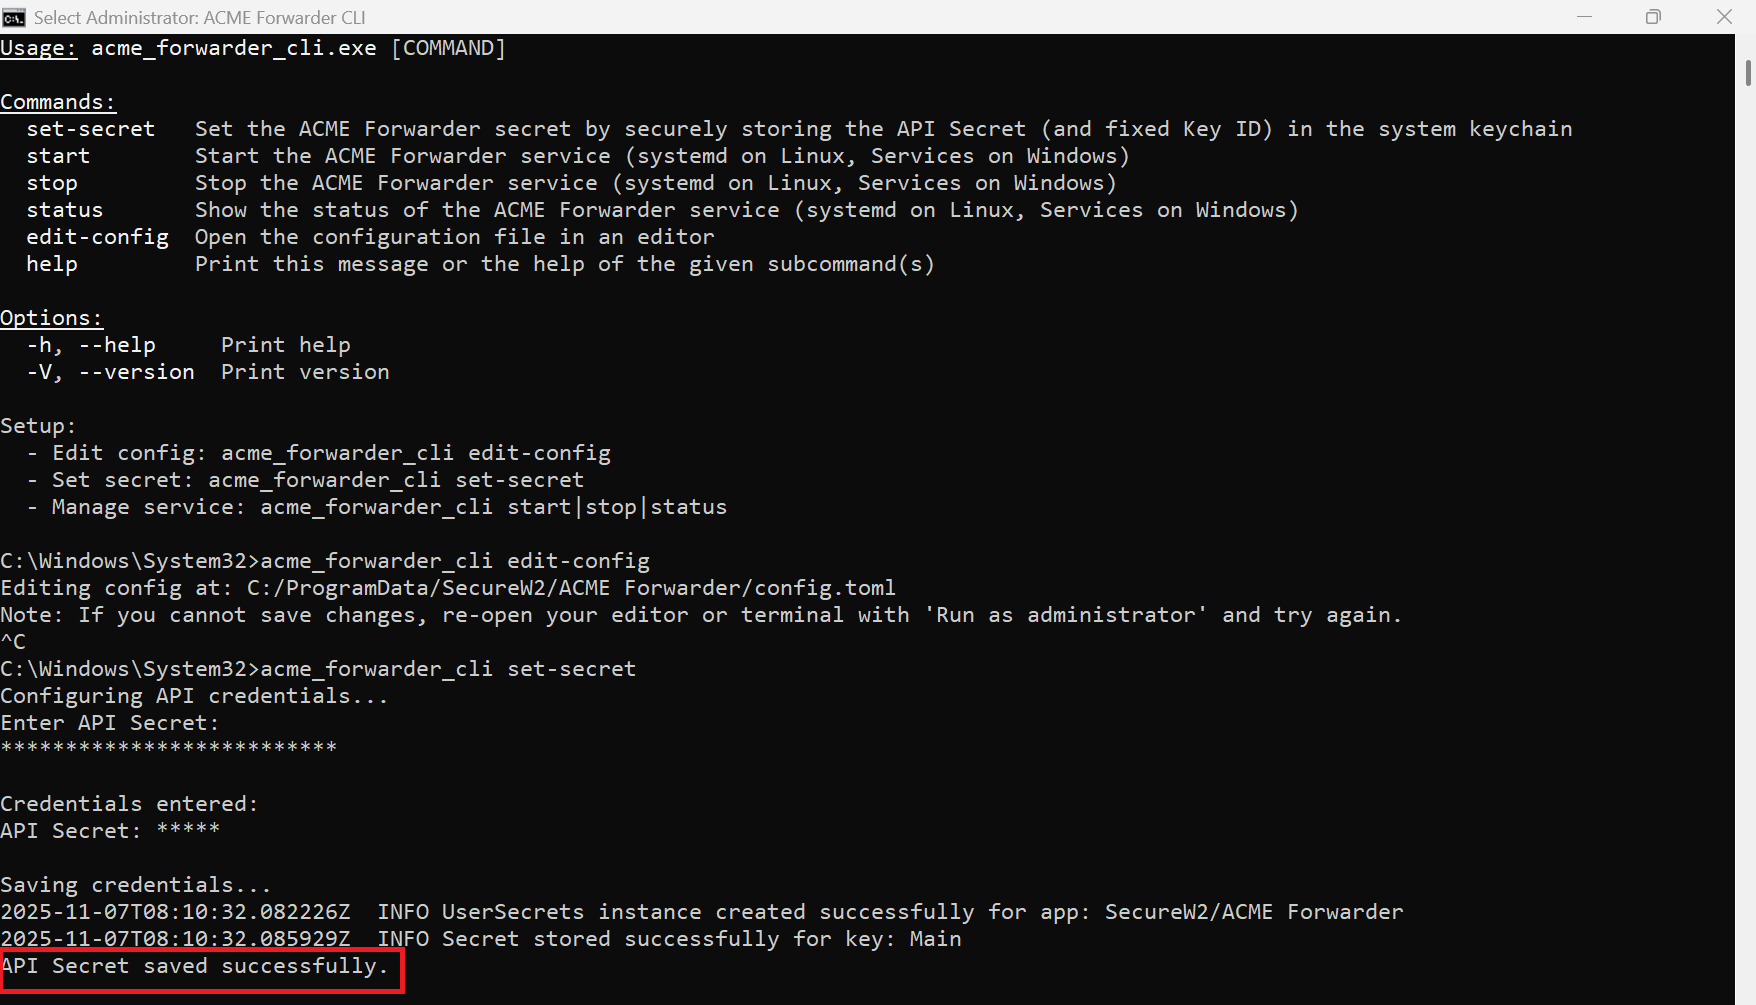
- To store a secure API secret, run the following command: acme_forwarder_cli set-secret

- To apply configuration changes, restart the ACME Forwarder service by running the following command: acme_forwarder_cli start|stop|status

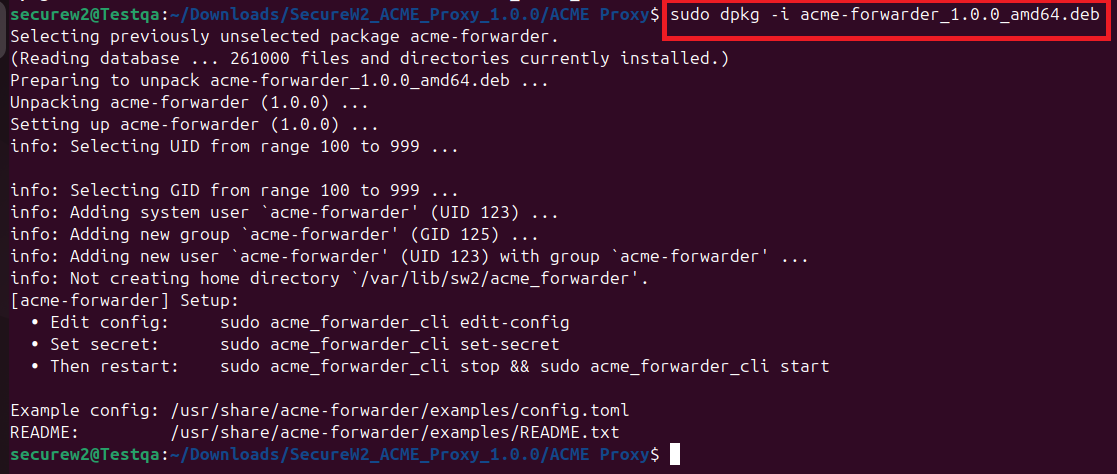
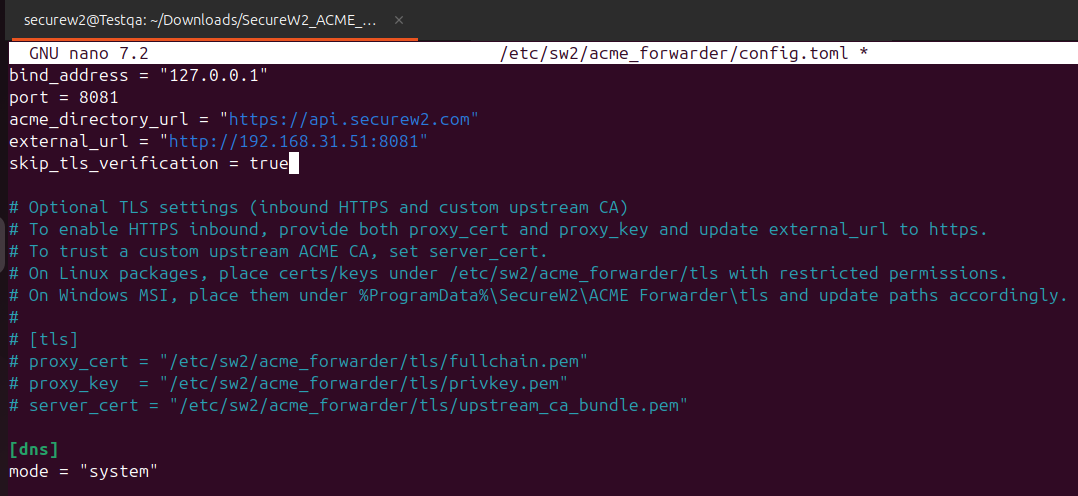
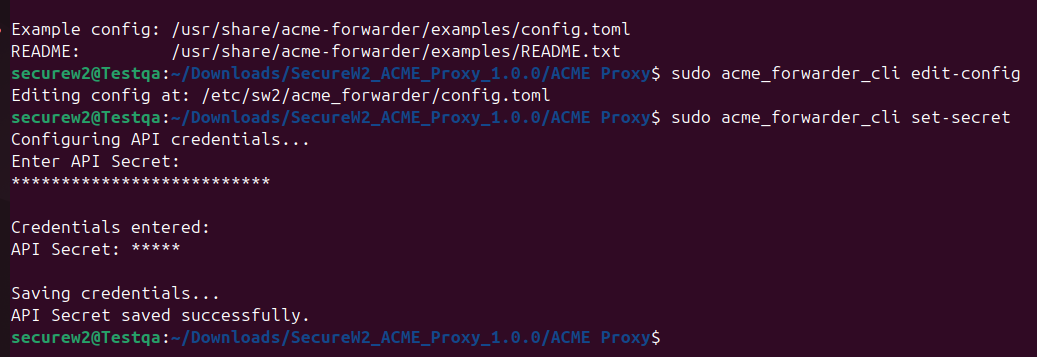
To configure the JoinNow ACME Forwarder on a Linux DEB-based system, perform the following steps:
- On your Linux system, run the acme-forwarder_1.0.0_amd64.deb package and wait for the installation to complete.
- In the Linux terminal, enter the following command to install the package: sudo dpkg -i acme-forwarder_1.0.0_amd64.deb

- To open and modify the configuration file for the ACME Forwarder tool, run the following command: sudo acme_forwarder_cli edit-config. This command launches the GNU Nano text editor with the /etc/sw2/acme_forwarder/config.toml file, allowing you to configure the parameters as per your business requirements.

- To store a secure API secret, run the following command: sudo acme_forwarder_cli set-secret

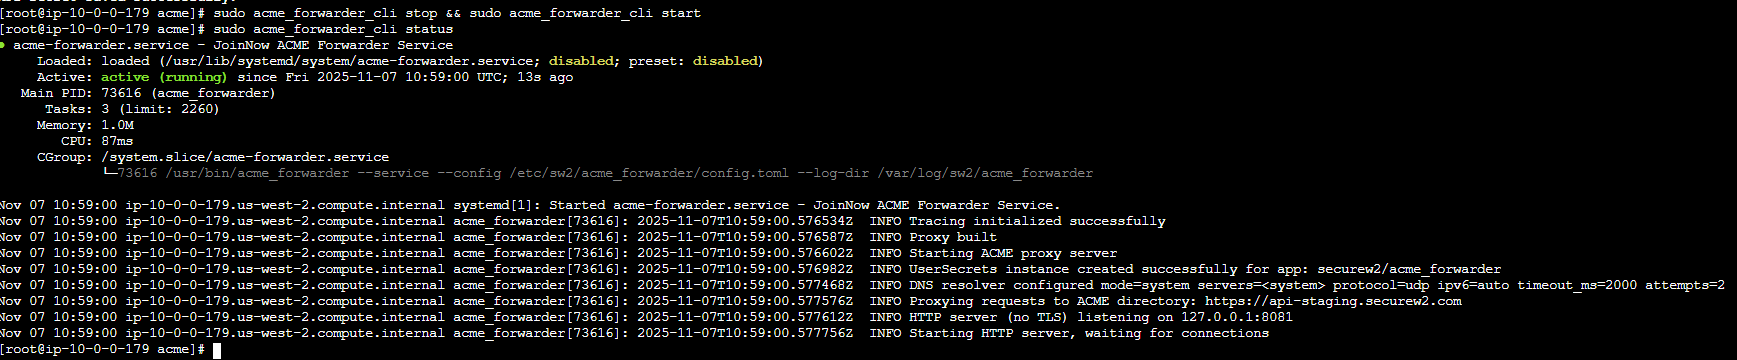
- To apply configuration changes, restart the ACME Forwarder service by running the following command:sudo acme_forwarder_cli stop && sudo acme_forwarder_cli start

- Logs are stored in the /var/log/sw2/acme_forwarder directory.
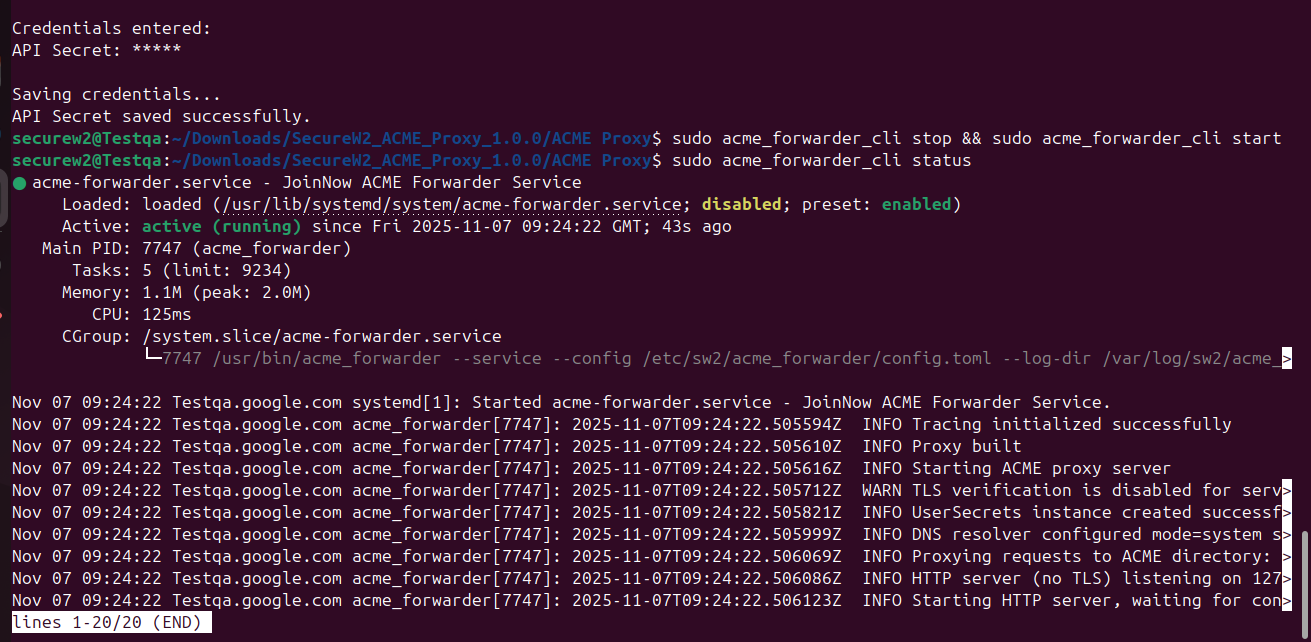
To set up JoinNow ACME Forwarder on a Linux RPM-Based System, follow these steps:
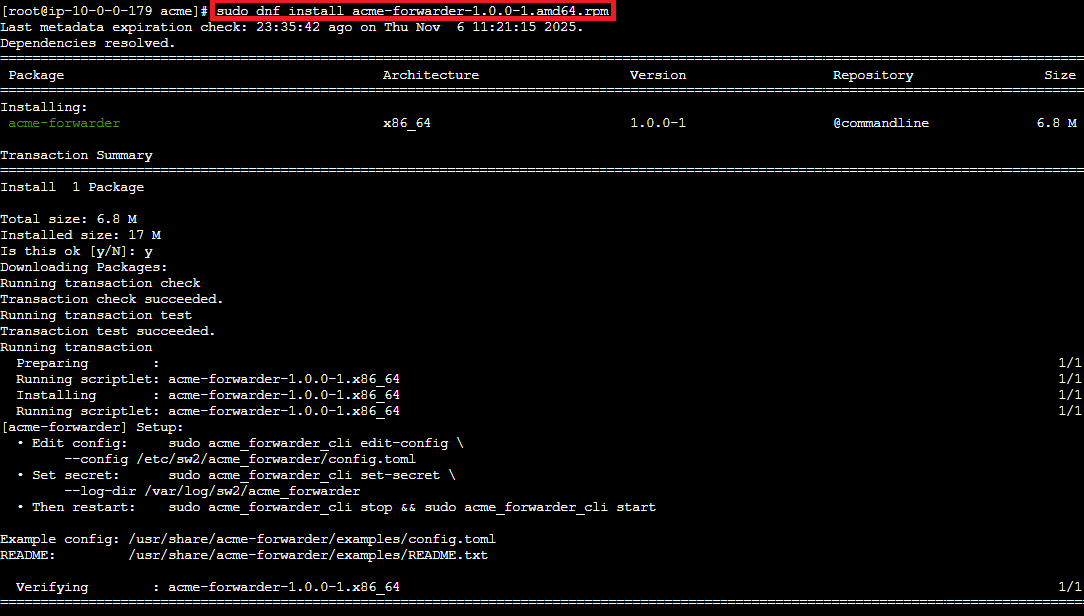
- On your Linux system, run the acme-forwarder-1.0.0-1.amd64.rpm package and wait for the installation to complete.
- In the Linux terminal, enter the following command to install the package: sudo dnf install acme-forwarder-1.0.0-1.amd64.rpm

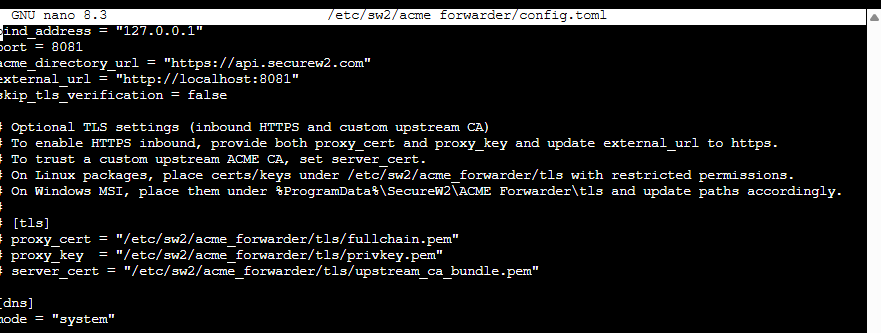
- To open and modify the configuration file for the ACME Forwarder tool, run the following command: sudo acme_forwarder_cli edit-config. This command launches the GNU Nano text editor with the /etc/sw2/acme_forwarder/config.toml file, allowing you to configure the parameters as per your business requirements.

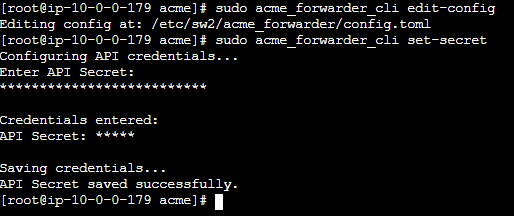
- To store a secure API secret, run the following command: sudo acme_forwarder_cli set-secret

- To apply configuration changes, restart the ACME Forwarder service by running the following command: sudo acme_forwarder_cli stop && sudo acme_forwarder_cli start

- Logs are stored in the /var/log/sw2/acme_forwarder directory.
This section explains how to perform enrollment with the win-acme ACME client.
The example below demonstrates this configuration using Win-ACME with http-01 on a Windows IIS server.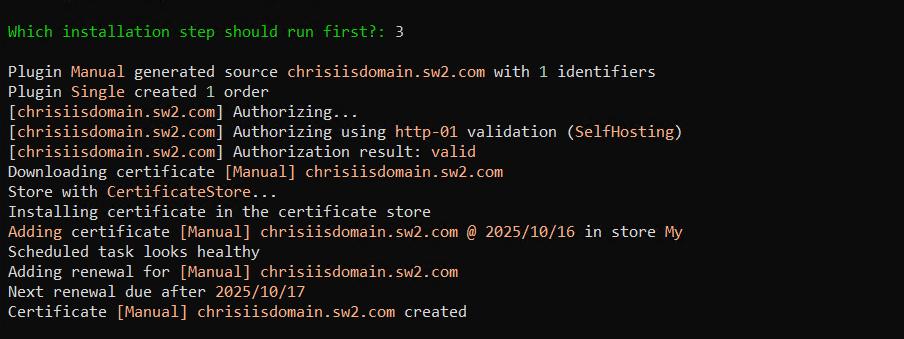
Enhanced Event:
To view the events, navigate to Data Monitoring > Enhanced Events. The following page is displayed.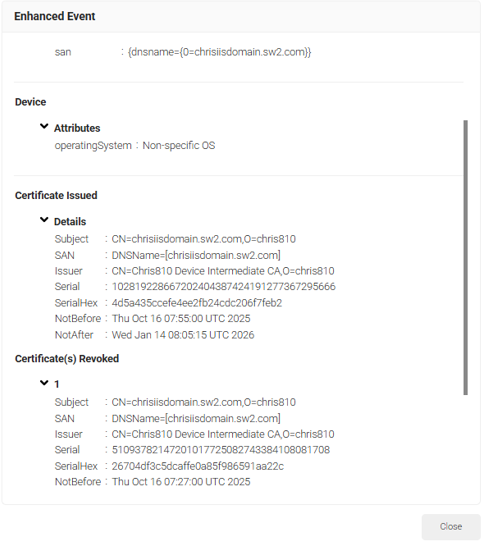
The example below demonstrates the configuration using Win-ACME with DNS on a Windows IIS server.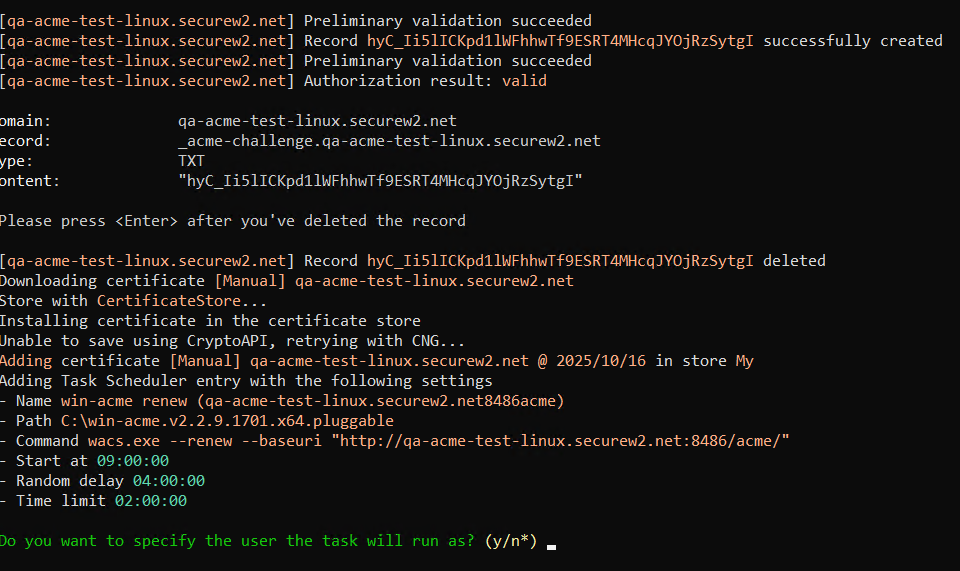
Enhanced Event: